Stunning chiyogami
While by now all of you know how much I love this paper, this is one example of the more beautiful versions of chiyogami that I would never dream to make something out of, only frame and hang in my home.
This chiyogami was almost a meter long and had the most beautiful colours (sadly, I couldn’t capture it well enough for you). I decided to send it to my parents as a gift….and they loved it!
Origami How To: Traditional Japanese Crane
I love origami and have been making different models since I was a kid. Even for a family member’s wedding, I managed to make the 1001 “good luck” cranes (with help of course).
Here’s a fairly quick step-by-step guide to make your own crane:
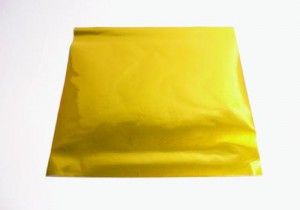
First, begin with a perfect square of any paper. *For beginners, try not to use tissue or cardboard paper, as it will make it difficult to fold properly if you are not used to it.
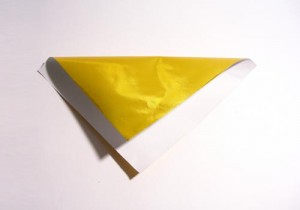
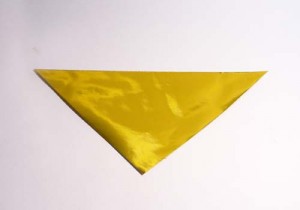
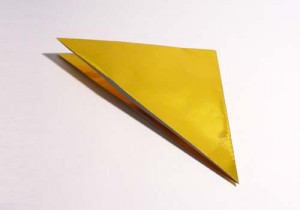
Fold in half diagonally to make a triangle (flatten the crease).
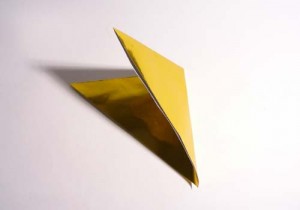
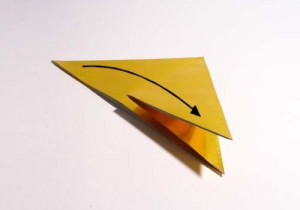
Take the right corner and fold it over to the opposite corner (flatten the crease).
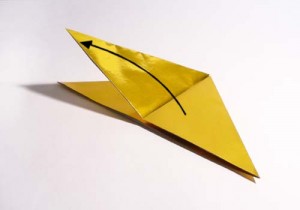
Taking that same corner, fold it back to the right corner (flatten the crease).
Fold it back (flatten the crease).
Open the newly creased section.
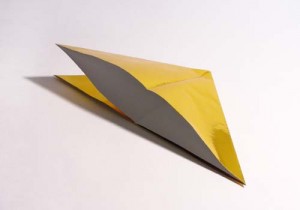
Fold down the corner (flatten the crease).
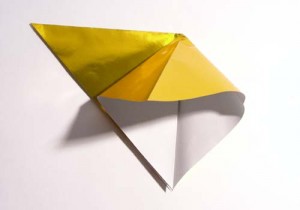
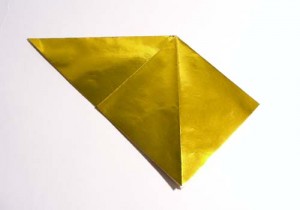
Flip to the other side.
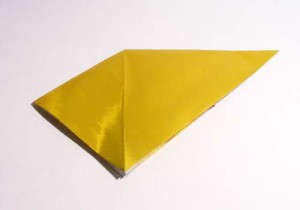
Fold down the right corner to the bottom corner (flatten the crease).
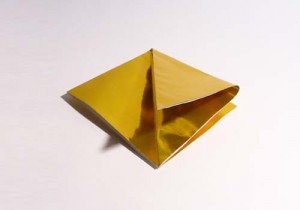
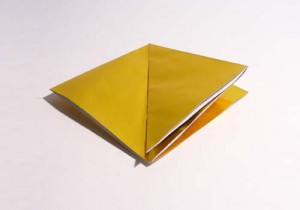
Open and fold down like the first side (flatten the crease).
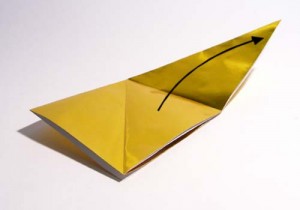
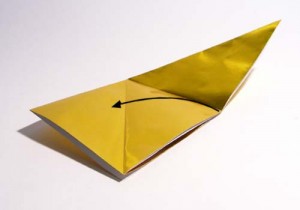
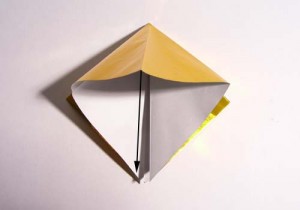
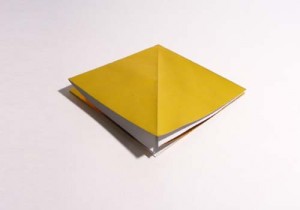
With the opening facing down, take the bottom right side and fold along the middle crease.
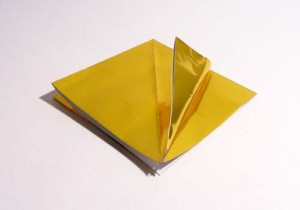
Repeat on the other side.
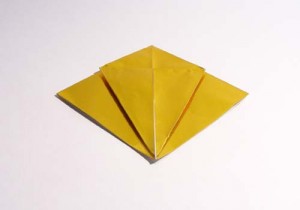
Flip over and repeat on the other side (flatten the crease).
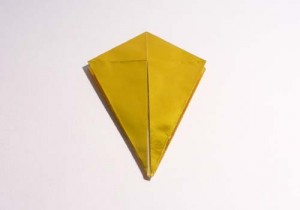
Unfold the two sides.
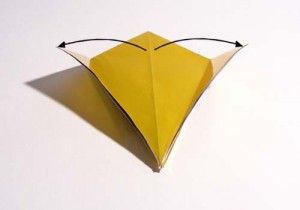
Open by pulling up the bottom (middle) corner.
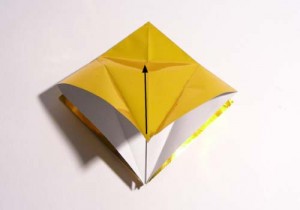
Along the side creases, fold the sides in.
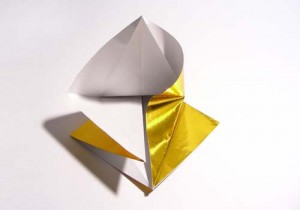
Repeat on all sides.
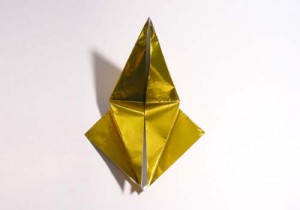
Fold back and flatten the top corner, making sure the corners are sharp.

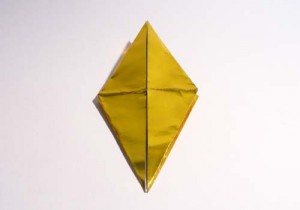
At this point, you should have two “legs”.
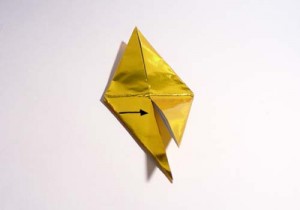
Fold the sides to the middle to make the “legs” thinner.
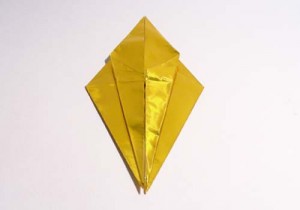
Repeat on the other side, making sure the creases are crisp.
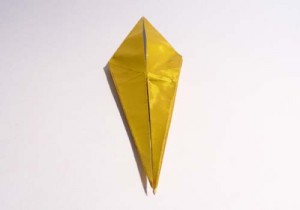
Try to keep the points as clean and crisp as possible.
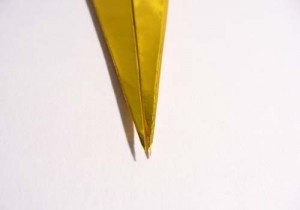
Now, take one flap and fold it to the left (there should be three flaps there now). Flip over and take a flap and fold it to the left to even it out (two flaps on each side).
This is meant to “hide” or secure the newly folded edges.
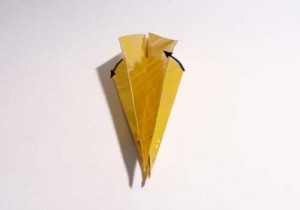
Take the bottom tip and fold it up as far as it can go. Crease and flip it over to repeat.
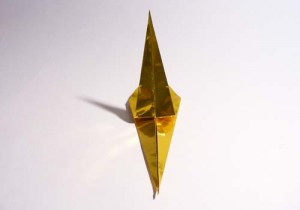
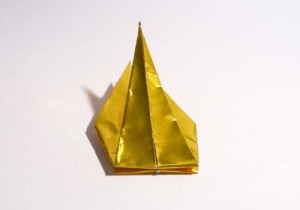
Just as before, take one flap and fold it to the left, flip over and fold the other flap to the left (to have two flaps on each side).
From here, take the two points between the flaps and pull them out a little, so they stick out. They will be the head and tail of the crane.
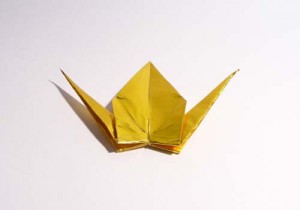
Now, between the two flaps on either side, fold one of the points down to make the head of the crane.
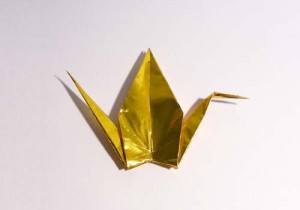
To open it up nicely, hold the wings and slowly pull them out and gently push the bottom portion in. If you would like to make the body a little rounder, blow into the hole in the bottom. This will puff up the body (top middle portion) of the crane.
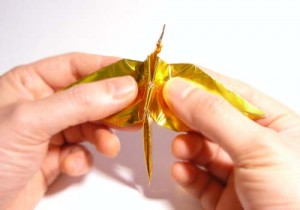
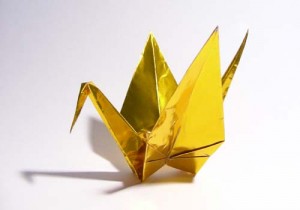
Completed crane:
Mini Book with Chiyogami Spine
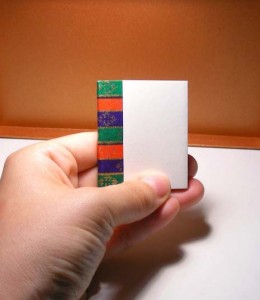
I was feeling pretty stressed the other day, so I decided to leave my work and make something fun.
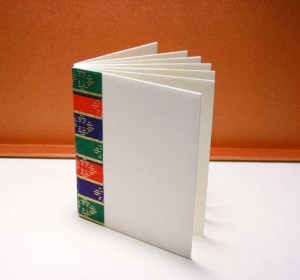
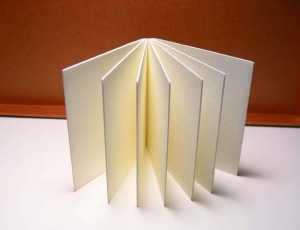
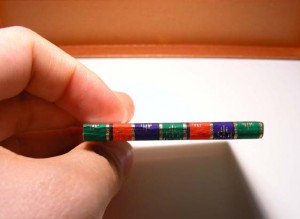
The end result is this cute little book make from blank note cards and a tiny scrap of chiyogami.
Let me know what you think about this project -write your comments below!
Simple Envelope Decorations with Fun Tape
I love fun tape because it’s……well….. just so fun to use.
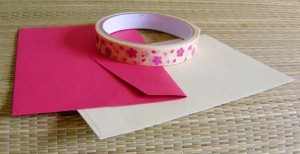
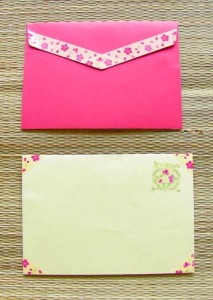
The easiest thing I use it for is creating borders on pretty much anything I want to decorate. Here’s one example of using fun decorative tape to dress up plain envelopes:
In my box filled with plain envelopes, I managed to find two that matched the sakura fun tape that I chose.
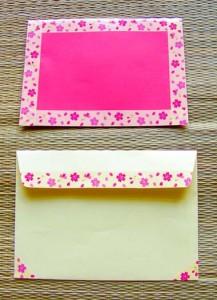
All I did was outline parts of the envelope that I wanted and cut off the excess from the sides.
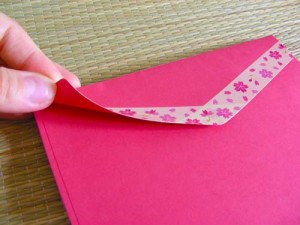
To make it interesting on both sides, I just added a strip to the envelope flap.
You can fold the tape over to create a border both inside and out, but I just taped to the edge and trimmed the ends.
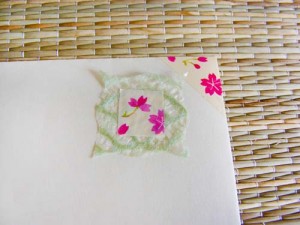
I also made a cute faux stamp with a bit of tape on Japanese weaved tissue paper.
Very simple! Try it next time you have a letter or card for someone.


