Simple Origami Envelopes Using Junk Mail
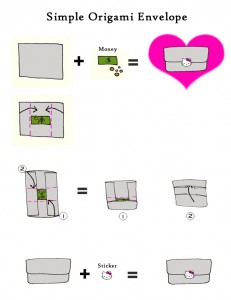
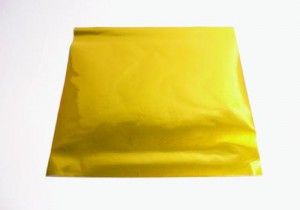
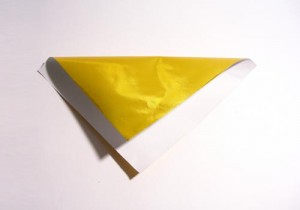
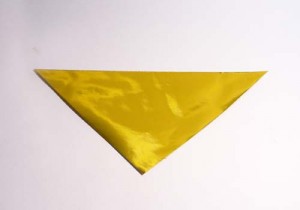
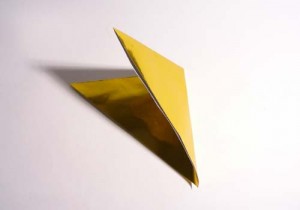
I don’t like throwing away junk mail or scrap paper but I also hate hording it…..I suppose the show “Hoarders” scared me….. so I decided to use the paper to make simple money envelopes when paying for deliveries like Mama Earth Organic Food Deliveries
To make your own:
One Good Thing A Day – Project Day 17 – Origami Birthday Card
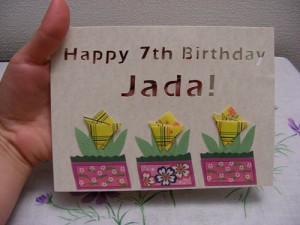
I got another order from Fiverr for a simple origami/kirigami Birthday card for a little girl.
It was actually quite fun, especially away from the boring writing work I have (>_<)
If you'd like to see some of my Fiverr gigs, please do so!
I made two samples for the customer to choose from and here’s the one that was chosen:
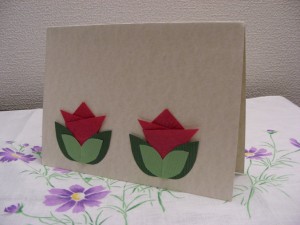
This was the other one that’s an extra for someone else:
Origami How To: Traditional Japanese Crane
I love origami and have been making different models since I was a kid. Even for a family member’s wedding, I managed to make the 1001 “good luck” cranes (with help of course).
Here’s a fairly quick step-by-step guide to make your own crane:
First, begin with a perfect square of any paper. *For beginners, try not to use tissue or cardboard paper, as it will make it difficult to fold properly if you are not used to it.
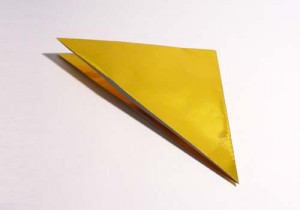
Fold in half diagonally to make a triangle (flatten the crease).
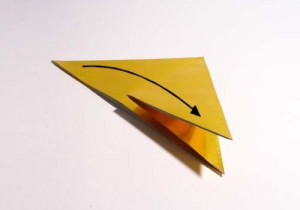
Take the right corner and fold it over to the opposite corner (flatten the crease).
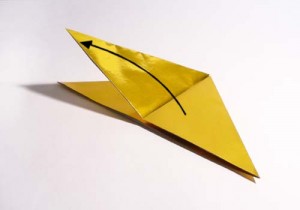
Taking that same corner, fold it back to the right corner (flatten the crease).
Fold it back (flatten the crease).
Open the newly creased section.
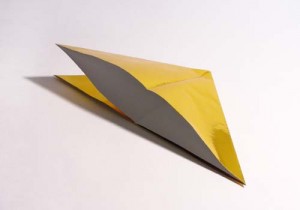
Fold down the corner (flatten the crease).
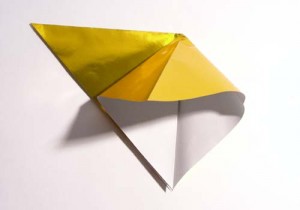
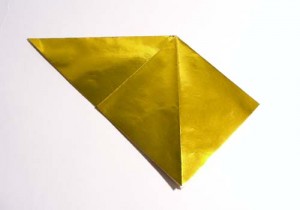
Flip to the other side.
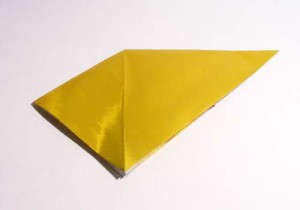
Fold down the right corner to the bottom corner (flatten the crease).
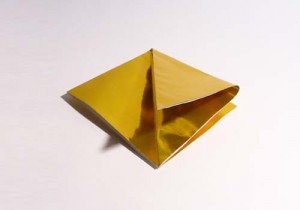
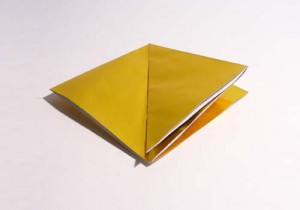
Open and fold down like the first side (flatten the crease).
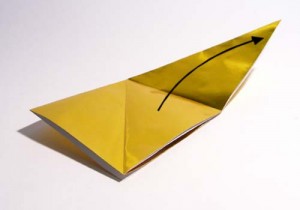
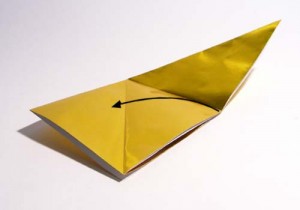
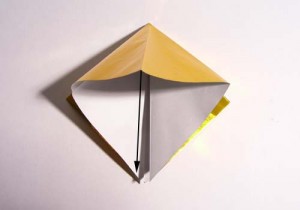
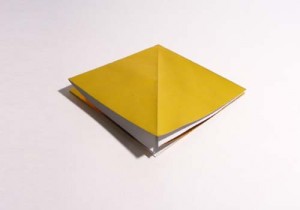
With the opening facing down, take the bottom right side and fold along the middle crease.
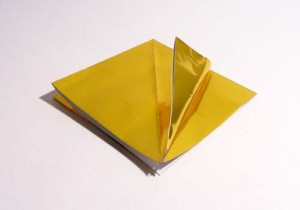
Repeat on the other side.
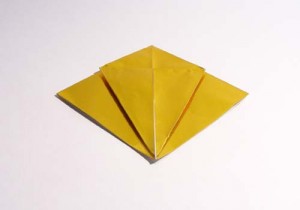
Flip over and repeat on the other side (flatten the crease).
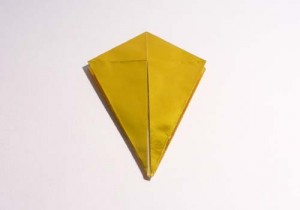
Unfold the two sides.
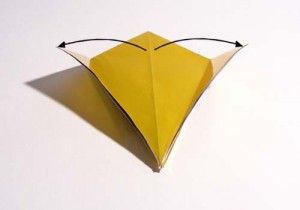
Open by pulling up the bottom (middle) corner.
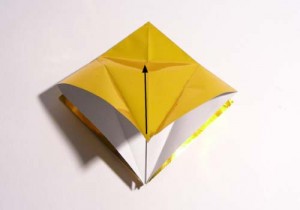
Along the side creases, fold the sides in.
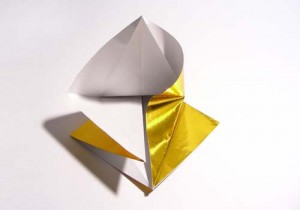
Repeat on all sides.
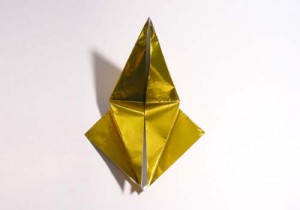
Fold back and flatten the top corner, making sure the corners are sharp.

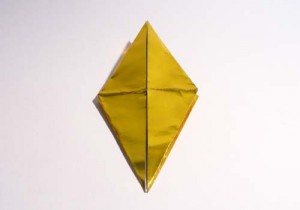
At this point, you should have two “legs”.
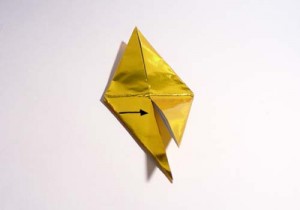
Fold the sides to the middle to make the “legs” thinner.
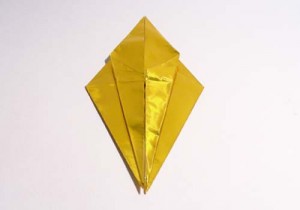
Repeat on the other side, making sure the creases are crisp.
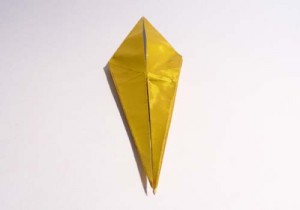
Try to keep the points as clean and crisp as possible.
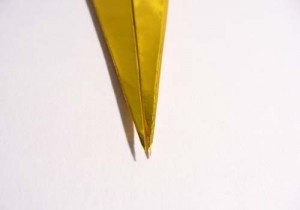
Now, take one flap and fold it to the left (there should be three flaps there now). Flip over and take a flap and fold it to the left to even it out (two flaps on each side).
This is meant to “hide” or secure the newly folded edges.
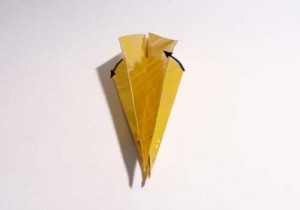
Take the bottom tip and fold it up as far as it can go. Crease and flip it over to repeat.
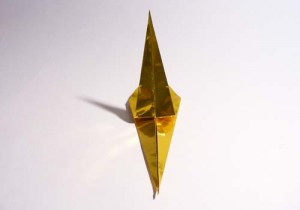
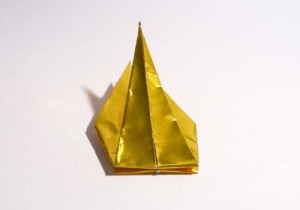
Just as before, take one flap and fold it to the left, flip over and fold the other flap to the left (to have two flaps on each side).
From here, take the two points between the flaps and pull them out a little, so they stick out. They will be the head and tail of the crane.
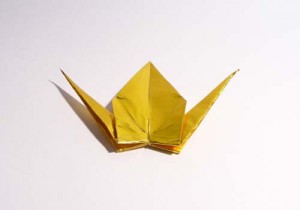
Now, between the two flaps on either side, fold one of the points down to make the head of the crane.
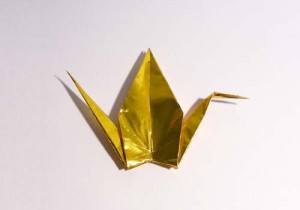
To open it up nicely, hold the wings and slowly pull them out and gently push the bottom portion in. If you would like to make the body a little rounder, blow into the hole in the bottom. This will puff up the body (top middle portion) of the crane.
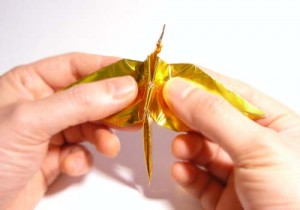
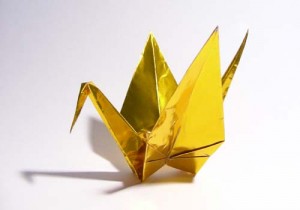
Completed crane:
Project Featured in Cut Out + Keep!
I’m happy to tell you that one of my eco projects is now featured on Cut Out + Keep and seems to be a fan favourite!
Check it out because the site is great too!
Origami and Kirigami Mobiles
***Quite busy these days, but the pictures will be posted at some point in the future!***
Origami is a great method to create interesting and intricate looking decorations, very fun mobiles for children, or even outdoor wind chimes.
Origami can use any paper, or even fabric, it all depends on the model and function.
My favorite paper is chiyogami or light washi, but I have used many others like tissue paper, old wrapping paper, cardboard paper, magazines, brochures and even parchment paper.
When using chiyogami and washi, they are lovely for special decorations or additions to gifts since they vary in colour, pattern and texture.
They are great for origami mobiles and if properly sealed, outdoor creations as well.
To begin, decide which origami shape, and how many of them you would like.
Then choose the paper you would like.
If it’s for a baby’s mobile, sharp, contrast works best, so black and white patterns are a good choice.
For outdoor wind chimes, a thicker waxy paper would work well, but chiyogami and washi are also great choices as long as you use a waterproof sealer.
The size of the paper is your choice, the average origami sheets come in 15cm x 15cm squares, but you can cut that into quarters and make mini origami pieces, or just buy small pre-cut packs of origami.
