One Good Thing A Day – Project Day 44 – Planting Day and Kirigami
It was such a beautiful day that I decided to plant new flowers.
So far, I planted lavender, carnations and an unknown mix of what could be posies (?)
It was a lovely time out and I hope they can grow well. The only problem is I’ll have to find a suitable home for them when I move.
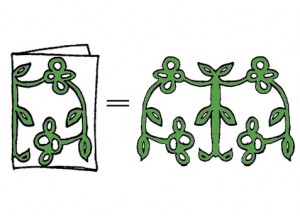
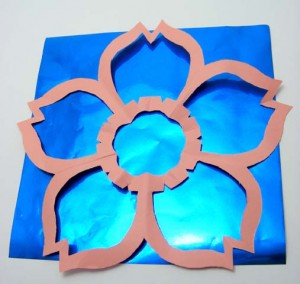
To continue with the flower theme, here’s an example of a nice kirigami cut out you could try just by folding one piece of paper in half:
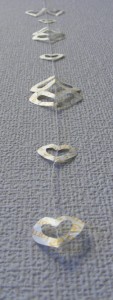
Kirigami Heart Mobile Made With Wrappers
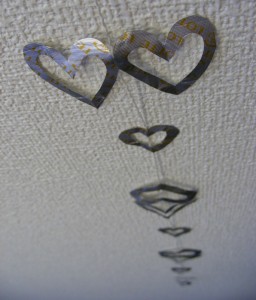
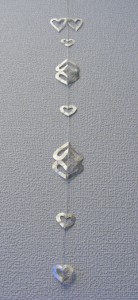
Going back to my chocolate and candy wrappers post, I decided to take a few of the silver ones and make a heart mobile.
It’s pretty simple to make and great as little decorations in the window, on a wall, in a tree or just hanging outside. I put this one out on the bamboo pole to decorate the area for the birds a bit more.
Here’s what I did to make the two large opposing hearts:
1 – Flatten the wrapper (I use a small ruler).
2 – Fold it in half widthwise.
3 – Fold it over again in a book fold.
4 – Make sure the top and left-hand edges are the folded ones.
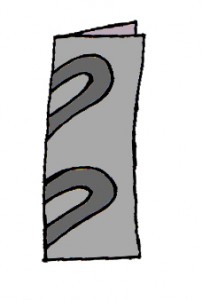
5 – Draw the heart outline as shown, making sure both folded edges are included.
6 – Cut out the heart shape (shown in dark grey) and carefully flatten with the ruler or heavy book.
The other two large hearts side-by-side:
A – Flatten the wrapper like the previous kirigami hearts.
B – Fold widthwise.
C – Now fold lengthwise to give you a narrow strip.
D – Now draw the heart as shown, making sure the curve of the heart includes the side fold as well as the open edges.
E – Cut along the lines, unfold and carefully flatten.
Finally, the small individual hearts:
All I did for these is simply fold the wrappers in half and cut out two smaller individual hearts.
Once they are all done, take a ribbon or string, secure them with a dab of glue and let them dry completely.
It’s done! I love how delicate and pretty it turned out, especially with the shimmer when the sunlight hits it.
One Good Thing A Day – Project Day 17 – Origami Birthday Card
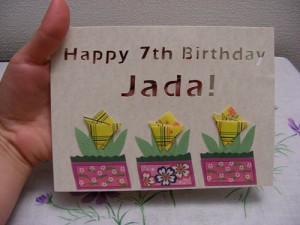
I got another order from Fiverr for a simple origami/kirigami Birthday card for a little girl.
It was actually quite fun, especially away from the boring writing work I have (>_<)
If you'd like to see some of my Fiverr gigs, please do so!
I made two samples for the customer to choose from and here’s the one that was chosen:
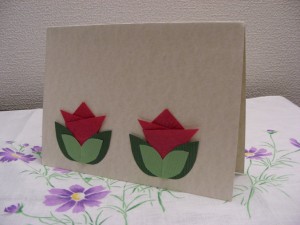
This was the other one that’s an extra for someone else:
Holidays are quickly approaching
With so many projects and jobs to do, I decided to take a little time off each week to sit down and do a little fun work, and prepare for the upcoming holidays.
I’ve decided to handmake everyones card and possibly some gifts as well.
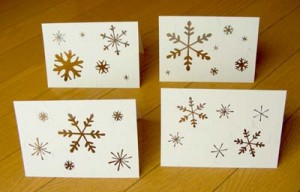
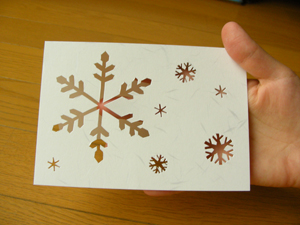
So far, I’ve finished a set of winter snowflake cards that I hand cut with my dear scalpel knife.
Here they are:
Kirigami Sakura
As mentioned a couple of days ago, Kirigami is the Japanese art of paper cutting. I absolutely love creating pretty things from simple materials like scrap paper and would like to share a project that you can try at home.
Here are instructions to make a simple sakura (Japanese cherry blossom):
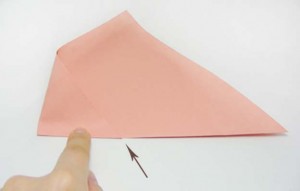
1 – Begin with a square piece of paper and fold diagonally to create a triangle.
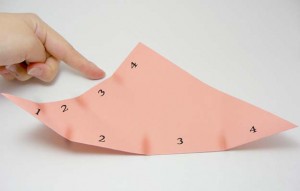
Now, fold one bottom corner to the other and crease approximately 2cm to create a point of reference in the middle.
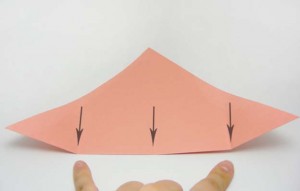
2 – Next, fold the bottom corners to the middle and crease approximately 2 cm.
* You should now have three evenly spaced creased along the bottom of the triangle.
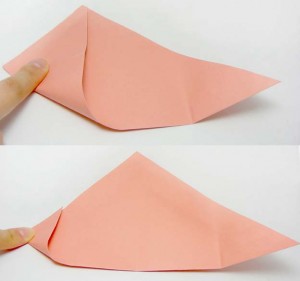
3 – Take the left corner and fold it up to the top point (crease 2 cm) and unfold.
Now, take the same corner and fold it to the newly created middle crease.
Repeat the last step, using the top point of the triangle and folding it to the new middle crease.
* You should now see four even sections along the bottom and left-hand side
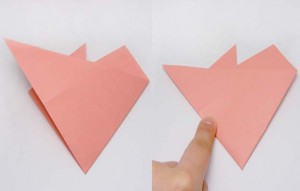
4 – Using the creases on the left-hand side, take the left bottom corner and fold it up to the top crease
(the fold should not surpass the bottom middle crease).
This time, press down along the entire fold to keep it in place.
5 – Next, take the right bottom corner and fold it to the left-hand side. Make sure it’s folded along the edge, also, not surpassing the middle crease (this should give you a clean point at the bottom).
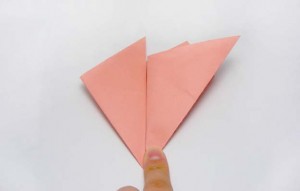
6 – Taking the same corner from the previous step, fold it in half, taking the corner back to the right-hand side. Make sure the edges are parallel.
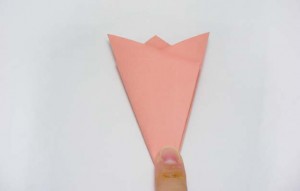
7 – Now, take the left side, fold over to the right, making sure to keep the edges parallel.
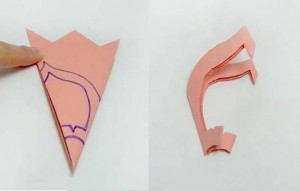
8 – Turn it over and draw a petal design. I chose a pointed petal design to create a sakura.
*Make sure to leave the left and right edges attached at some points in order to keep the entire image intact!
9 – Once the drawing is complete, cut it out and unfold it. You should have a lovely flower to decorate anything you like.
Try different styles to create a wide range of lovely designs.
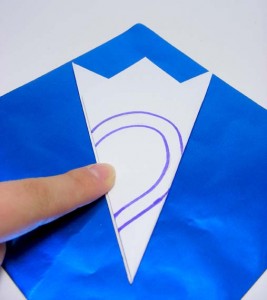
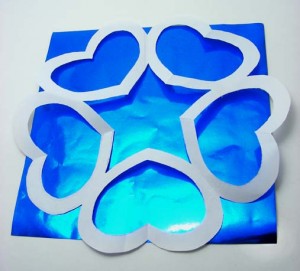
This one I tried with a semi heart shape:
Once I cut it out, I thought it might look cheesy….
but to my surprise, it turned out different from what I imagined. The star in the middle adds a special touch.


