How to Create a Hanami (Cherry Blossom Viewing) Picnic at Home
As mentioned in my previous post about hanami (complete with origami cherry blossom tutorial), I wanted to recreate a cherry blossom viewing picnic scene that’s very common in Japan right now.
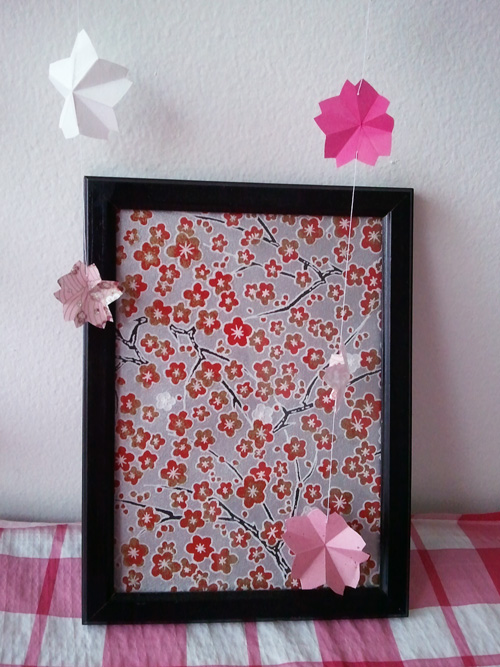
I decided to use a variety of cute sakura kirigami/origami to create a peaceful hanami atmosphere, then I added some common hanami staples like a cute plastic ground sheet (used as a tablecloth), cherry blossom chopsticks, onigiri (rice balls), noodles, grilled fish, sweet snacks, and the last but not least, beer and wine.
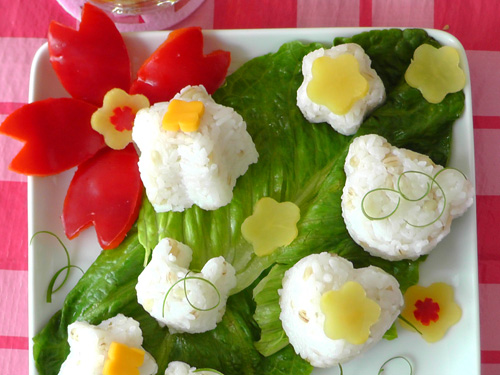
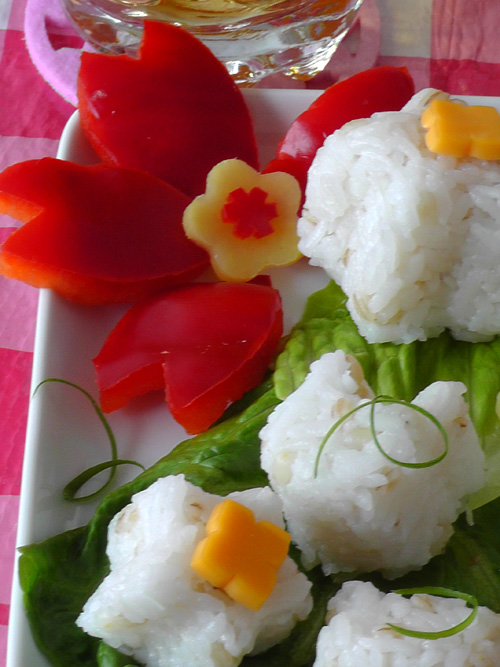
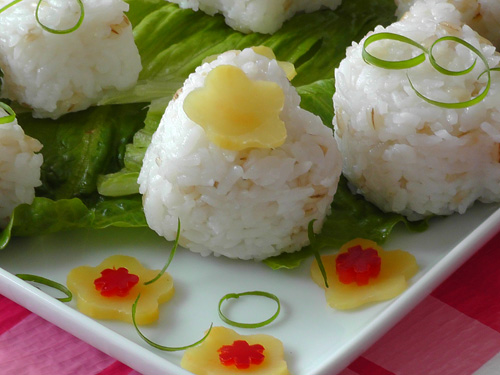
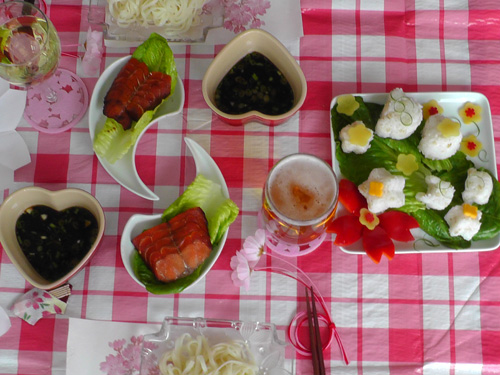
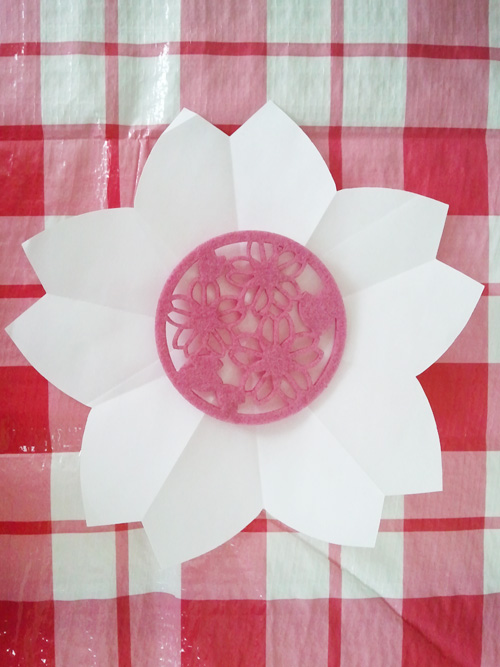
To stay on theme, I also used my felt cherry blossom coasters, kirigami cutout sakura placemats, sakura printed placemats, and a couple of mizuhiki sakura that I made a few years ago.
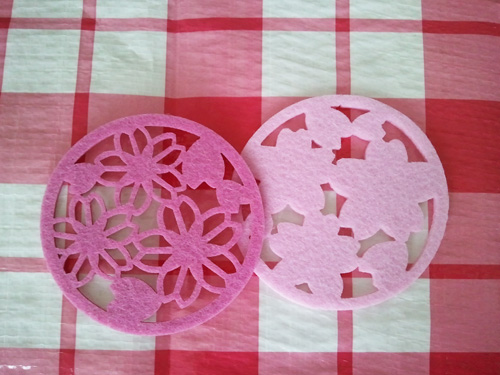
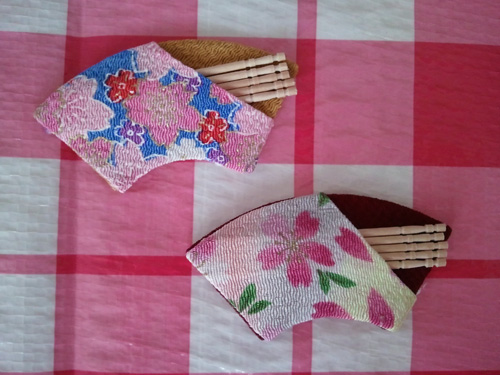
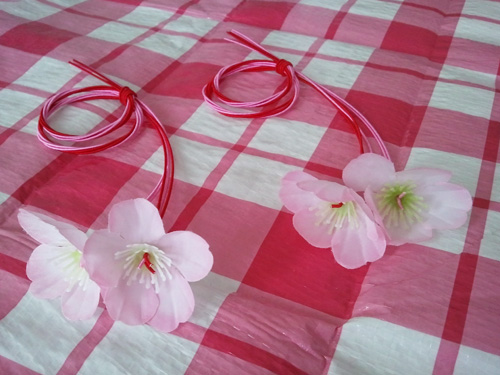
Please let me know what you think! I’d love to hear suggestions for future picnic setups!
Cute Japanese Bento Accessories for Hanami
Before I show you the complete hanami lunch setup, I want to show you some of the adorable bento accessories that I have straight from Japan (you can also find some through Amazon here).
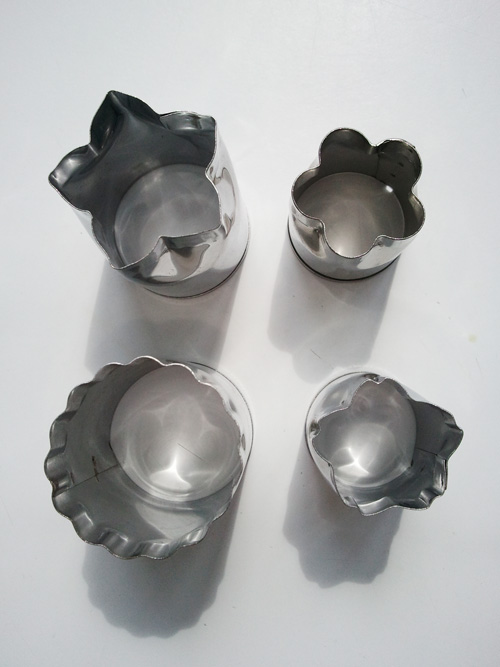
This is a lovely metal cutout set that you can use one cheese, deli meats and vegetables like carrots:
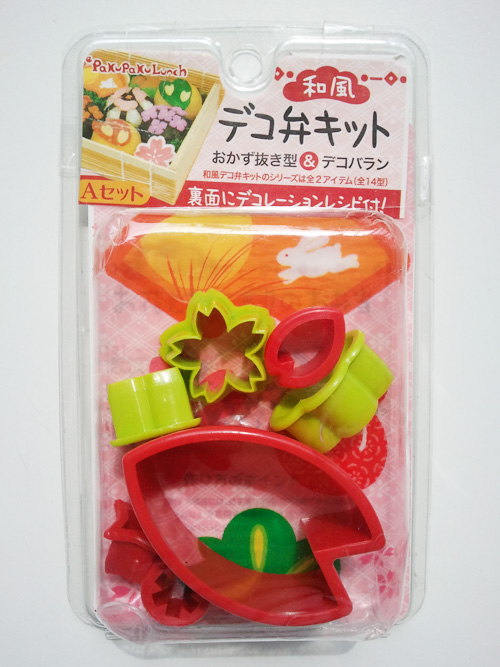
This is a very sweet set that has a variety of shapes, including individual petals to decorate dishes.
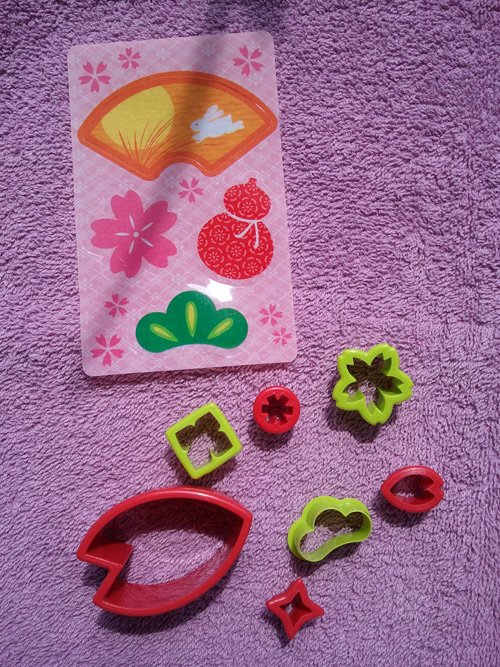
It even comes with extra decorations that you can add in your bento boxes.
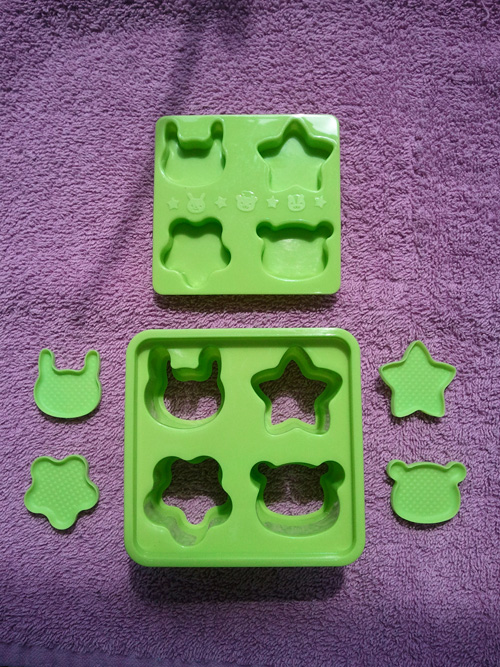
This mini mold makes cute little shapes for tiny onigiri (rice balls).
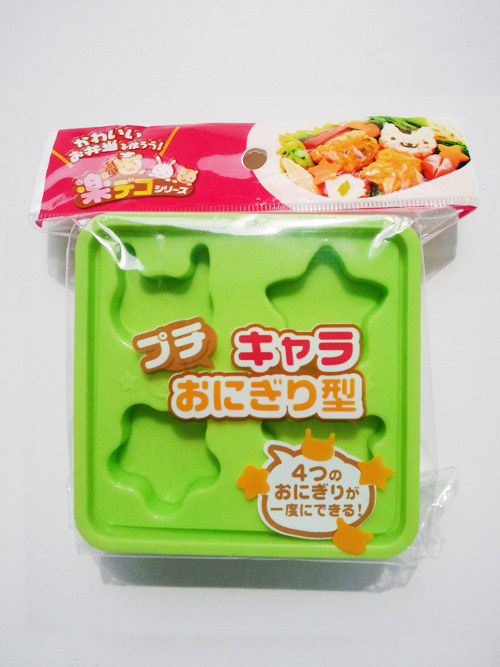
You can make bento with mini rabbit heads, star shapes, flowers and little bear heads.
A three set of rice ball shapes. These are medium sized and some with three different shapes.
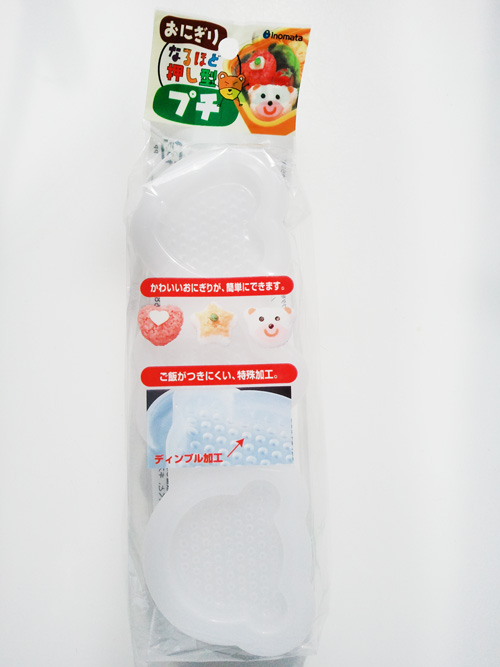
You can make rows of hearts stars and bear heads…. aren’t they cute?
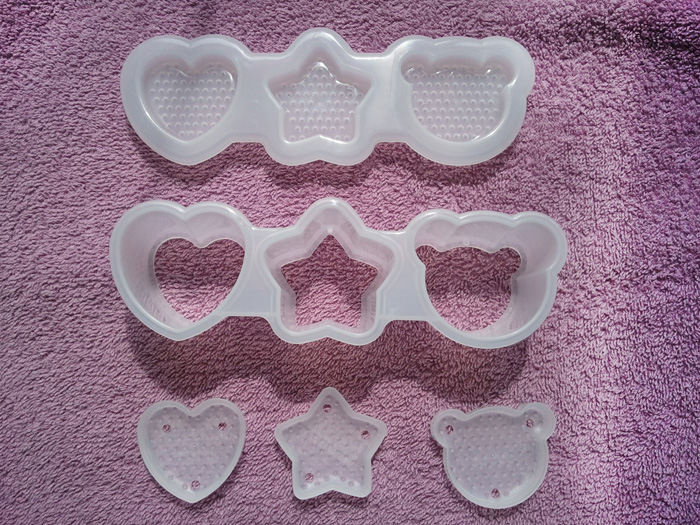
You can make the shapes as simple or as decorated as you like. Most people like to make the onigiri shapes and decorate them with Japanese nori (dried seaweed paper). I don’t have any special seaweed shape punches, so I’m stuck cutting everything out by hand, but you can get seaweed shape punches on Amazon.
Origami Sakura to Celebrate Spring
If you are living in Canada like me, chances are you feel like Spring will never ever arrive, but I still have hope for Mother Nature!
In Japan, hanami (cheery blossom viewing) season will soon begin and I still miss it very much. In an attempt to make our home feel a little more like hanami, I decided to make a bunch of mini origami sakura from small origami paper and my stash of Japanese washi/chiyogami.
If you would like to make these adorable origami sakura for a fun Spring craft, check out the diagram below, or check out the Origami Club animated instructions here: http://en.origami-club.com/flowers/sakura2/anime-sakura/index.html
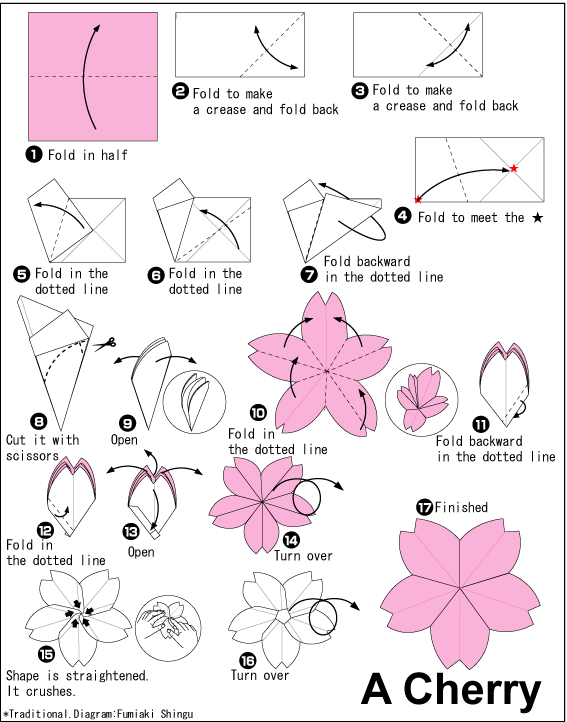
Courtesy of origami-club.com
You can arrange these sakura blossoms on cards, canvases, hang them up, dress up mirrors/windows, create jewelry -anything you can think of!
Check back soon to see what I did with my mini sakura origami. I hope you love it!
Simple Gift Box Decorations – Sophisticated “Goodie Bags”
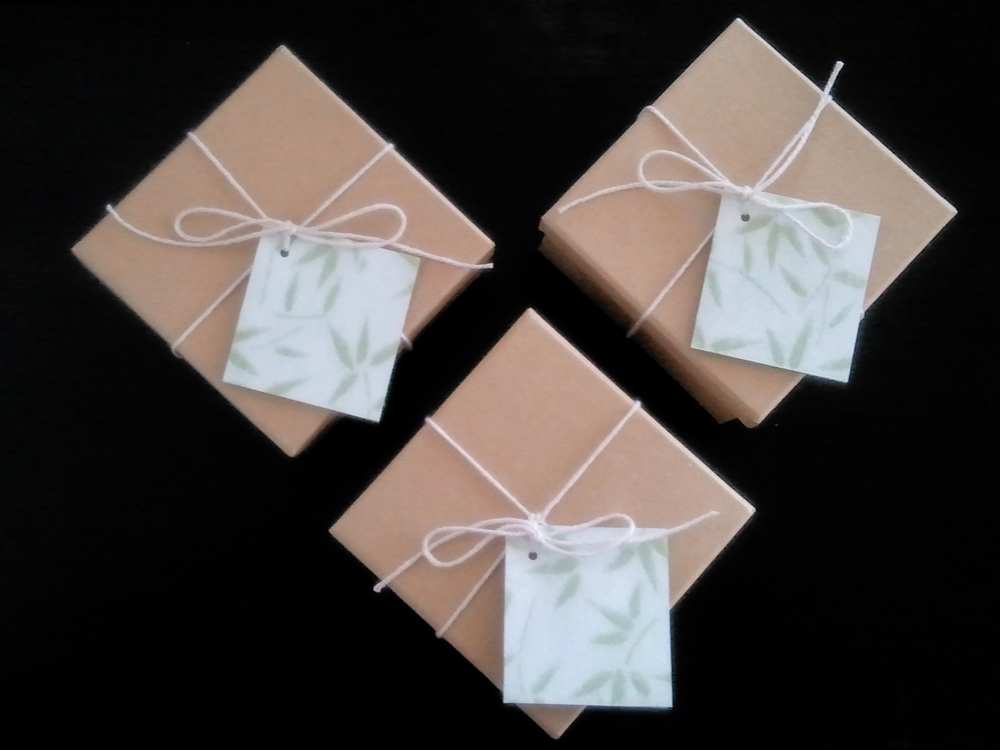
Here are a few small boxes that I decorated as “goodie bags” for my Birthday (yes, I still enjoy giving goodie bags and I think I always will).
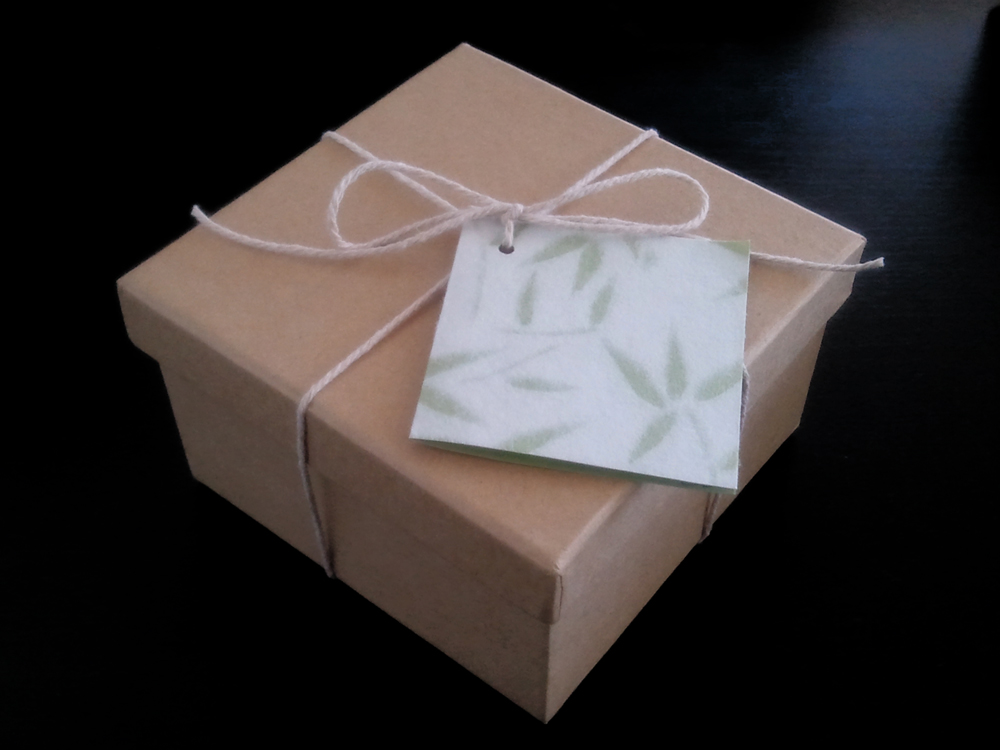
The plain kraft paper boxes are approximately 10cm x 10cm x 5.5cm and only cost $1 each.
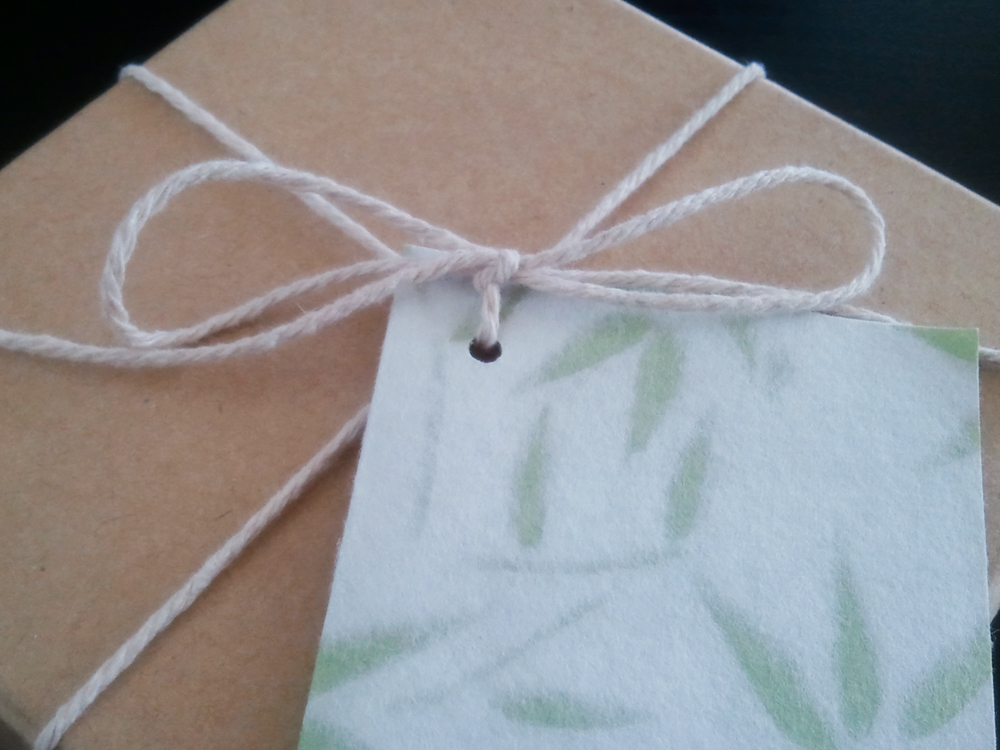
I tied them up with plain string and added a mini card made from Japanese paper.
I adore these boxes because they were cheap, helped me use up craft string that I already had at home and scraps of my favourite type of paper. Afterwards, the boxes can be reused in the same way or decorated with a collage, paints or even gold leaf.
They are simple and have a soft nature theme, which is exactly what I love.
![]()
Kirigami Sakura
As mentioned a couple of days ago, Kirigami is the Japanese art of paper cutting. I absolutely love creating pretty things from simple materials like scrap paper and would like to share a project that you can try at home.
Here are instructions to make a simple sakura (Japanese cherry blossom):
1 – Begin with a square piece of paper and fold diagonally to create a triangle.
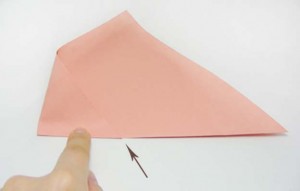
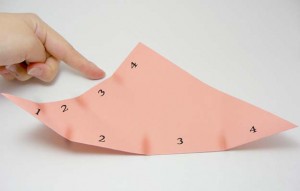
Now, fold one bottom corner to the other and crease approximately 2cm to create a point of reference in the middle.
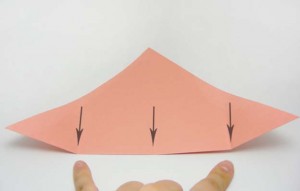
2 – Next, fold the bottom corners to the middle and crease approximately 2 cm.
* You should now have three evenly spaced creased along the bottom of the triangle.
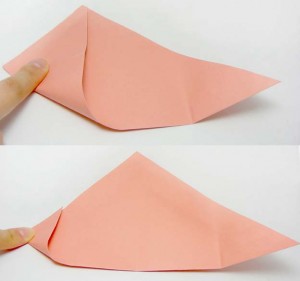
3 – Take the left corner and fold it up to the top point (crease 2 cm) and unfold.
Now, take the same corner and fold it to the newly created middle crease.
Repeat the last step, using the top point of the triangle and folding it to the new middle crease.
* You should now see four even sections along the bottom and left-hand side
4 – Using the creases on the left-hand side, take the left bottom corner and fold it up to the top crease
(the fold should not surpass the bottom middle crease).
This time, press down along the entire fold to keep it in place.
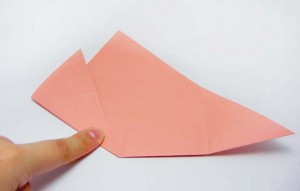
5 – Next, take the right bottom corner and fold it to the left-hand side. Make sure it’s folded along the edge, also, not surpassing the middle crease (this should give you a clean point at the bottom).
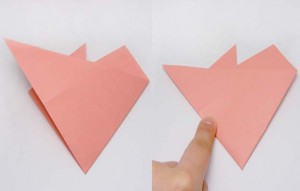
6 – Taking the same corner from the previous step, fold it in half, taking the corner back to the right-hand side. Make sure the edges are parallel.
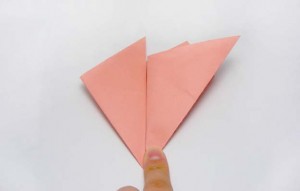
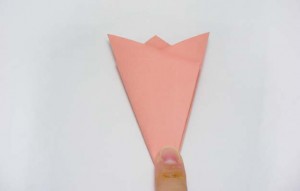
7 – Now, take the left side, fold over to the right, making sure to keep the edges parallel.
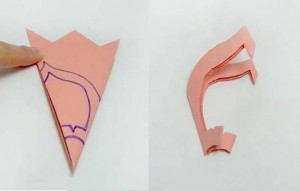
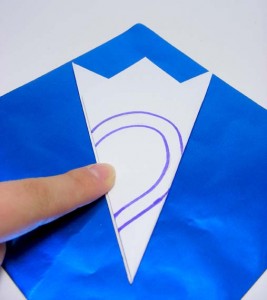
8 – Turn it over and draw a petal design. I chose a pointed petal design to create a sakura.
*Make sure to leave the left and right edges attached at some points in order to keep the entire image intact!
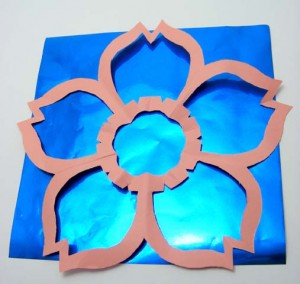
9 – Once the drawing is complete, cut it out and unfold it. You should have a lovely flower to decorate anything you like.
Try different styles to create a wide range of lovely designs.
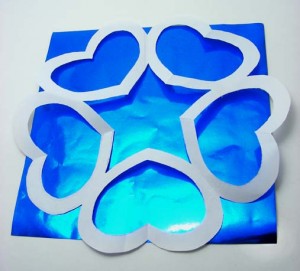
This one I tried with a semi heart shape:
Once I cut it out, I thought it might look cheesy….
but to my surprise, it turned out different from what I imagined. The star in the middle adds a special touch.


