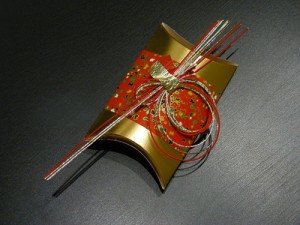
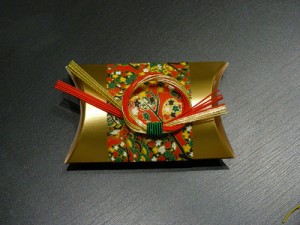
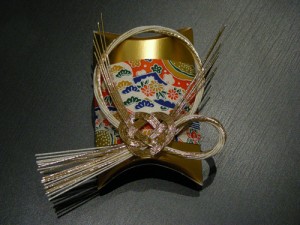
One Good Thing A Day – Project Day 63 – Mizuhiki for Box Decoration
I was happy to look through my remaining mizuhiki and gift boxes from Japan today. I really love the design and color combinations of mizuhiki and how quickly they add a beautiful decorative look to pretty much anything.
My favorite of course is combining it with chiyogami for gift boxes:
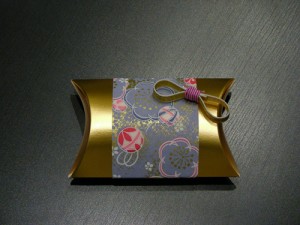
I’ll post more mizuhiki gift box decorations tomorrow too!
Easy Greeting Card Project – Silhouettes
In an effort to reduce waste and purchasing new materials for projects, I’ll try to post different project ideas for you to try at home.
I’m sure if you searched your home, you would find a wide range of scrap paper from packages, old newspapers, magazines, flyers, wrapping paper etc…
No matter the size, one of the simplest decorative things you can make is a silhouette.
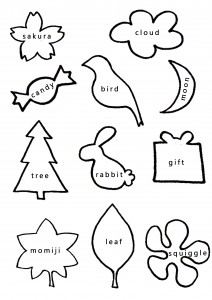
Silhouettes are basically a cut out shadow of an image. Usually just an outline of something without other details. They can be done with paper, fabric and even painted/colored in.
Here are a few that I drew as examples:
Use them to decorate your greeting cards, make cute gift tags or string them up for adorable mobiles.
Greeting Card Project: Chiyogami Puzzle Piece Embellishments
As you may know by now, I love Chiyogami.
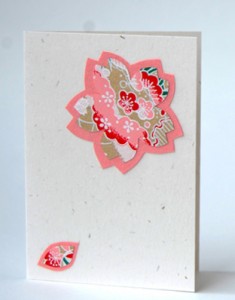
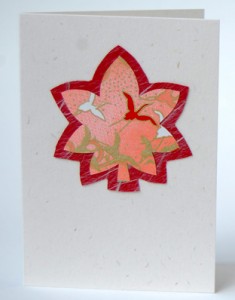
I’ve made many different things with chiyogami and always keep little scaps in a box for later use. If you have scraps of decorative paper or just want to recycle some leftover paper, here’s a great greeting card project that anyone can do, for any occasion.
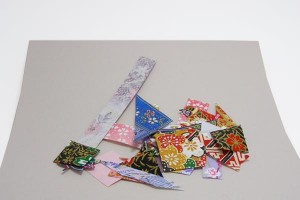
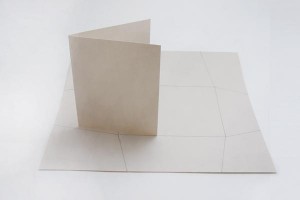
First, get a bunch of little scraps along with a large sheet of heavy cardboard paper.
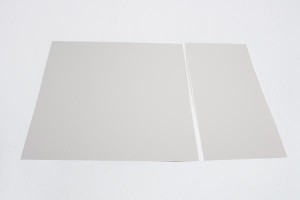
Next, cut a trip measuring one third of the sheet.
The wider portion will become the envelop and the narrow one will be the card.
Cut the narrow piece in half. Fold one piece in half for the card and set the other half aside for later use.
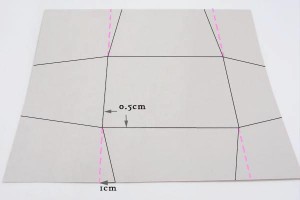
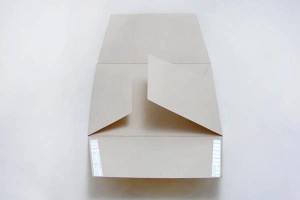
On the larger piece, draw out the envelope template. I usually trace the outline of the card and add about 0.5cm to the sides. For the flaps, it’s easy to extend lines to the edges of the paper, but also making sure to make it about 1cm narrower at the edges.
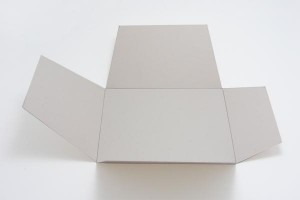
Cut out the envelope shape. Make sure you only cut the outside lines.
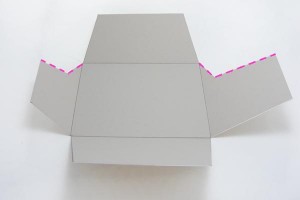
Add wedges (dotted line) to the side flaps to make it easier to extract the card.
Fold along the lines and make sharp creases, then add double-sided tape to the sides of the bottom flap and fold it up to secure it to the side flaps.
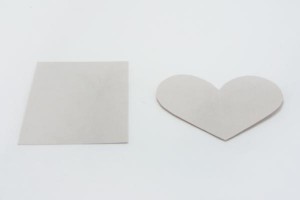
Set the envelope aside and grab the remaining piece of cardboard that you have. Cut out any shapes you like.
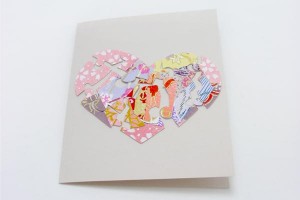
I decided to cut out a simple rectangle and heart.
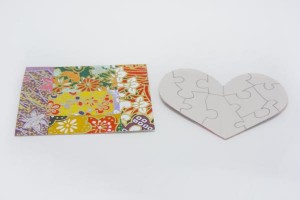
Cover the entire pieces with double-sided tape followed by scrap chiyogami paper.
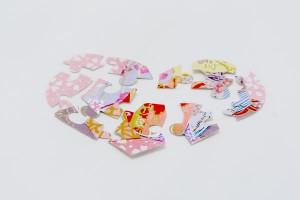
On the reverse, draw out simple puzzle pieces.
Cut out the puzzle pieces.
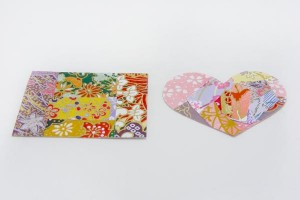
Secure them to the front of the card in the rough shape, or…
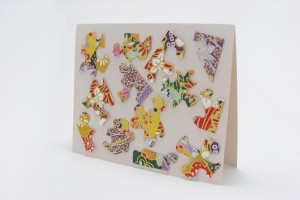
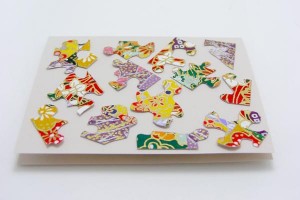
scattered all over the card.
I decided to scatter all of the pieces except one for this card, because I wanted that one piece for the envelope.
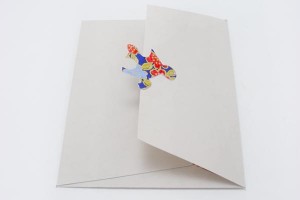
To tie in the envelope, secure one puzzle piece to the closing flap. This is a nice way to make a closing seal and to make the receiver excited about what the card looks like.
Stunning chiyogami
While by now all of you know how much I love this paper, this is one example of the more beautiful versions of chiyogami that I would never dream to make something out of, only frame and hang in my home.
This chiyogami was almost a meter long and had the most beautiful colours (sadly, I couldn’t capture it well enough for you). I decided to send it to my parents as a gift….and they loved it!
Mini Book with Chiyogami Spine
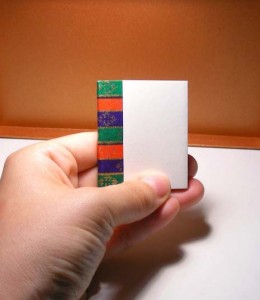
I was feeling pretty stressed the other day, so I decided to leave my work and make something fun.
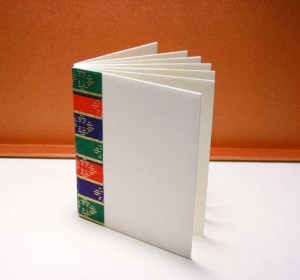
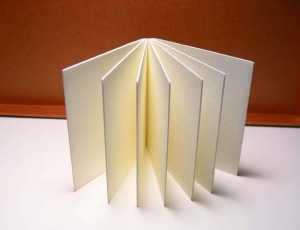
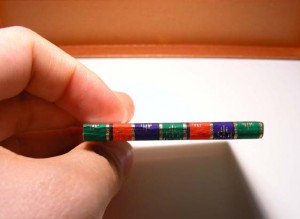
The end result is this cute little book make from blank note cards and a tiny scrap of chiyogami.
Let me know what you think about this project -write your comments below!


