Simple Envelope Decorations
As I’m sure I’ve mentioned before, I love chiyogami. It’s pretty, versatile, and easy to work with.
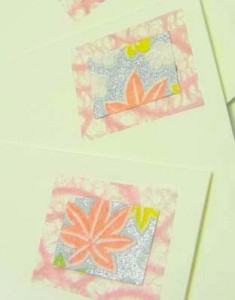
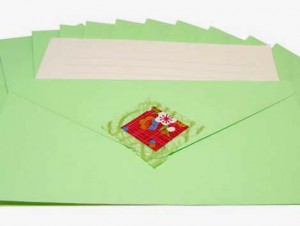
I love to use is as simple decoration for many different projects and every day items since it add a special touch. The latest is adding faux stamps and seals on envelopes. All you need is a square of chiyogami and a larger square of tissue, secure them to the envelope (or even the letter paper), and you’re done. Simple.
In a day where technology takes over our lives, it’s rare to see hand written letters sent via snail mail. I personally love writing and receiving letters in the mail, it’s more personal and special than a plain old e-mail.
To make the receiver feel happy and special, I love to dress up the mail, either with pretty stickers or making my own faux seals with tissue and chiyogami -mainly because they are just so lovely!
Next time you feel like sending someone an e-mail just to say “hello”, try sending them a surprise in the mail to let them know just how special they are to you!
Kirigami Pop-Up Butterflies
Kirigami is the japanese art of paper cutting.
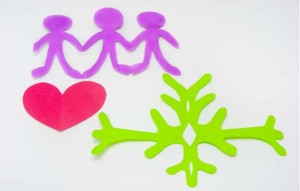
Many people might know this art from childhood while cutting out paper hearts, snowflakes, or even a string of people holding hands. It’s pretty much the same, the only difference is in the folding.
The difficulty ranges from one fold and a few cuts to multiple folds and hours of paper cutting. Even beginners can make beautiful detailed creations, as long as they have patience and time.
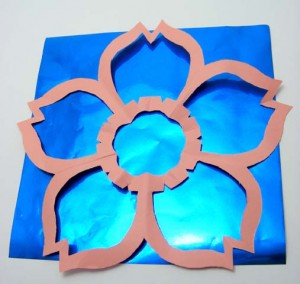
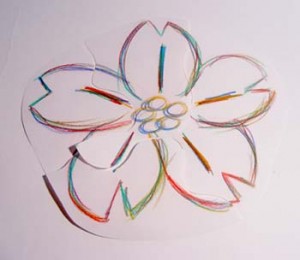
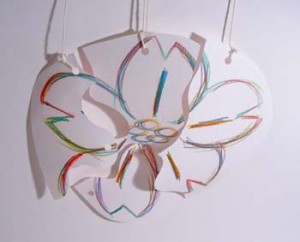
I have previously shown how to make a kirigami flower:
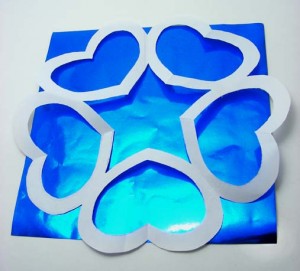
and circle of hearts,
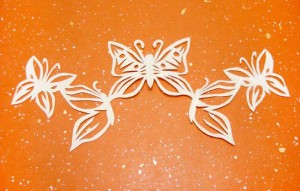
but this time I would love to show you how to make a pop-up string of butterflies.
For any kirigami creation, there are a four standard items needed. Paper, a pencil, scissors or exacto knife and a small stapler (the staples are to help keep paper aligned and reinforce certain areas).
The first step is to find a piece of paper that you like. Any colour or light pattern will do, but just remember to choose a paper that’s strong enough for delicate cuts.
The easiest kirigami fold is to simply fold your piece in half. The more common paper shapes are square and rectangle, but any will do as long as you have enough room to draw your image.
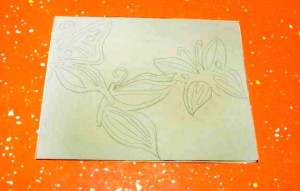
Next, draw out your image with a pencil. The most important thing to remember at this point is to include parts of the folded edge in the main image drawing. This will ensure that your entire image stays in one piece.
Another important point to remember is that anything you draw on one side will be the mirror image of the other side, so drawing half a flower from the folded edge will turn into a full flower once completed.
I have chosen a string of butterflies.
*Note that all the butterflies have overlapping parts to ensure they all stay together. Also, I’ve only drawn half a butterfly on the left, to become a fully opened one once it’s done.
(Please excuse the “dirty” look of the picture since I had to adjust the colours a bit to make the pencil drawing more visible).
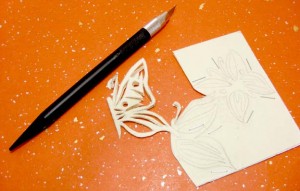
The next step is to staple throughout the drawing in order to reinforce certain delicate areas and make it easier to cut out.
I prefer using a scalpel type knives for small spaces and tight curves.
Once you’ve finished cutting your image out, use it to decorate any number of things. Secure it to book or card covers, frame them, or hang them up.
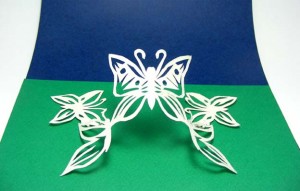
click to enlarge
I’ve also twisted it a little at the ends to create a pop up cut out.
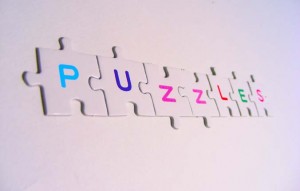
Personalized Puzzles
For many occasions and parties, it’s fun to give out little gifts or prizes to the guests (or just the children).
This is simply an other little extra detail to your party planning that shows you appreciate your guests or just want to give them a keepsake.
Gifts and keepsakes don’t have to be expensive, they can simply be fun. For example, a favorite of mine is puzzles.
There are places that sell blank puzzle sets, where you can use almost anything to create you own personal puzzle. If you don’t want to purchase a blank puzzle set, just make your own with cardboard. This allows you to choose the size and shape of your puzzle (ie. Cut out a heart shape…), and how many pieces to cut out.
When it comes to decorating them, I generally use marker because it has a bright and bold look, it’s waterproof, and also writes more precisely between the pieces.
I have used many puzzles for different occasions as special handcrafted addition to gifts.
For example:
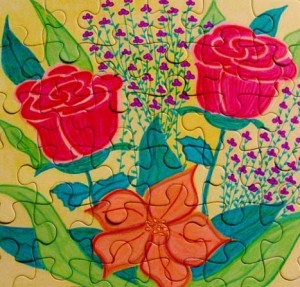
Mother’s Day:
a puzzle with a large variety of flowers (her favorites) with a personalized written poem. I then broke up the pieces and attached them to her gift.
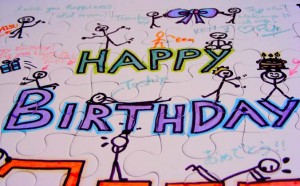
Birthday “guestbook” :
I drew in a big sign saying “Happy
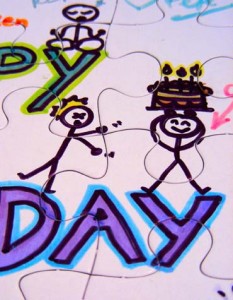
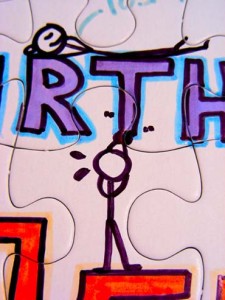
Birthday!” along with stick figures in different poses or actions throughout the puzzle. I then had all the guests choose one stick figure representing them (or they could draw their own) and leave a little message.
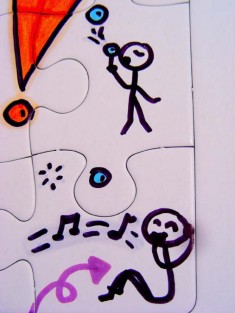
Card substitute:
I drew a representation of me and my best friend in a funny situation from when we were kids. I then broke up the pieces and mailed them in an envelope attached to her gift.
Games for children:
Many children love puzzles. Naturally, they shouldn’t be too complicated for the young ones, but challenging enough.
If you personalize the puzzles (draw the child or their favorite family member/friend/animal into the puzzle, or write their name) it will excite them about a game while they train their cognitive abilities and fine motor skills.
A set of letters for the older children will help them with their alphabet and spell out different words.
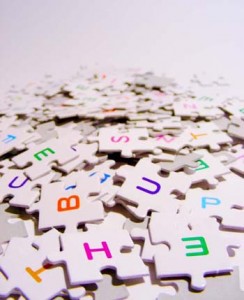
When I taught children (aged 3-5), I made large puzzles (60cm x 60cm or larger) and placed them in groups of four, or get bigger groups where everyone gets one puzzle piece.
They learn to work together where everyone pitches in for one complete puzzle.
If you would like to be even more creative, create a puzzle that has an image or words on both sides, then have the puzzle pieces hung in the appropriate order, but slightly spaced.


