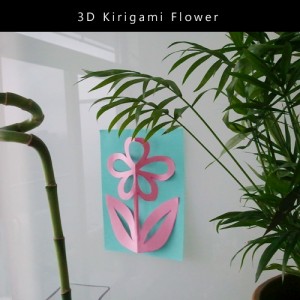
Spring Kirigami Patterns Week! How-to #1 – Pink 3D Kirigami Flower
I’m already beginning to dream about warmer spring weather, lovely flowers blooming and bike rides by the lake….. but today is quite wet and gloomy, so I decided to forget about work and make kawaii kirigami instead!
My first project is a quick and simple flower. No fancy kirigami pattern for this one, so kids can do it too! All I used was scrap paper, a marker to show you my outline and safety scissors, so kids really can take part as well.
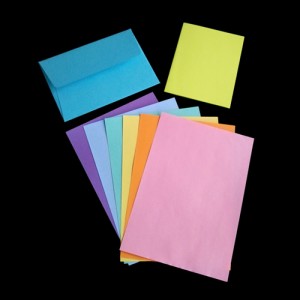
To start, pull out all of your scrap bits of paper:
I noticed one unused envelope and blank card that I made a while ago, so I’ll save those for other kirigami projects this week *^_^*
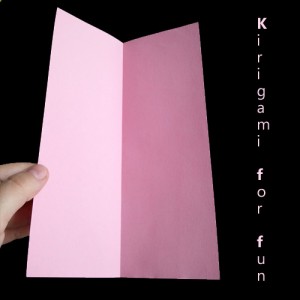
Next, choose any colour you like for a fun spring flower. Once you have one, fold it in half lengthwise:
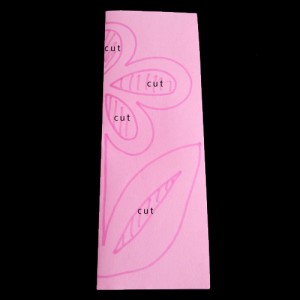
Now, draw a rough outline of a flower. You can copy mine or pretty much anything your heart desires. The only important thing to remember is to only draw half the image you would like, and make sure to include the middle fold -or else you will end up with two separate halves (!)
The areas marked with “cut” should be carefully cut out without cutting through the main outline. I added them for more detail but you can certainly leave them out for more of a silhouetted flower.
You can use a scalpel knife for this one but it’s not really necessary. Save it for more detailed work.
*TIP* to cut out those extras within the flower -instead of jamming the scissors through, use a hole punch to get a gap large enough for the scissors to fit, then cut along the line.
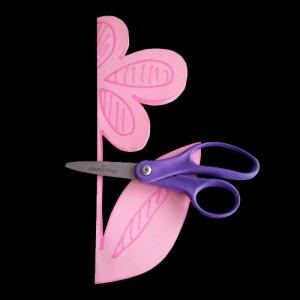
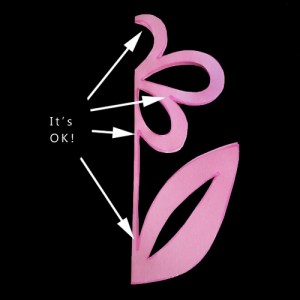
When it’s all cut out, you may notice that mine has marker lines showing. I used marker so you can see the drawing better but I usually use pencil that can be erased. Don’t worry if you don’t follow on the lines exactly, since they should only be a guideline.
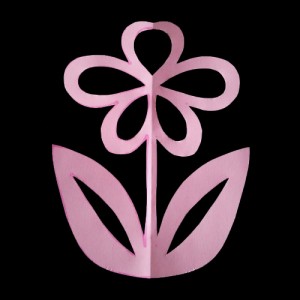
Open up the kirigami flower…
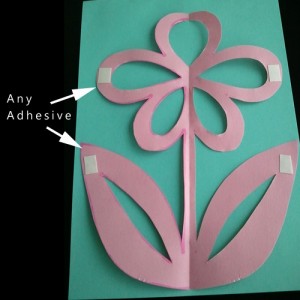
Place it on any paper backing or hang in a window. I chose a light teal colour for soft contrast. I also wanted a more 3D look when on the paper, so I placed double-sided tape in a few places that can be arranged as I like. *Feel free to use any adhesive for this part*
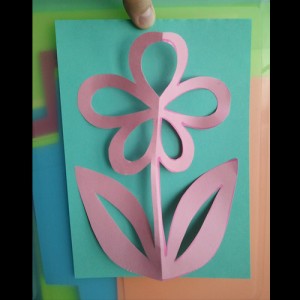
Next, instead of placing it flat down on the page, place one side first then place the second a little closer to the middle. This will make the flower stick out nicely.
Hang it anywhere you like for a touch of Spring! Kawaii ne?


