Engagement Party Fun!
My best friend has her engagement party today and I’m helping out as much as I can. I made a few decorations that she’ll hopefully like (I’ll post “how to’s” for them later) *^_^*
I also managed to get a fun gift add-on from a talented artists I found through Fiverr (here’s his link: http://fiverr.com/eadgery). He can draw virtually anything you like in a Disney style and I absolutely love it! He’s more than just the standard $5.00 when choosing add-ons for the work, but I think it’s totally worth it!
Here’s how it turned out:
I added a little Paris stamp in the top left corner with the date of their actual engagement in Paris (how romantic!). I figure this is a fun little keepsake for that special moment in their lives -I really hope they like it.
More photos and projects to come in the days ahead, so please stay tuned *^_^*
How to: Tissue Box “Mystery Holiday” Bank
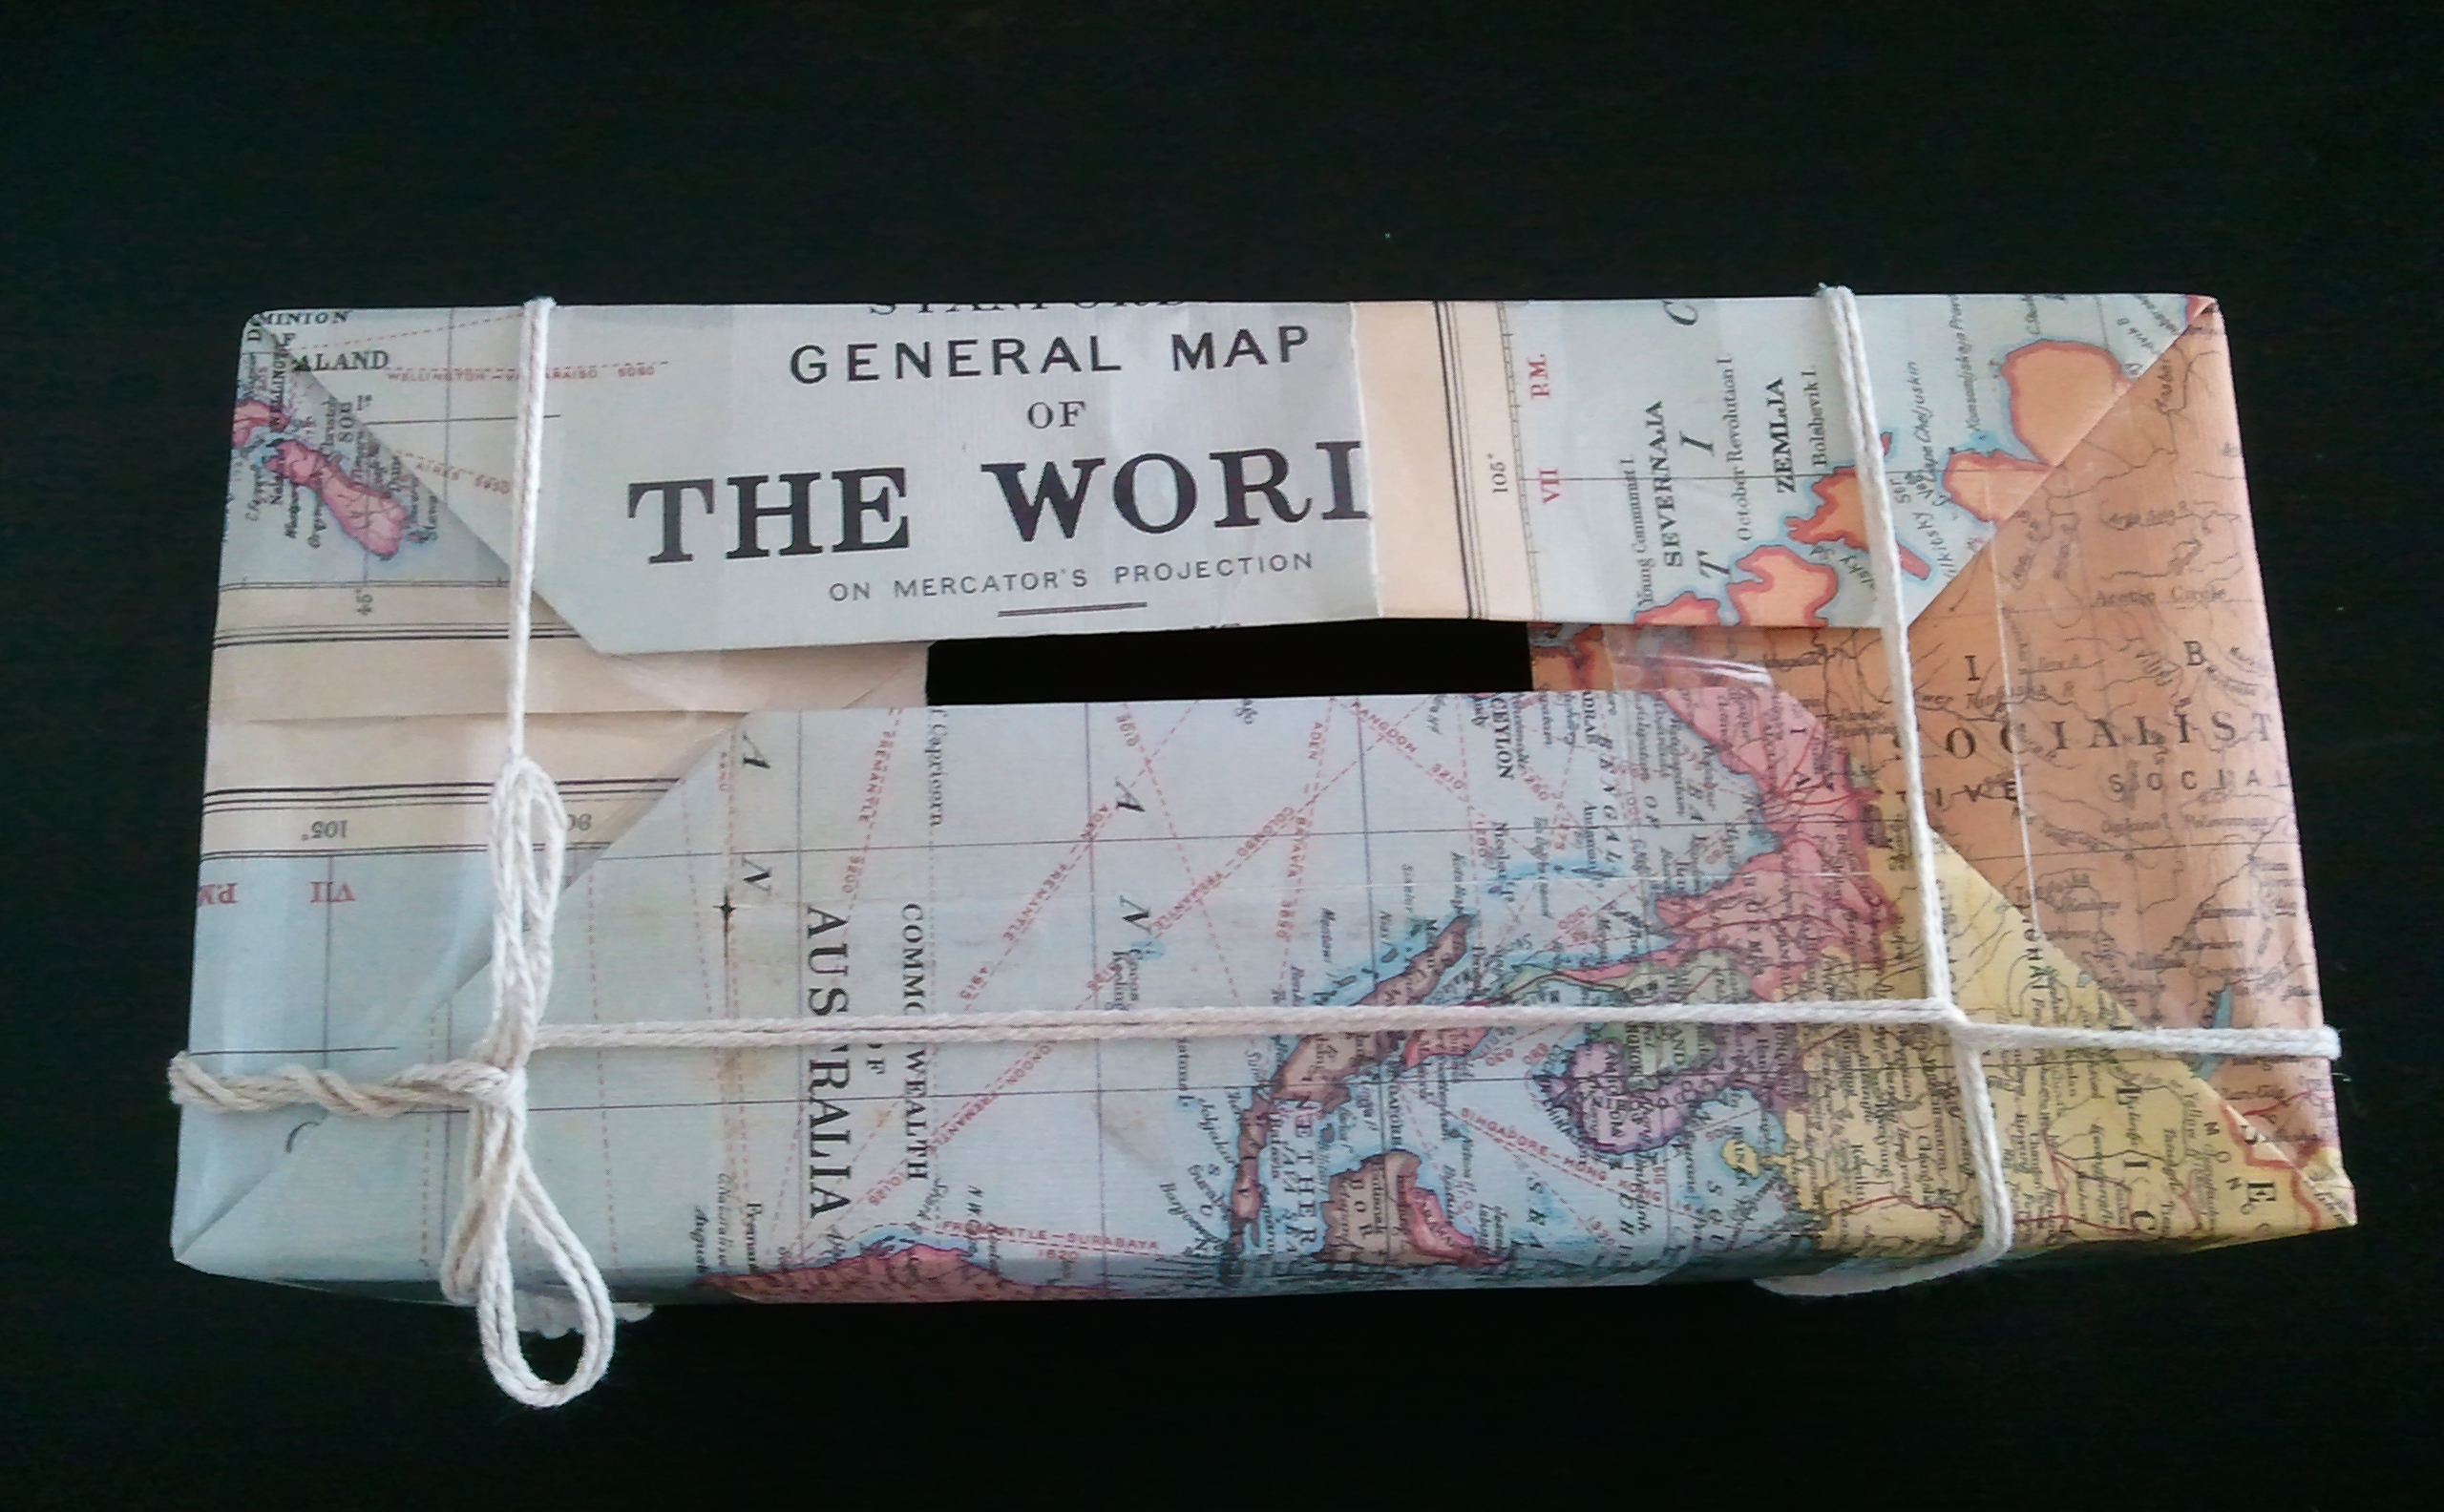
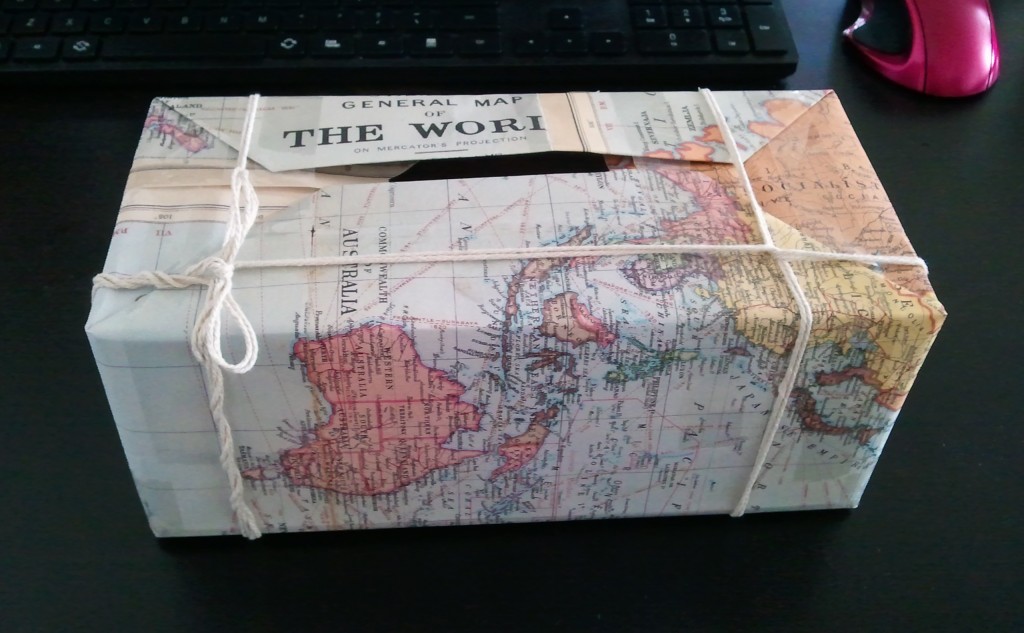
I spent the day cleaning out all of the “I can use it for crafts!” items that I have been collecting for a while and finally decided to take a little time out to get some things done. One of the first things I had to make was a “mystery holiday” bank from an empty tissue box and scraps of paper left over from this gift wrapping ideas post.
Basically, wrap the box with scraps of paper from the bottom up. If your scraps don’t completely cover one side, simply tape down some more paper to cover it up -this will also give it a more “worn down” look.
Before taping or gluing down the paper at the top where the box opening is, fold two of the sides so they form a narrow slit at the opening. This will allow you to put your coins or paper money inside without being able to reach in and get it out (during those more desperate times when we’re in need of some quick cash).
To complete the bank, I added some simple string around it to look like a cute travel package and it’s done!
Since I’ve been feeling the travel itch a lot lately, I’ve decided we’ll put away $5.00 bills only in this box 😀
Why is it a “mystery holiday”?
Once we’ve filled the box, we’ll open it up and see what we have saved up. From there, we’re going to research different destinations that fit the final budget and pack our bags!
I just can’t wait to see where we’ll end up going!
DIY Eco-Friendly Craft Projects for Families
By Scott Humphrey
When creating with kids, don’t worry about stocking the craft cabinet with art supplies purchased from the craft store. You don’t need to spend much money to provide kids with a well-rounded sensory experience. Instead of buying new paper at the store, save junk mail and used computer paper for kids to use in their art projects. Tin or aluminum cans should be recycled for hundreds of crafty activities. With some repurposed items, a few key supplies like glitter and rubber stamps and a healthy dose of creativity, you and your kids will be able to create imaginative and practical items.
Do you often find yourself recycling or discarding aluminum cans? Instead of throwing them out, reuse them to make practical herb or flower pots. Kids will be excited to grow their own flowers or plants, and they will love personalizing the can with colorful paper covered with designs imprinted by custom stickers.
Supplies
To create a unique miniature flower pot, you’ll need the following materials:
- An empty aluminium or tin can
- Nails or a screwdriver and a hammer
- Scraps of decorative paper or fabric
- Decoupage glue, such as Mod Podge
- A paintbrush or sponge-tipped applicator
- Rubber or self-inking stamps
- Paint, coloured pencils, crayons or markers
- Glitter (optional)
- Potting soil
- Herb or flower seeds
Instructions
- Thoroughly wash and dry the can or cans you intend to use. If there are any rough edges around the opening of the can, sand them to a smooth finish with a metal file. Create holes in the bottom of the can by pounding a nail or a screwdriver into the surface with a hammer.
- To enhance the earth-friendly appeal of this project, use recycled paper. You can use brown paper from grocery or lunch bags or wrapping or tissue paper saved from your last celebration. Instead of paper, you can even use scraps of fabric cut from clothing you’re planning on donating.
- Cut scraps of paper or fabric to fit around the can. You can measure and cut a rectangle to fit around the can perfectly or tear the paper into small pieces and create a collage. Decorate the paper however you wish. You can create colourful designs on the paper with rubber stamps or draw designs with markers, paint or crayons.
- To stick the paper or fabric to the can, spread a substantial layer of decoupage glue over the entire can. Smooth the paper or fabric over the can, and then coat it with another layer of decoupage glue. Continue to add scraps, layering them with glue, until you have achieved the look you want. For added flair, sprinkle glitter on the wet glue. Let the can dry for at least 24 hours.
- Once the glue has dried, fill the can with potting soil. Plant a few seeds in the soil and place the can in a sunny location. Water as needed and watch your new plant flourish. As a final touch, write the name of the plant on the outside of the can with paint.
- Personalized tin can pots make sweet arrangements, especially when a variety of sizes are combined. Combine 28-ounce tomato cans, 15-ounce cans of beans and cans of tuna to create interest. These look adorable lined up on a windowsill soaking up the spring sunlight or as a refreshing centrepiece for a dinner party.
Top 5 Games the Whole Family Will Enjoy
There’s no doubt that it can be difficult to keep the kids entertained. If you don’t have the money to visit a theme park or museum this weekend and you can’t stand to sit through one more viewing of Ice Age 4 (you love that stupid squirrel and his acorn, but at 200 viewings and counting you’re about ready to swear off animated features completely), you might be at a loss as to how to keep the whole family entertained on a budget. But the answer is so simple you’ll be surprised you didn’t think of it before: a game night! And here are just a few classics (and classics-in-the-making) that you may want to include in the fun.
Forbidden Island. The current trend in board games centers on the idea of cooperative play. Many adults are already fond of the Pandemic board game, where players work together to stop the spread of disease outbreaks before they can decimate the population. But this is hardly fare for young kids. So if you’re seeking a co-op game for the whole family, try Forbidden Island, where everyone cooperates to rescue priceless artifacts and get on a helicopter before a mythical island sinks into the ocean. If you like this one you might also enjoy Castle Panic, where players band together to defend their castle from a slew of crazy monsters. This one is recommended for ages 10 and up, but it’s simple enough for most school-age kids to participate.
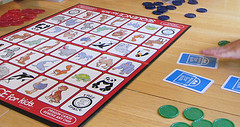
Pictureka. This memory and identification game is easy enough for even young kids to enjoy. With 9 doodle-covered game-board tiles (they’re two sided for extra fun – flip them, turn them, move them around) and a stack of “mission” cards to get you started, you’ll be looking for legs, counting toothpaste tubes, and finding pirate-related pictures all night. While tiny tots may have a hard time competing with older siblings, you might just find that your kids are out-playing you before long. In short, it can be a lot of fun for all ages.
Clue, Jr. There are plenty of classic board games to choose from, with Monopoly and Scrabble topping the list. But not all of them are geared towards the younger set. And those that are often bore the heck out of older kids. Not so with this clue-filled whodunit. Even the junior version will have the whole family guessing the identity of the cake thief (no killers in the Jr. version) right up to the thrilling reveal.
Charades. Who says you need props to get a game going? With charades all you need is your intellect and a willingness to embarrass yourself so that your team can guess the clue you’ve been set to mime. You might need to go online to generate word lists or learn common hand signals (for small words like “a” or “I” or genres like movies and books, for example). But the game itself is simple enough for all to play.
Rock Band. If video games are more your speed, Rock Band is one that the whole family can have fun with. You will need a console (Xbox 360 or PS3) and some special equipment (the mic/drum/guitar kit for the game), but once you’re set up you can spend countless nights getting your money’s worth by jamming out to your favorite tunes. If you get through them all, there are several additional games to consider (Green Day Rock Band, Beatles Rock Band, even Legos Rock Band) and you can always use your Xbox Live account to download new content.
Sarah Danielson is a contributing writer for Download Free Games where you can find educational games for kids and families such as Bookworm Deluxe and Tux Typing.
Five Alternatives to Video Games
Video games can be great fun and they provide a great way to teach children problem-solving skills. They can even be used as a brain training tool. However, you may find that excessive use of video games by your children can result in lack of social interaction with their peers, shorter attention spans and a definitive lack of exercise. These problems can be solved with some alternative fun activities to video games. Here are a few ideas with some tips to encourage your child to take part in these activities.
Reading

A child’s room is never complete without books. Whether these include picture books to help them learn from a young age or whether you want to encourage imagination from reading fiction, reading is always a great form of entertainment. Video games put the images and action up on the screen, therefore young gamers will never be able to fully expand their imagination to create little worlds of their own. Reading also helps to expand children’s ability to spell and understand complex words. You can always find a book that suits your child’s interests or makes them laugh, which further encourages them to continue reading.
Jigsaw Puzzles and Construction Sets
One of the best ways to encourage concentration is to pick a construction set like Lego or a jigsaw puzzle. Puzzles of any kind can improve a child’s problem-solving skills and the thrill of seeing their finished model or puzzle will give them an incentive to continue with this activity. Many puzzle games and jigsaws have a theme that fits in with children’s cultural interests. Harry Potter, Pirates of the Caribbean or even Disney themed puzzles can help encourage them to take up the activity.
Board Games
Board games are also a great way to encourage problem solving and have the competitive element that video games have. They are also a great family activity so making it a regular household activity can also encourage bonding with your child.
Outdoor Activities
Playing outdoors is important as it helps with their social interactions as well as giving children the essential exercise they need to keep the body fit and the mind active. Making up their own outdoor games can also stimulate their imagination. Children still love to play outdoors, so further encouragement of this is essential for their general well-being. If video games become a distraction or a borderline addiction, you may have to put a time limit on how long they spend on the computer.
Arts and Crafts
Encouraging your children to take part in arts and crafts can broaden their sense of creativity. The achievement of making something from scratch can be extremely rewarding for a child and it will encourage them more if you display their work somewhere in the home.
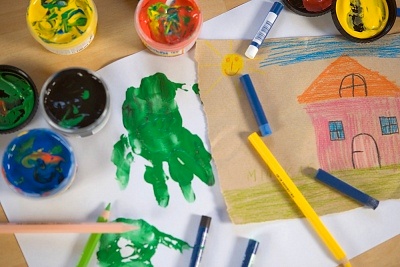
Spending some time drawing with your child or painting can be a great way to encourage this activity too. This way they get to spend some time with their parents and they create something that they can show off to their friends afterwards. Watching art shows on television can give you some ideas on what to design or make. Girls may enjoy activities related to fashion, like making bracelets or customising clothes, whereas boys may enjoy making a model aeroplane or something that they can play with afterwards.
Video games do have some benefits, but if they are becoming a regular fixture in your household, these are just some ways to try to show your children that other activities can be just as fun and rewarding.
This guest post was written by Francesca, who comes from the UK. She currently writes for Notting Hill Editions.
How to Teach Your Kids About Fire Safety
Keeping your family safe at home goes far beyond having a basic home security system. One of the best ways to prepare your kids to stay safe around the house is by teaching them standard fire drills that they can use in the event of an emergency.
In 2010 alone, the US fire department responded to 369,500 home fires. Many parents may be shocked to know that the number one cause of home fires is cooking, making it more important than ever to educate kids of all ages about the best ways to stay safe and prevent fires around the house.
But how can you teach your kids about fire safety without scaring them? The following are a few suggestions:
Help kids understand the triggers
When kids understand how fires are started, it makes it easier for them to avoid common risks and mistakes that could accidentally cause a fire.
For instance, by reminding your kids not to leave candles lit when leaving the house, you are reducing the risk of a fire starting while everyone is away. In addition, remind younger children that they should only use matches and lighters when they are supervised or older a certain age.
Now that you know cooking is the number one cause of house fires in the US, take the time to cook together as a family. This is both a fun activity and a great way to show your kids the safe way to turn on and off the oven, and how to make meals on the stove.
Make fire drills fun
Everyone experiences fire drills; even at your place of business, the HR department probably runs drills. And like your kids, you might get startled each time one happens.
Instead of making a fire drill a scary experience for your children, run fire drills at home when your kids have friends over. This way you can turn it into a contest; give out prizes to whoever completes the drill the fastest.
Even though it may seem like overkill, familiarizing your kids with your fire drill route will make a world of difference in getting your family to safety in the event of a real house fire. You know the best ways to exit your house in a fire, but does the babysitter? She won’t need to if your kids do.
Take kids on a tour of a fire station
Unfortunately, the only time that kids get to meet firefighters is when they are responding to a drill or actual fire. This doesn’t give kids the best first impression.
As a result, consider taking your children on a field trip to your local fire station. This way they’ll get to meet firefighters and see that they aren’t scary but in fact friendly, and in the event of a fire, they will help.
In addition, walking around a fire station creates the opportunity for firefighters to review important safety tips. Let’s face it: when mom reviews “stop, drop and roll” it’s annoying. But when a fireman does it, it’s awesome. Going on a field trip to the fire station is an effective way to educate your kids on fire safety, while making the field trip a fun activity at the same time.
Talking to your kids about fire safety will help to make them be aware of possible risks around the house. When you make fire safety a fun, educational activity, you can protect your family from potential danger – without causing your kids to lose sleep at night!
Sylvia Rosen is an online writer with a background in newspaper journalism. She enjoys writing about parenting, family health and home services, such as fire alarm and home security systems.
Fabric Embellishments for Greeting Cards
For those of us who always seem to have scrap fabric around, there are many different options to use these scraps, no matter how small they may be. One of the best and easiest crafts is to make cute greeting card embellishments. Regardless of the amount and size of fabric you have available, there are endless things you can do with them:
Cute Bow
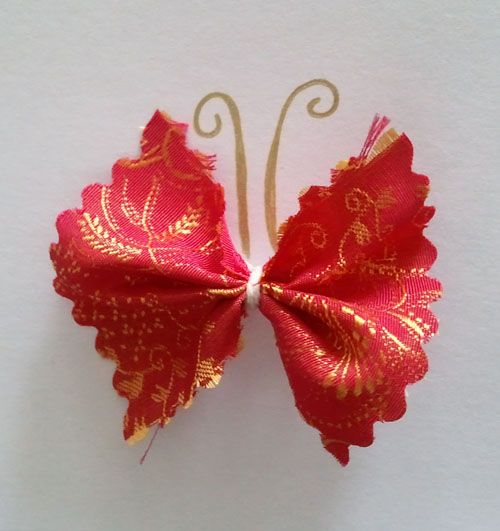
A bow is simple, cute, and can be combined with other things for any occasion throughout the year. The first thing is to cut out a large rectangle or smaller rectangles from the fabric. Set any leftovers aside for extra decoration later. Next, fold the fabric accordion style, pinch and secure the middle. You can use staples, twist ties, thin ribbon, clear tape or make a small stitch to keep all of the pleats together. Finally, attach it to the card with hot glue, double sided tape or another stitch through the paper and bow. Now, you are free to add any other details that you would like. Create a present with the bow on top, draw a tree with bow decorations, add it as a hair tie for a little girl, on a kite string, balloon, make a butterfly and so on… there are hundreds of things you can do!
Shapes and Textures
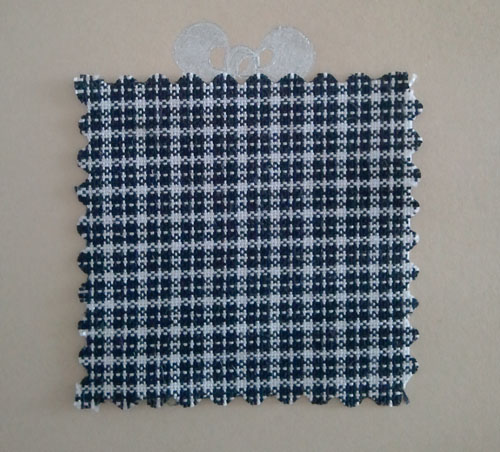
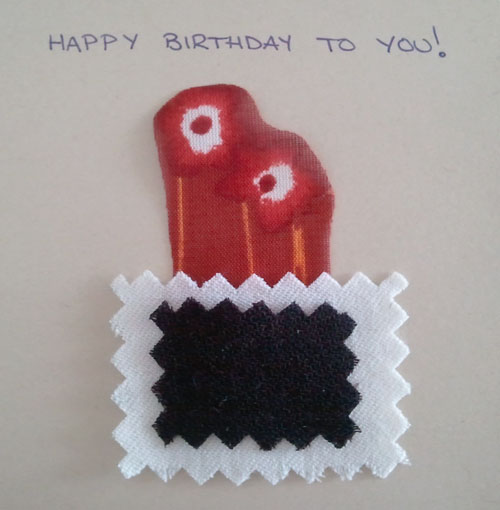
Fabrics come in a wide range of textures and can generally be cut into any shape imaginable, so why not get creative and cut out rough shapes and arrange them as a collage, a puzzle or add one larger shape to frame or layer another decorative piece. No matter how plain a card may seem at first, just adding one single piece of fabric with some decorative touches using a metallic pen, a card will instantly have depth and visual appeal. One simple example is to cut out a few squares and rectangles, arrange them around the card (front and back) then quickly draw in a little bow above each shape. These instantly look like wrapped gifts, making them the ideal handmade card for Birthdays Anniversaries and holidays like Christmas.
Extras
Other great extras that can add depth to a card and help create a fun unique card is to add little decorative items like sticker, buttons, pins brooches and so on. Look through old jewellery boxes or old junk drawers to see what can be used. It’s incredible the amount of crafting materials we can find when looking through forgotten drawers and boxes around the house!
As I always say, play around with the fabric and get creative with what you have on hand. Try to get inspiration from sites online or try to create something unique. Not only will you make something from the heart but you will also help out the environment by keeping items out of the trash!
Finding More Space for Crafting
If you are a serious crafter you might find that your projects often invade your entire house. The dining room table has such a temptingly large and flat surface that it is hard not to start craft projects on it. I have to constantly battle to keep my crafts out of my living spaces. Some projects, such as those involving paper or cards, are easy to pack up midway through completion and put away. Others, such as painting projects, are a bit more complex and require drying time and cannot be easily packed up and moved aside. If you are constantly finding yourself struggling to find the space for your crafts and daily activities you might need to create a separate space for your crafting.
If you are lucky enough to have a spare room or corner that you can turn into your crafting kingdom then you are set. If not, you may want to consider turning your garden shed into a crafting space. Depending on the types of crafts you do, you will need different types of tools and storage. However, most crafts can be accommodated by a good table and lots of shelves for various boxes and tools.
If you are content with sharing your garden shed with gardening tools you may be surprised at how much room you can make for your crafting with just a bit of tidying. Neatly organizing and putting away all your tools will save space. A peg board can help you hang up your gardening and crafting tools where they are accessible and easy to spot. You can turn one half of your shed into your crafting space. I do a lot of crafts involving dollhouse miniatures and do not require much table space. Though, on occasion, I embark on larger projects that demand more space. If you know that your crafts will need more space than half the shed, you can pack the gardening tools off to the garage or a small closet somewhere and take over the whole space.
Now that you have made some space you need to bring in the right table. The right type of table depends ultimately upon what crafts you will be doing. Just make sure it is sturdy enough for all the projects it will soon be holding. Having tables of different heights may be advantageous for long crafting sessions. If you have one that is suitable for working while seated you might consider making your second table tall enough to work at standing. Tables that are roughly chest high would allow you to do detailed work without hunching over and hurting your back or straining your eyes.
If your shed has sturdy rafters you could even try rigging your table up on pulleys to give you various table height options. If you do attempt this I would suggest using pegs against the wall to hold your table study at various heights. The benefit of this method is that you can raise the table completely out of the way for more floor space when necessary.
Light is essential for crafting. Make sure the place you put your work table has good light. Placing your work area under a window will give you lovely natural light to work with. You will also need to consider electric lighting if you do your crafting at night.
One advantage of crafting in a garden shed is that you do not need to worry about being overly cautious. Garden sheds are meant to hold up to a little dirt and a little glue won’t hurt them either. You can tackle painting projects without fear of permanently colouring your furniture or walls. A little creative mess won’t be in the way here. It will even be inspiring. If you’re sharing your space with the gardening tools you could even be inspired by the scene to draw or paint it. Or perhaps more practically, you could find yourself inspired to do a bit more work in your garden too.
Now that the garden shed is your crafting space you can completely embrace your creativity here. Read your favourite stories out here. Paint the walls in fun colours. Feel free to repaint them whenever it strikes your fancy. There is something delightfully sinful about doodling on walls. You can write out your favourite sayings to inspire you or make you think. Now you can start a project without fear of having to move it for dinner. Be free and inspired to create.

The original source of the image is http://www.flickr.com/photos/craigsd/4687453830/
This is a guest post written by Melinda Wilson on behalf of Tiger Log Cabins, a manufacturer of high quality garden log cabins.
Fun and Easy Magic Tricks to Teach Your Kids
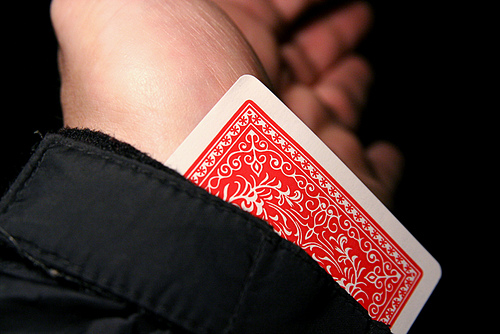
Adults and children alike can be astounded and amazed by magic tricks, or really, the art of illusion and misdirection. And many a child has been so mesmerized by the art of magic that they’ve embarked on a path to learn and perform the very illusions that so stymied them. As a parent you are probably happy to support your kids in all of their endeavors, and whether you have dabbled in this type of trickery yourself or you’re as new to the game as your progeny, you may be looking for a few fun and easy tricks to teach your kids. So here are a couple of simple ones to start out with.
Most tricks involve props of some sort, but before you make a beeline for a deck of cards, consider some of the incredible feats you can pull off with nothing more than the change in your pocket. Coin tricks can be hard for young hands to manage since most require advanced motor skills and dexterity, but you can definitely do some cool tricks with a dollar bill. For example, you can hold a dollar bill face-forward (presenting the president to your audience). Fold it in half by bending the top of the bill forward and down. Then fold it in half again by taking the right corner forward and to the left. Next, you will unfold the bill by taking the left corner back (towards you) and to the right, and then taking the bottom flap forward (towards the audience) and up. When you’re finished, George Washington will have flipped upside down.
This simple trick is easy enough for even small children to memorize and it will take viewers a minute to figure out that you didn’t unfold it the same way you folded it. Like any type of illusion, you can further confuse the audience by adding some panache to the performance (some witty banter or flashy hand movements) to draw their attention away from the trick. In truth, misdirection is half of any good trick since it keeps the audience from paying too much attention and catching the mechanics of your “magic” illusion.
If your child is a bit older and ready for something more complex, try sawing an assistant in half. Whoa, what? Okay, you don’t actually need a saw or even an assistant to recreate this trick. All you need is a piece of paper, scissors, and a sealed envelope. Start by cutting the ends off the envelope and cutting a strip of paper (like bookmark size) that will fit in the envelope (which is now a tube). Draw a picture of your lovely assistant on the paper so that her feet and head stick out when you insert the paper into the envelope. Now, cut a slit parallel to each end of the envelope on the underside (two slits total), leaving the topside undamaged.
When you do the trick, you will insert the paper doll into one open end of the envelope, but then weave her through the slits on the underside so that her whole middle section is on the outside of the envelope (underneath where the audience can’t see). Then “saw” her in half by using scissors to cut through the envelope (but not the doll – make sure the bottom scissor blade goes between the doll and the envelope). Next you’ll remove the whole assistant from the cut box with a flourish.
You don’t have to be a professional magician in order to teach your kids a few clever tricks. But you will probably want to watch some instructional videos online and master them yourself before you try to train your kids. After all, they won’t be very impressed with any illusion you fumble. And since you’re trying to support their dreams of becoming the next David Copperfield it pays to put some effort into the process.
Sarah Danielson is a contributing writer for Noel Qualter – Anchor Magician Kent, a popular table magician based in the UK.
Living Green, Day in and Day Out
Living a green lifestyle is easier than you may think. You can conserve, reuse and recycle everyday items to make the world a more Eco-friendly place to live. If everyone plays their small part, big differences can be made. Living a greener lifestyle has many added benefits in addition to preserving the planet, such as saving you money and improving your health. Try some of these easy ideas to get you started on a greener way of life.
Items That Can Be Reused:
Old or antique bricks and stones can be reused as a garden path or as the edging of a garden. Older stone and brick are colorful and add to the rustic beauty of the outdoors. You will save money and the environment by reusing natural resources.
Plastic store bags can accumulate very quickly. Do not throw them away. You can reuse the bags for small trash cans or take them back to the store for reuse. Some stores even offer recycling of used bags. You could also donate the bags to thrift stores or day care centers.
Furniture and light fixtures can be reused or re-purposed. There are plenty of antique stores, thrift stores and flea markets that you can explore. Not only can you purchase used furniture, you can donate it too. Most of the time antique furniture is better made than newer furniture.
Recycle items such as cell phones, computers, and even eyeglasses. There are some opticians that donate refurbished frames to the needy. Cell phones can be used in shelters because they still dial 911 even when they are no longer in service.
Ways to Conserve:
Rent or borrow items rather than buying. Some things you only need occasionally. Why purchase items that will just sit in your garage or shed? You can rent tools, smart phones, technological devices, party supplies, textbooks or any book for that matter, exercise equipment, camping gear and even a casket.
Conserve energy consumption. This will help your wallet as well as the environment. Adjust your thermostat slightly lower in the winter and higher in the summer. Unplug things that are not in use. Wash your laundry in cold water. Use a low-flow shower head and reduce your overall water consumption.
Ride your bike or walk to save gas money and to reduce chemical emissions. You can also carpool or use public transportation.
Buy a reusable water bottle instead of buying bottled water.

About the Author
Jan Camilo writes for www.brickpavers.org and has been a blogger for 2 years. She loves to find new ways to conserve energy throughout her daily life and tell others about green living and news.


