How to Use a Gum Wrapper for Cards or Decorations
I’ve always loved gum wrappers because they tend to have pretty designs and interesting textures that make them perfect for different craft projects. You can make any number of origami designs or even try something even easier.
Simple Waves
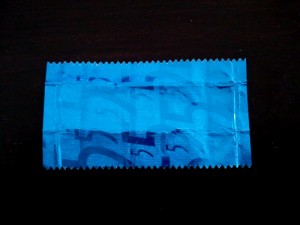
Start off by flattening out the paper.
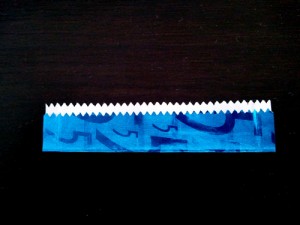
Fold one side up, but not quite to the very top. This will leave a bit of the white paper showing for contrast.
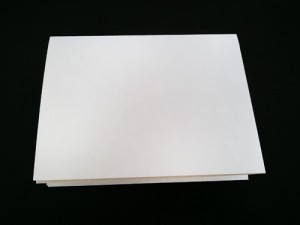
Get some plain card stock or a standard piece of paper folded in half.
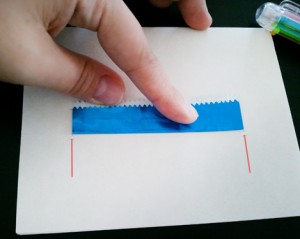
Measure out the width of the gum wrapper (as marked by the red lines). This will create a slit for the wrapper to sit in.
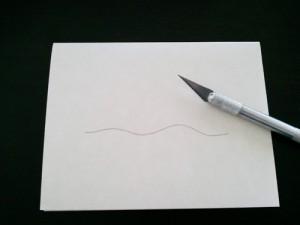
Draw a wavy line from one point to another and cut it out with a scalpel knife.
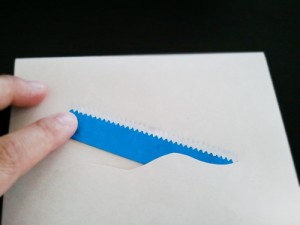
Slip the wrapper in the slit and secure it with a little glue or double-sided tape.
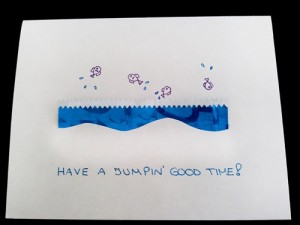
Add some special details like jumping fish or a beach scene and you’re done!
Skirt
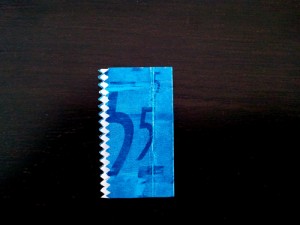
Start off with the wave fold and turn it on its side. Fold it in half width wise.
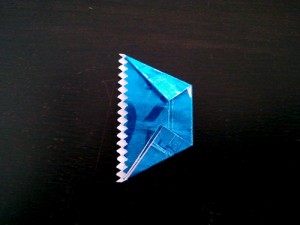
Fold in two corners on a diagonal, making one side narrower than the other.
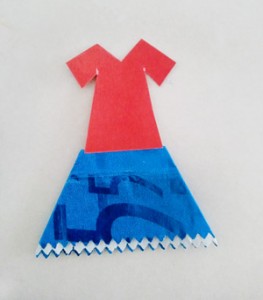
Flip it over and there you have a simple skirt. This is a great idea for inexpensive paper doll clothes.
Mountain
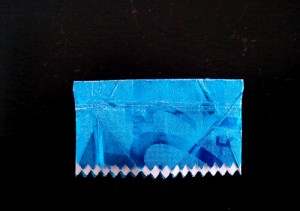
From the base fold used for the skirt, take the opposite corners and fold them in to the middle. This time, make sure one end is much wider than the other.
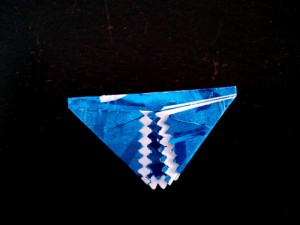
Secure the back with tape or glue and flip it over.
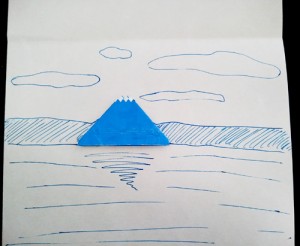
Now you have finished a simple snow-capped mountain! Perfect for paper scenes in frames or on cards!
![]()
Crafting Budget – How Much Do You Spend on Crafts?
I love being creative and making something fun from random materials that anyone can get a hold of. These days, I try to get free or inexpensive materials for creative projects just for fun. If you missed my previous posts about finding free crafting materials from around the house, please take a look at them and let me know if there is anything that I’ve missed.
 While I do try to keep my budget low for crafting, there will be times when I will splash out on quality tools or materials that I know will go a long way. This is especially true for scalpel knives, paper cutters and writing utensils.
Over the years, I’ve certainly piled up quite a collection of paper, paints, adhesives and stationery. Most of my cost went into Japanese chiyogami and washi but I only use them for “special” occasions *^_^* Although everything takes up more space than I prefer, I try my best to keep it neat and organized… so I don’t forget what I have!
I believe that being creative should not have to be expensive, whether it’s just for fun or as a special gift. Also, many people seem to miss the point that crafting shouldn’t be terribly expensive. No matter your skill level or style, it’s possible to make beautiful things that you and others love as well.
That being said, I’m curious to know how much you spend on crafts in a year?
How to Make Fun Candy Garlands from Paper Scaps!
I still have TONS of paper scraps that I want to use, but didn’t have fun ideas for it -until now!
Here is a cute paper craft to make a paper garland that looks like it has a bunch of strung up candies without the sticky mess or the temptation!
Get out your scraps of paper -any will do. If you have different weights and textures, they can add nice depth when you’re finished.
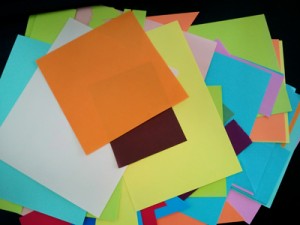
scrap paper pile
Grab one piece of paper and draw out a bunch of circles (I used the middle of a plastic tape dispenser as my circle template.
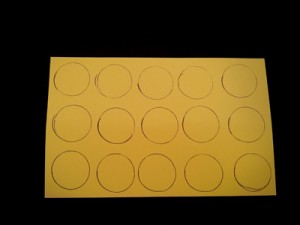
Draw out simple shapes.
Find a good contrasting colour to make the wrapped candy tips. Make sure to measure the diameter of the circle as the long middle so it’s easy to tape to the back of the circle.

Measure the width to sketch out the candy tips.
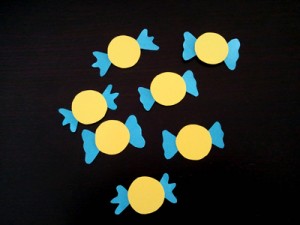
Completed mini candies.
For large lollipops, draw out larger circles just like the little wrapped candies.
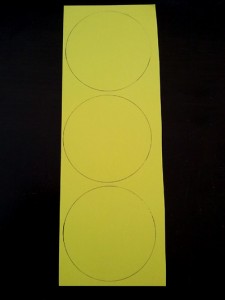
Draw out larger circles.
Choose several different colours to combine contrasting ones for each lollipop.
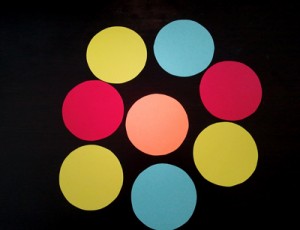
Choose several colours for variety.
Choose one colour as the base and one as the top swirl. Take the top colour and cut out a swirl. To do this, just start cutting at one point and follow the circle until you reach the middle.
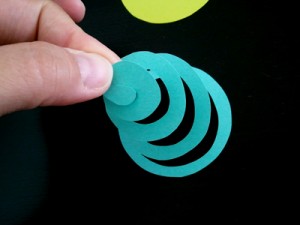
Cut out a swirl.
To make the swirls thinner, cut along the middle of the strip and cut all the way through the middle. This should now give you two thinner swirls. You can use both swirls for lollipops or use one swirl for other hanging decorations.
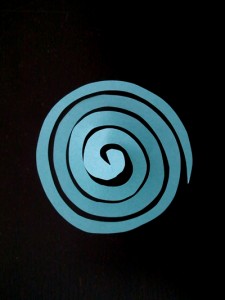
Thin out the swirl by cutting along the swirl in the middle.
Glue the swirls down on the plain circles for the lollipop top. Cut out a few sticks and just tape them to the back.
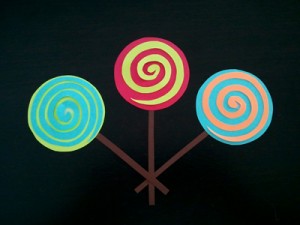
Tape or glue on top of plain circle.
For simple mini heart lollipops, cut out small heart shapes and tape short sticks to the back. Simple!
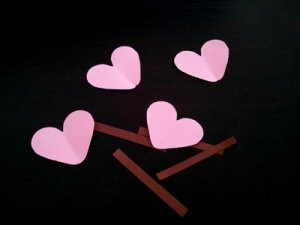
Hearts and sticks from scraps of paper.
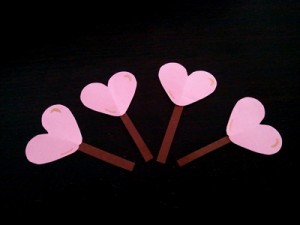
Attach the sticks to the back of the hearts.
I found these fun bright colours and just started cutting out rectangles and trapezoids (essentially a triangle with a cut tip).
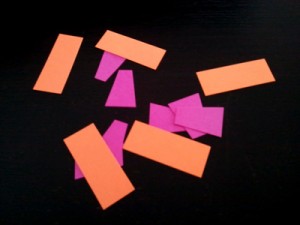
Rectangles and trapezoids from scraps.
Glue the trapezoids to the ends of the rectangles to make a simple type of rectangular wrapped candies.
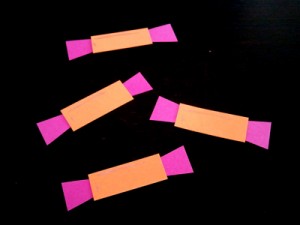
Rectangular candies.
For smaller scraps of paper, try to pair up shades of long thin rectangles together for candy sticks.

Pair up shades for candy sticks.
Take the lighter shades and cut out diagonal strips (width wise). Discard every other strip and glue the rest on the darker strip.
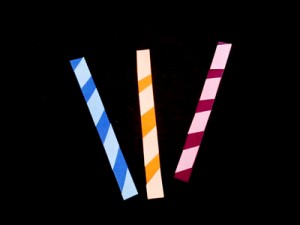
Finished candy sticks.
Once all of the candies are done, arrange them as you like along a string or ribbon. I like to arrange them close together so that the string is barely visible.
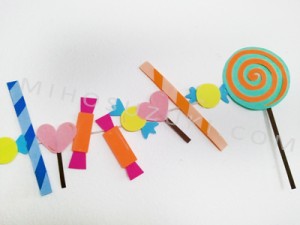
Arrange paper candies however you like.
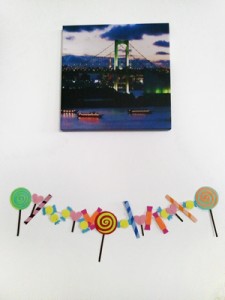
Finished! Isn’t it adorable? I think it’s a great decoration for Birthday parties, children’s play dates, or even just to dress up the house with something colourful and fun!
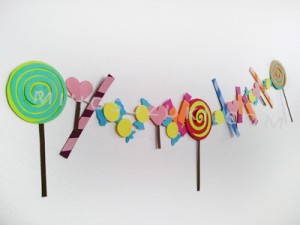
Finished paper candy garland!
Let me know what you think and please send me your variations so that I can feature them on the site!
![]()
Coming up, Paper Candy Garland!
As per usual, I have gone quiet and apologize. I’m preparing an adorable craft that I hope you will all love -a paper candy garland! Please keep an eye out for the post, it’ll be colourful and fun!
Can Candy Making Kits be Educational?
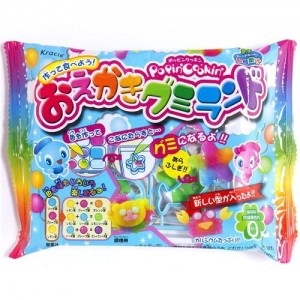
I have subscribed to RRcherrypie on Youtube and can’t help but watch through all of the videos just to see how all of the different candies are made. When I lived in Japan, I noticed all of these different candy making kits but never thought to buy them since they are for kids, but the more I see how fun they are, I realize that I’ve missed opportunities to teach my old class something educational from something fun.
Each candy making kit can easily be a fun science lesson for children of all ages. You can show them how a combination of a powder and liquid can form a solid, you can show colour changes by mixing different colours, teach them to be patient and precise when combining mixtures and you can get the kids excited about making their own “food”.
Luckily, it’s not just restricted to people living in Asia. You can find the same candy making kits on Amazon, I’ve linked to a list here.
If you would like to see just what I’m talking about, here’s one of RRcherrypie’s videos:
More Winter Fun Outdoors
We took some time off to get some hiking and snowshoeing in before the winter ended (and because it felt like a great time to unwind from not-so-fun-stuff from everyday life).
We packed up a few essentials like warm thermals, hot tea, snacks and extra socks for the cold Northern winter and headed out to Algonquin Park (see map here).
Our first day there was absolutely beautiful. The sun was out, the weather was warm (by Canadian winter standards) and our trail was easy to handle.

Beautiful sunny day.
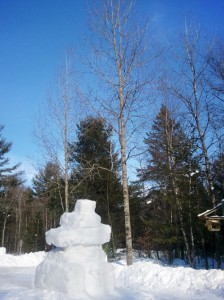
Inukshuk made of ice and snow.

Snowshoeing Trail
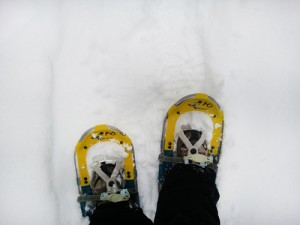
Much better to snowshoe than walk through the deep snow.

Slippery bridge over a river.
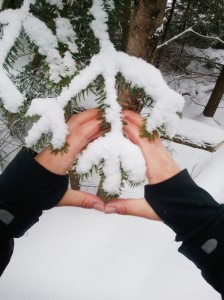
Peace in nature.
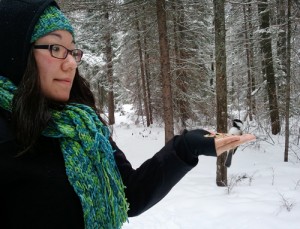
Feeding the adorable chickadees.
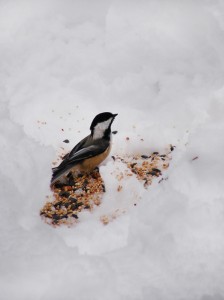
I left some seeds behind as we moved along.
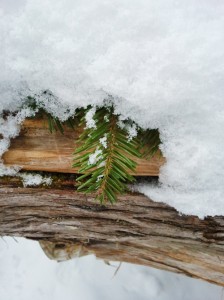
Part of a fallen tree we had to crawl under.
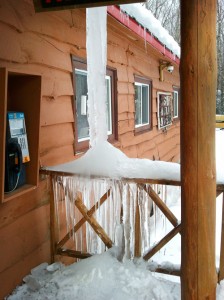
Love the ice.

Bridge at the end of a trail.
The second day….could have been nicer but it was lovely snowfall nonetheless.

Bad weather and moose warnings.

Love the rock colours.
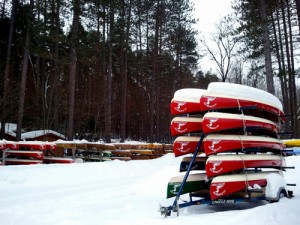
Can’t wait for summer!

Tracks

Beautiful sunset.
What do you enjoy doing during winter as a way to unwind from a hectic life? Comment below and share!
![]()
10 Craft Bloggers that You Should Know
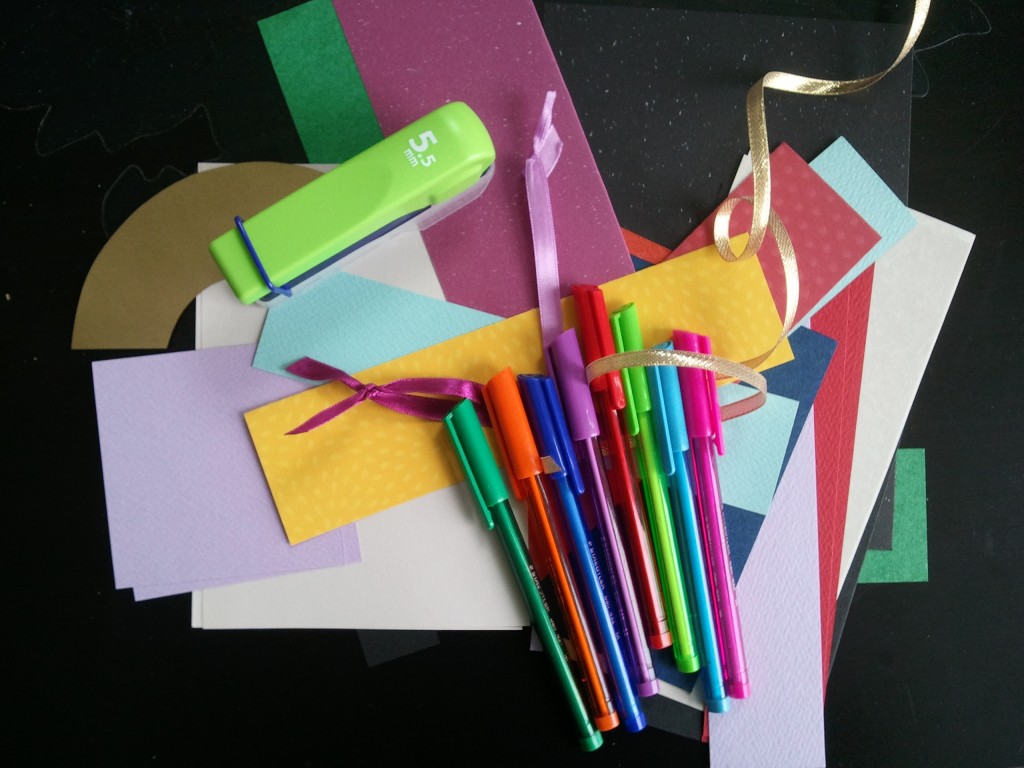 There are a lot of bloggers all over the World Wide Web, but there are a certain group of craft bloggers that you should known. Each blogger have their own styles and crafts that you might want to try. Here are 10 craft bloggers that every crafter should know.
Miss Kopy Kat is an arts and crafts blog by Miss Kitty, a mother and grandmother. She loves starting new craft projects but tends to spend a long time to finish even one. She created the blog so she can be pressured to finish her projects. Her blog focuses on crafts and decorations that are inexpensive copies of store-bought ornaments. One of her amazing projects is the Open Frame with Chicken Wire, restyled from an old frame. She used some inexpensive frames from a home improvement store and changed the frame’s color to suit her home. She then bought some chicken wire, and with the help of her husband, she nailed the chicken wire across the opening of the frame. Once it’s done, you can use the frame to hang pictures or postcards and other ornaments on your wall.
Nifty Thrifty Things is a blog by Vanessa, a graphic designer based in Germany. She usually writes blogs about crafts and recipes, decorations and for gifts. Just like her blog’s name, almost all of her crafts are easy, thrifty and cute. Just like her popular nifty thrifty iPad sleeve that she made out of felt and a doily. The best part of the project is the fact that it only cost her $2.50. Cut the felt according to the size of your tablet/iPad, and sew the corners together. Just leave a small space for the flap. Sew on some ornaments (she used another doily) and velcro, and you have yourself a nifty thrifty Tablet/iPad sleeve.
How Does She is a blog made for women, by women. It features recipes, crafts and tips on running a household and raising a family. The blog is founded by Missy, Shelley and Alison, and together with some other female contributors, they give out ideas and tips to all the females out there. One of their amazing projects is the DIY chevron lamp made out of paint and dull lampshades. It is the perfect way to add color to your old lampshades. If you don’t have old lampshades, you can easily buy one in any thrift or antique store. It doesn’t matter how drab or dull they look, because you can glam them up with the help of paint and masking tape.
Zakka Life
Zakka Life is a crafts, recipes and life blog. Most of the posts in this blog are put under different categories. The blog also features Japanese crafts like origami, and uses Japanese materials like washi tape and mizuhiki. Zakka Life has a tutorial on how to make mizuhiki (paper cord) bracelet. Just by twisting the cord, you can have cute bracelets in different colors. Likewise, the blog can teach you how to make phone covers with washi tape. Just buy some plain inexpensive phone covers and decorate them with washi tape for unique and colorful phone covers.
Rebecca’s DIY is a craft blog in Swedish. Despite the language, you can surely follow her tutorials just by looking at the pictures. The blog features cute and easy to make crafts like felt animals, felt hair clips and Christmas ornaments. If you can’t be bothered to try the crafts yourselves, you can always buy items from her Etsy shop.
All Things Paper is a paper craft blog. Here you can find different ways to use and decorate with paper. The blog also promotes recycling and using eco-friendly materials. It features a tutorial on how to make a Christmas tree and ornaments out of paper quills. It sure takes a lot of time to roll and shape the paper strips but you’ll surely enjoy it. You can also find tutorials on how to make note pads and note books from this website.
A blog by Jessica Hill, a self-proclaimed unbalanced crafter, Mad in Crafts features several DIY, crafts, recipes and writing tips for everyone. She uses all kinds of materials, usually recycling and upcycling old things to make them new. In one of her crafts, she used old tea wrappers and made an amazing ombre tea wreath out of these wrappers. She even made snow globe soap dispensers that are perfect as Christmas giveaways!
Bored and Crafty is a blog by Meream, a crafter from the Philippines. She specializes in sewing and crafts from random items like Popsicle sticks, coffee filters and doilies. She loves to make bags and sells them at her store. Some of her amazing crafts are reversible scalloped skirts, a Popsicle chandelier and a mini coffee maker made out of Styrofoam and stickers.
Tea Rose Home is a craft blog by Sachiko that features tutorials and other tips for crafters and artists from all over the world. Sachiko usually uses old items and recycles/upcycles them to make new amazing stuff. One of her best tutorials is the sewing kit made from an old eyeglasses/sunglasses case and her shoe makeover. Just like other craft bloggers, you can also buy her items from her Etsy shop.
Older and Wisor is a sewing and crafts blog where you’ll get to see fun and unique ideas for decorating and making your home beautiful. Most of the tutorials in the blog use old materials and scraps, transformed into beautiful items. For Christmas, she featured different ways to wrap presents using old boxes and reusable shopping bags with letters and twine.
There are many more craft bloggers on the Internet. The trick is to look for the blogs that suit your lifestyle and your preferences. Have fun and enjoy crafting!
Do you know of any awesome crafters that should be in the spotlight? Let me know who they are so I can share with everyone!
![]()
Recipe: Cooked Cinnamon Apples
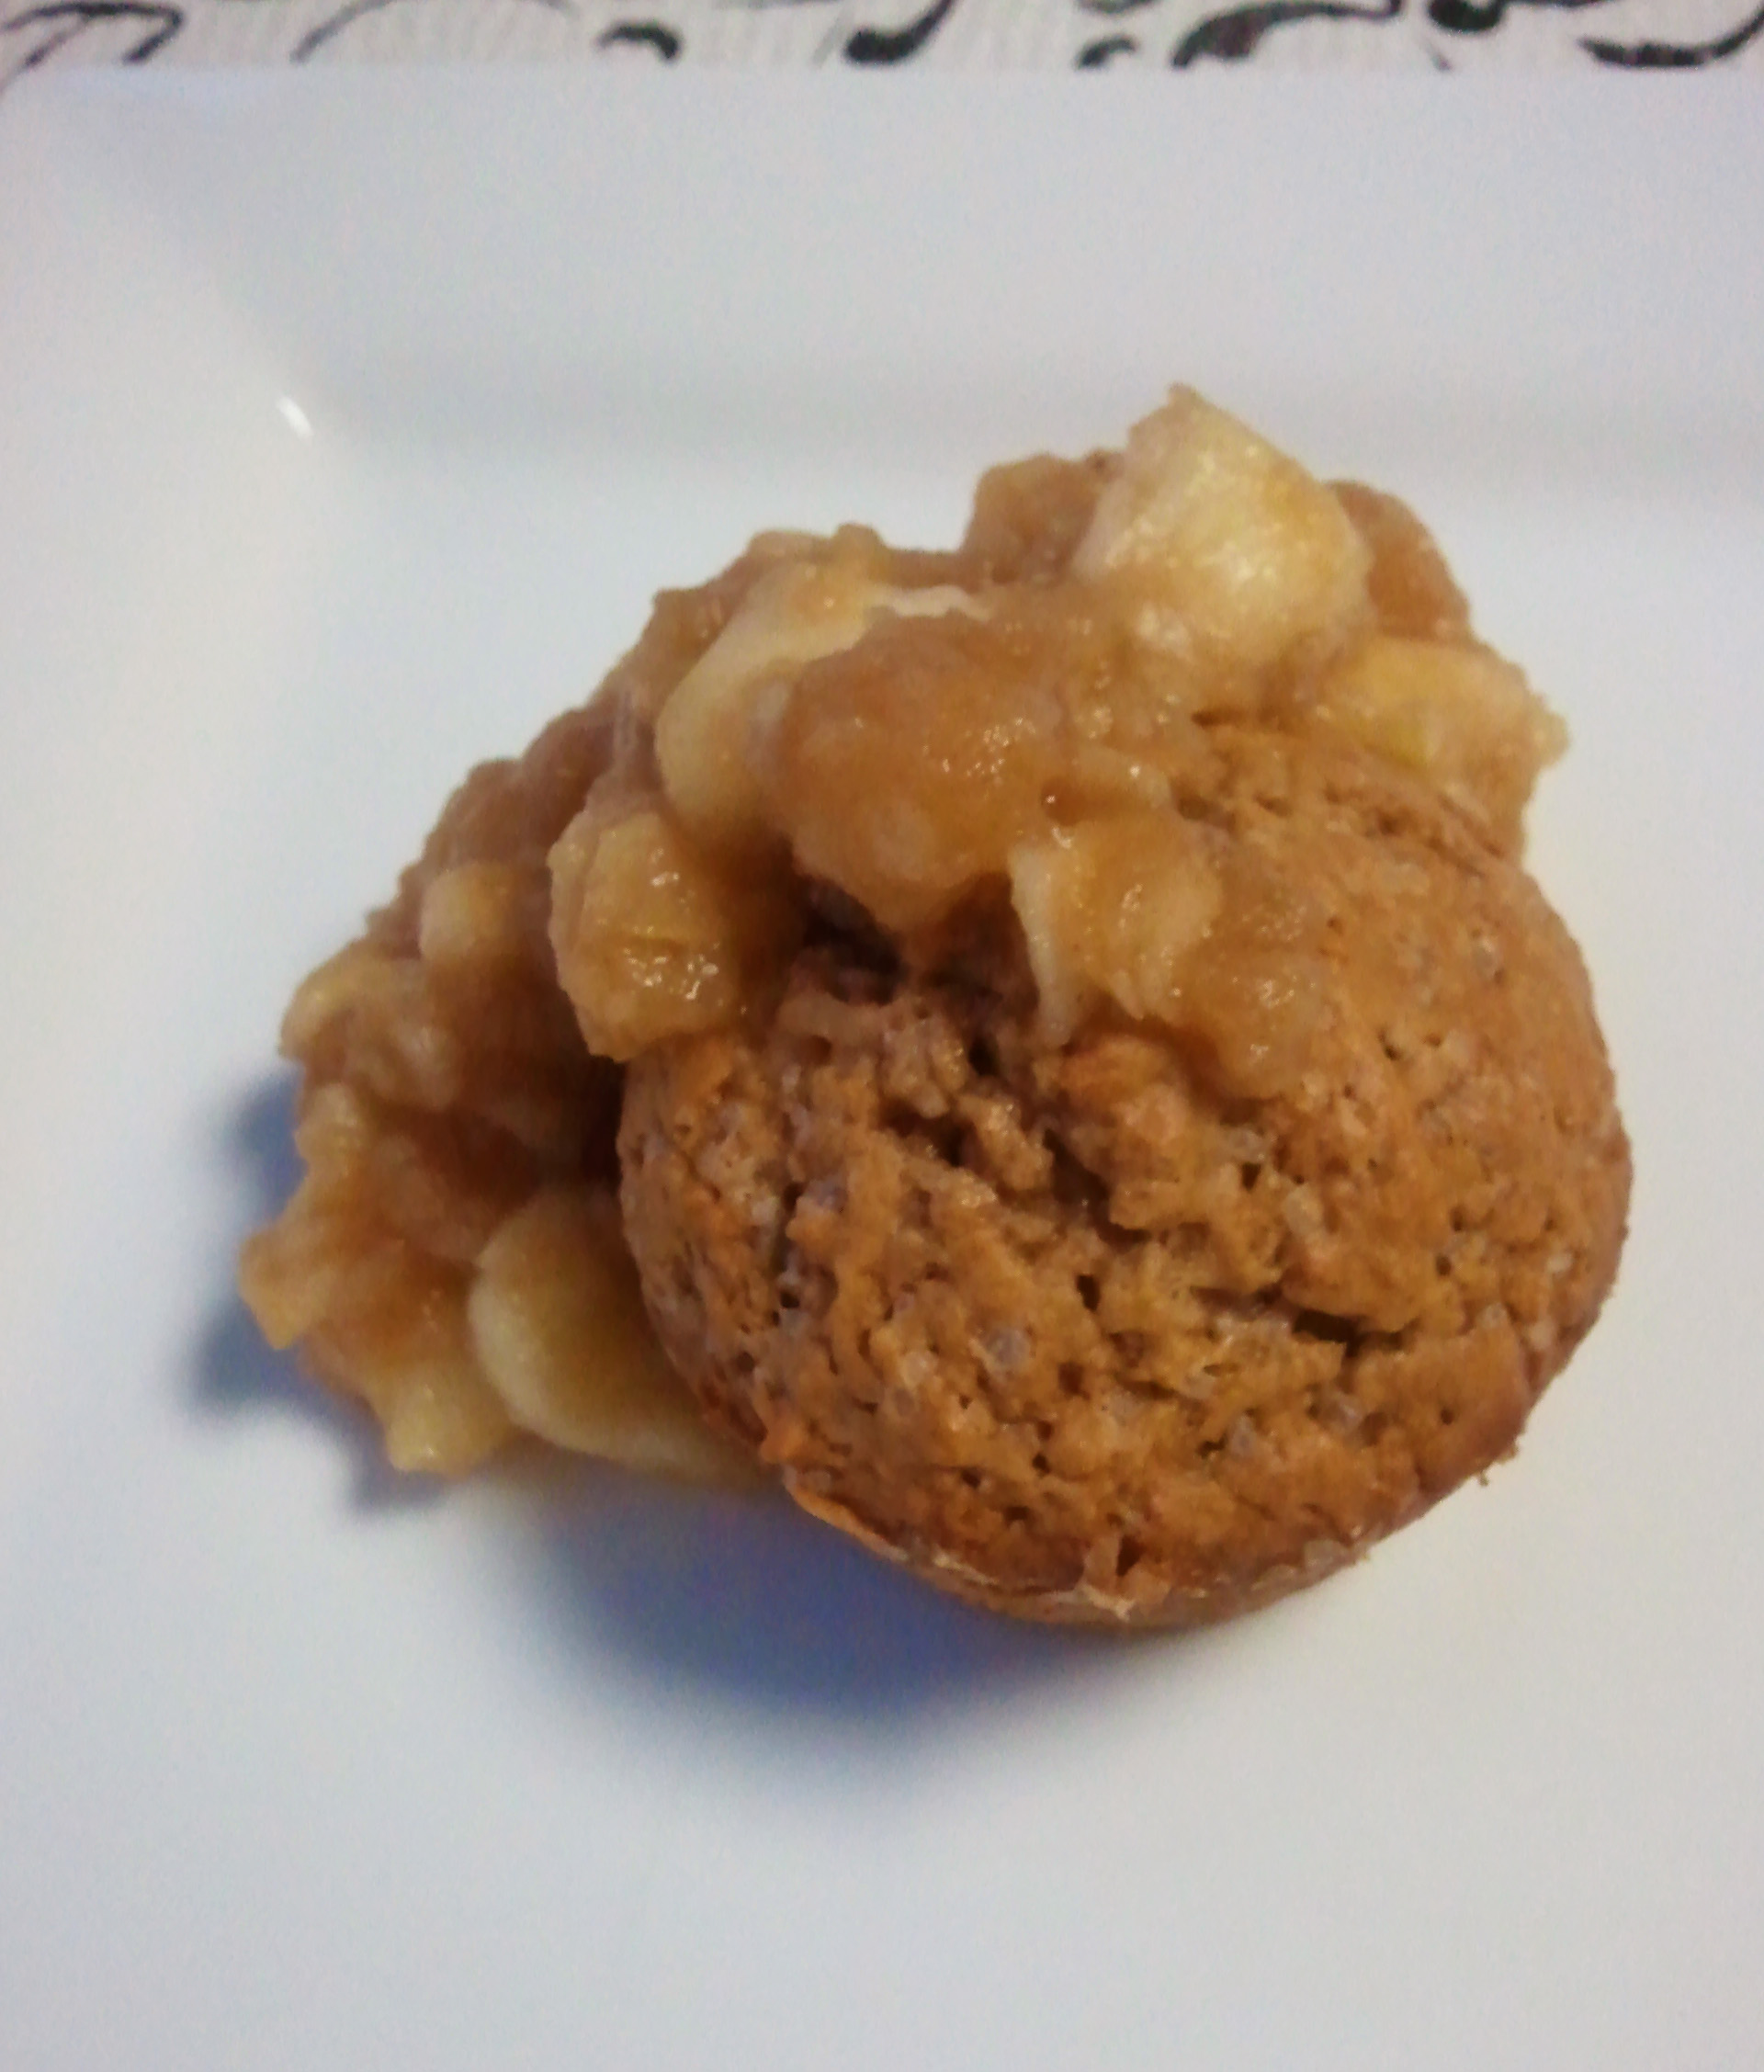
As I mentioned in my post yesterday, here is the perfect combination for cinnamon muffins…..cooked cinnamon apples!
Ingredients:
4 medium cooking apples (peeled and cubed)
1 teaspoon brown sugar
1-2 teaspoons cinnamon powder
Optional: dash of nutmeg
Procedure:
- Cook apples over medium heat for 1 minute then reduce heat to low.
- Add sugar and cinnamon.
- Cook for approximately 5 minutes over low heat stirring often.
- Serve hot with cakes, muffins, ice cream, yogurt or even plain oatmeal.
Let me know how the recipe works for you! If you have any photos, please send them over so I can feature you on the site.
Recipe: Cinnamon Muffins

Ingredients:
2 cups flour
3 teaspoons baking powder
½ teaspoon salt
¼ cup shortening
¾ cane sugar
2 eggs
1 teaspoon vanilla
1 cup milk
1 tablespoon butter
2-3 tablespoons cinnamon powder
Temperature: 375°F
Time: 15-20 minutes
Procedure:
- Preheat oven to 375°F.
- Mix all of the dry ingredients (minus the sugar) in one bowl.
- Add shortening and butter to dry ingredients and mix thoroughly with hands until it looks semi-coarse.
- Whisk the milk, eggs and sugar in another bowl.
- Add wet ingredients to dry ingredients and mix until evenly moist.
- Pour batter into a medium cake pan or a small cake pan and 6 muffin cups.
- Bake for approximately 15 minutes and remove when skewer comes out clean.
- Serve with cooked cinnamon apples and enjoy!
Check back tomorrow for the cooked cinnamon apple recipe. It’s easy and delicious!
Banana Pistachio Cake
As promised, here is the banana pistachio cake recipe. It’s lovely, moist and subtle in flavour *^_^*
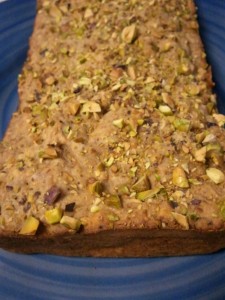
Ingredients:
3 medium ripe bananas
1 egg
1½ cups flour
½-¾ cup sugar (depending on your preferred sweetness level)
1 cup roughly chopped pistachios (save a sprinkle for the end)
½ teaspoon salt
1 teaspoon baking soda
½ teaspoon cinnamon
½-¾ cup butter or vegetable shortening
Procedure:
Preheat oven to 325ºF.
In a small bowl, mix together the egg, shortening and sugar.
In a large bowl, mix all of the dry ingredients minus the pistachios.
Combine the wet ingredients into the dry mixture.
Add chopped pistachios and mix until evenly distributed.
In a greased pan, pour the batter and even it out with a spatula.
Sprinkle remaining chopped pistachio.
Bake for approximately 45 minutes or until the skewer comes out clean.
Enjoy!


