Benefits of Furoshiki
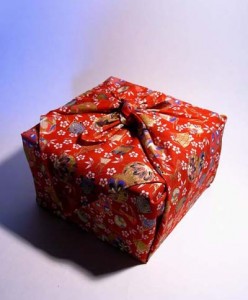
Furoshiki are traditional Japanese cloths that are used for a variety of things. They are most well known to be wrapping cloths that are the eco alternative to paper and plastic gift wrapping.
They were used from ancient times as a way to easily carry and transport objects and shopping. Over time, furoshiki became more popular for merchants to transport goods and others used them to decorate and wrap gifts for special occasions.
In Japan, they are not as popular as they once were, but you can still see some people using them to wrap their bento (for daily lunches or especially during picnic seasons) and use them as a placemat.
Overseas, furoshiki are becoming more and more popular as an eco alternative to plastic bags and other wasteful packaging.
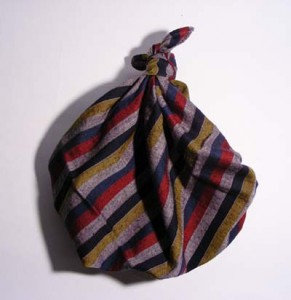
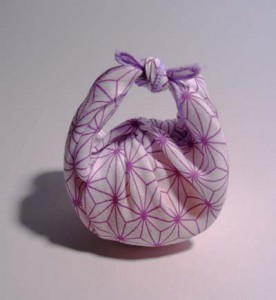
There are dozens of different ways to tie furoshiki cloths, from wrapping gifts (boxes, bottles…), making handbags from them, grocery shopping carrier, and even clothing items (little tops, sash, bolero…) or accessories (hair, outfit, handbag…).
A fantastic video showing different furoshiki folds:
More than just a card
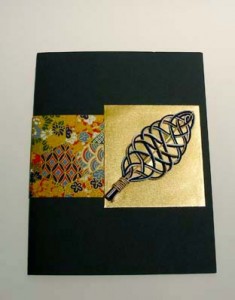
For those of you who have trouble finding little gifts for that person who seems to have everything, or even someone who loves cutesy things, there’s a simple solution: cards that are more than just a card.
You can find many different types of cards these days with slots to fit giftcards, cds/dvds, or even pictures, but why not get a card with a cute little gift they can use or display?
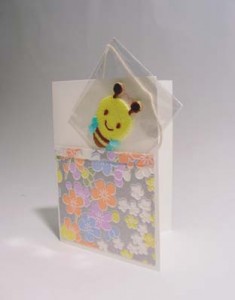
There are cards that have decorative pouches or pockets out front, so instead of the usual, try to give something different like a cute patch -they can be used to decorate anything imaginable and just a fun surprise to receive with a card.
These cards can also be reused and passed on from one friend to the other, so everytime they receive it, something different will be placed inside.
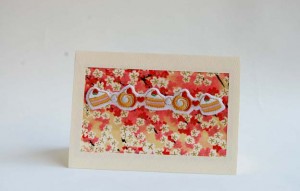
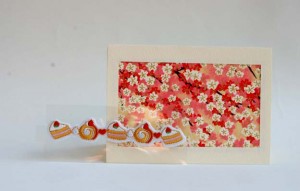
Other ones can have the patch as part of the card’s decoration, but once removed, the card itself can be used as a display.
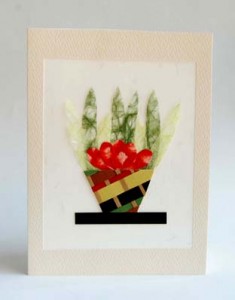
If you would like to send something a little more artistic, try a card that can be displayed in a variety of ways.
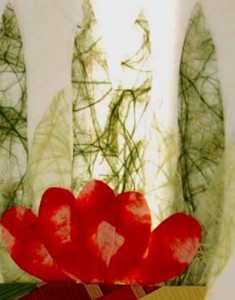
By using translucent paper, some cards can be placed in a window so that the sunlight will pass through the paper and allow different colours to shine or create an outline of any images. The same effect can happen with the card placed safely near a tealight, where the warm light can create a fine glow through the paper.
Origami and Kirigami Mobiles
***Quite busy these days, but the pictures will be posted at some point in the future!***
Origami is a great method to create interesting and intricate looking decorations, very fun mobiles for children, or even outdoor wind chimes.
Origami can use any paper, or even fabric, it all depends on the model and function.
My favorite paper is chiyogami or light washi, but I have used many others like tissue paper, old wrapping paper, cardboard paper, magazines, brochures and even parchment paper.
When using chiyogami and washi, they are lovely for special decorations or additions to gifts since they vary in colour, pattern and texture.
They are great for origami mobiles and if properly sealed, outdoor creations as well.
To begin, decide which origami shape, and how many of them you would like.
Then choose the paper you would like.
If it’s for a baby’s mobile, sharp, contrast works best, so black and white patterns are a good choice.
For outdoor wind chimes, a thicker waxy paper would work well, but chiyogami and washi are also great choices as long as you use a waterproof sealer.
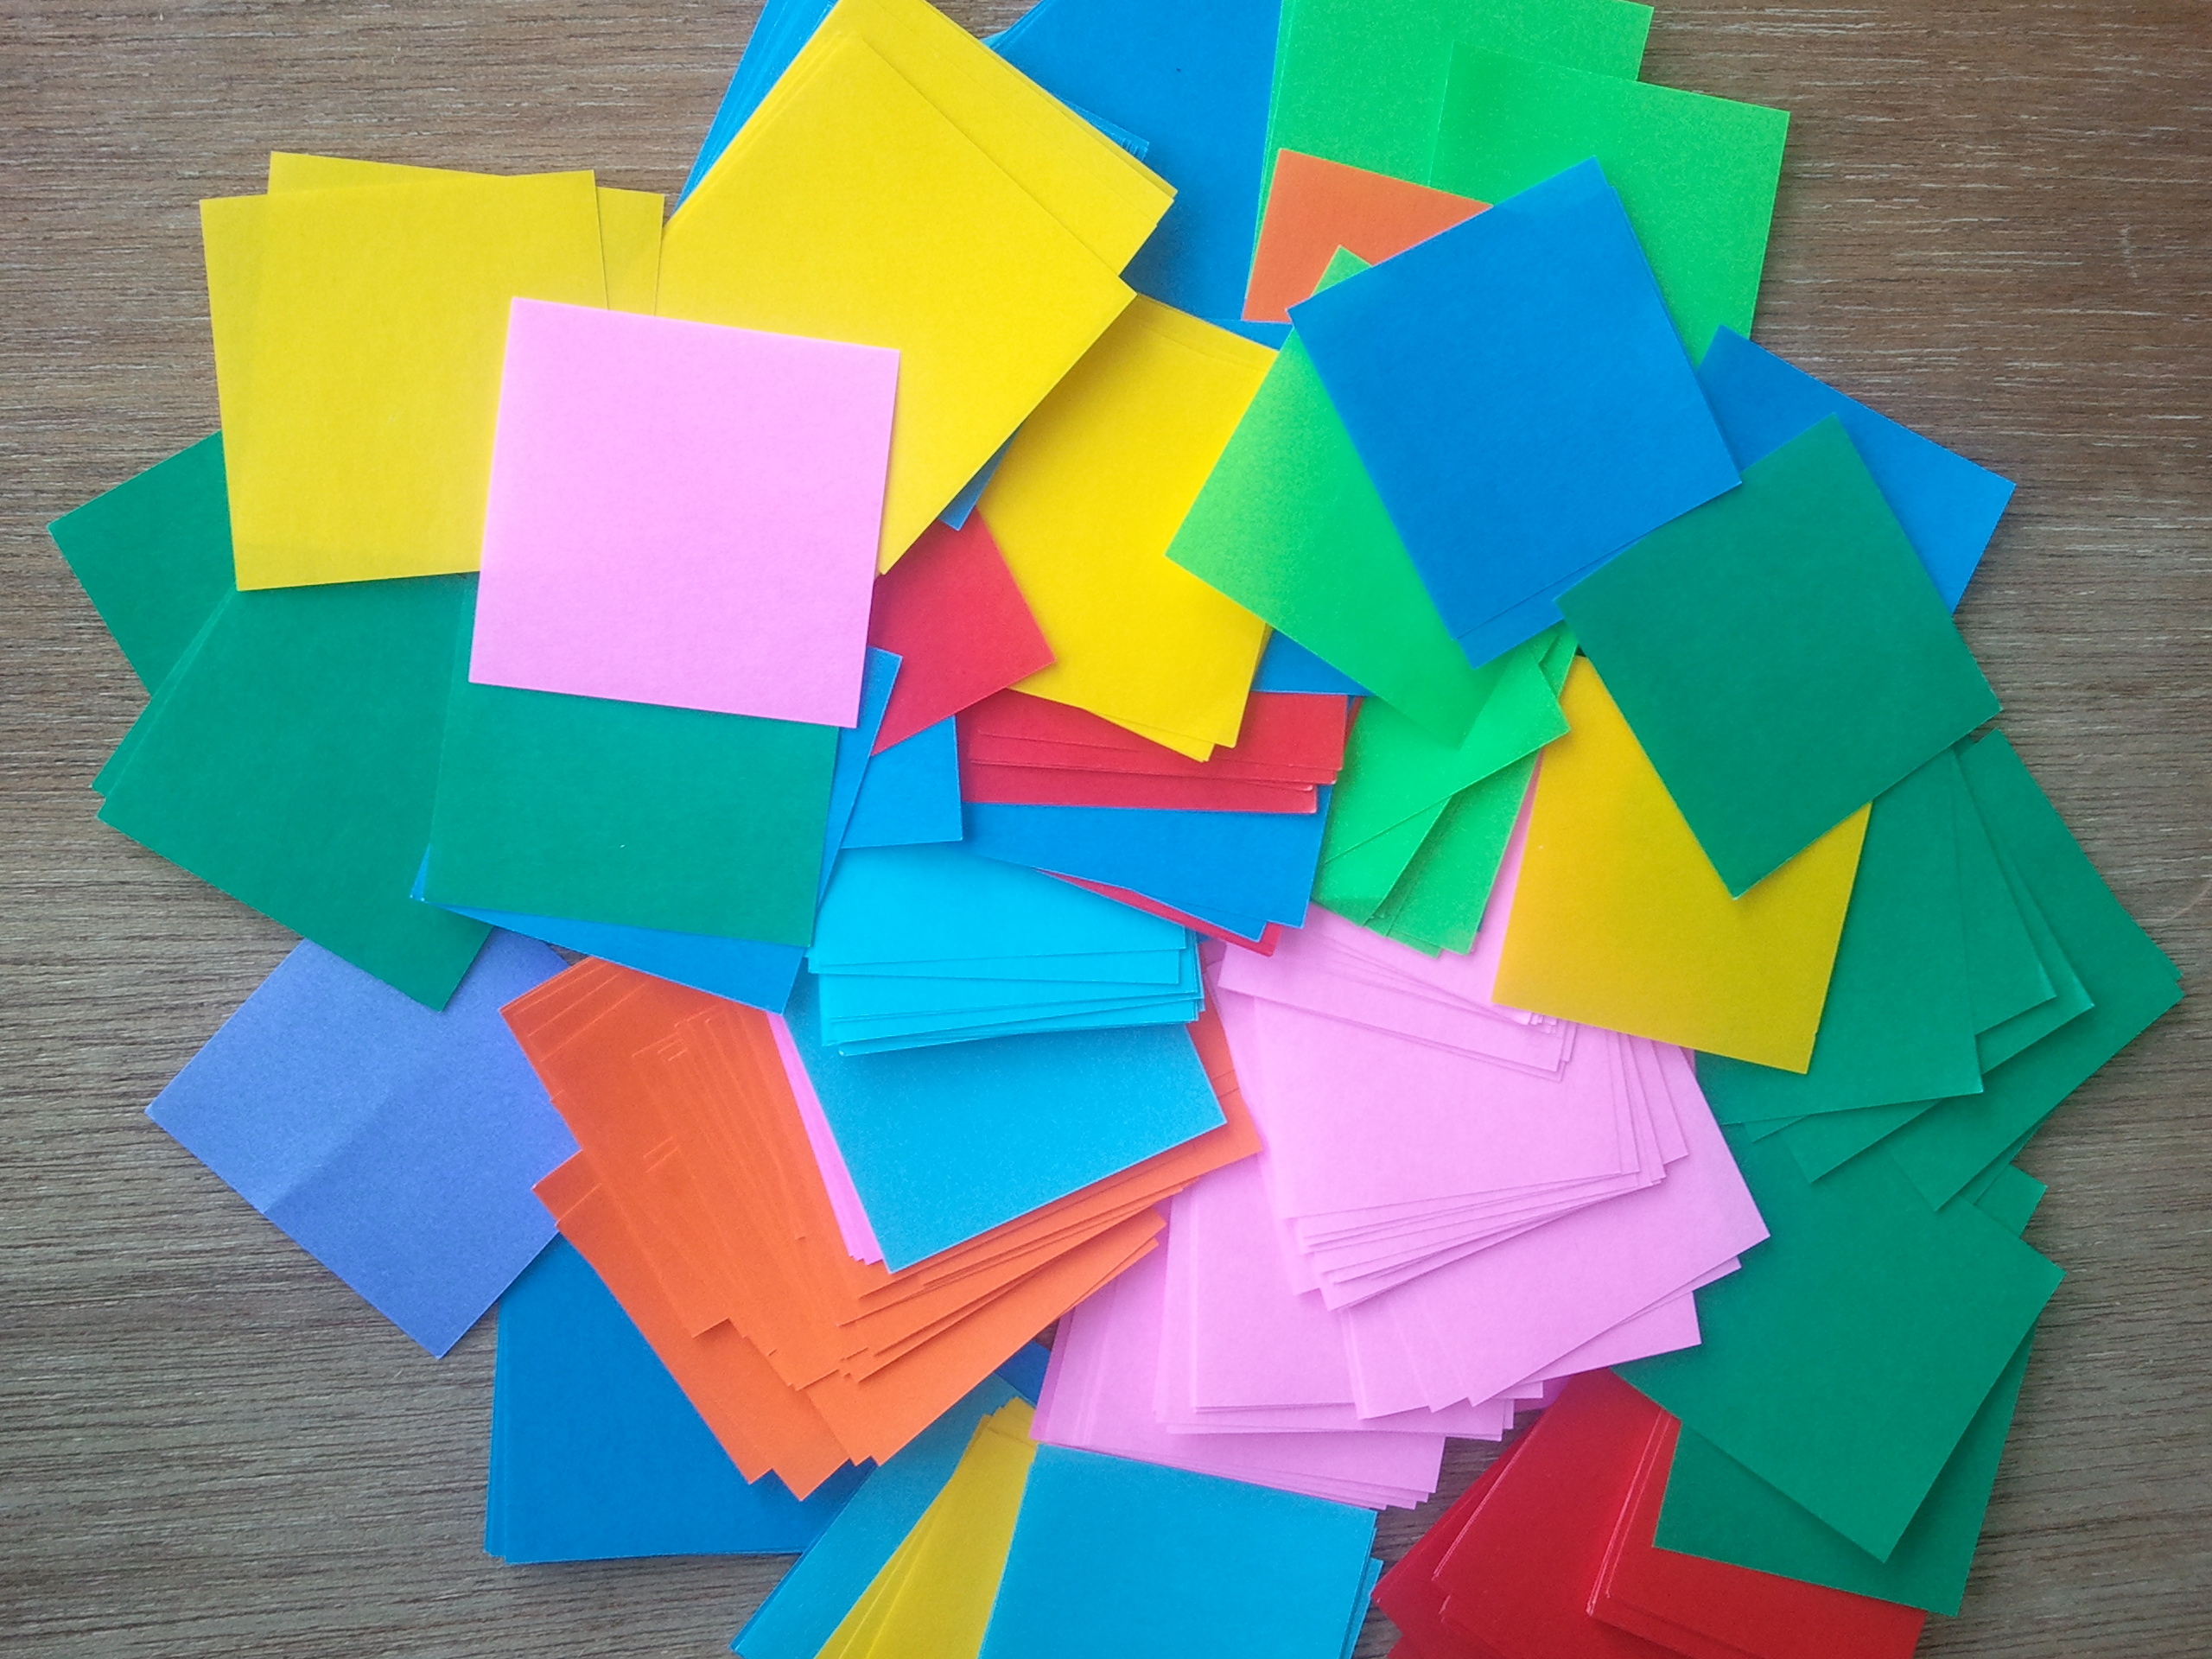
The size of the paper is your choice, the average origami sheets come in 15cm x 15cm squares, but you can cut that into quarters and make mini origami pieces, or just buy small pre-cut packs of origami.
Personalized Puzzles
For many occasions and parties, it’s fun to give out little gifts or prizes to the guests (or just the children).
This is simply an other little extra detail to your party planning that shows you appreciate your guests or just want to give them a keepsake.
Gifts and keepsakes don’t have to be expensive, they can simply be fun. For example, a favorite of mine is puzzles.
There are places that sell blank puzzle sets, where you can use almost anything to create you own personal puzzle. If you don’t want to purchase a blank puzzle set, just make your own with cardboard. This allows you to choose the size and shape of your puzzle (ie. Cut out a heart shape…), and how many pieces to cut out.
When it comes to decorating them, I generally use marker because it has a bright and bold look, it’s waterproof, and also writes more precisely between the pieces.
I have used many puzzles for different occasions as special handcrafted addition to gifts.
For example:
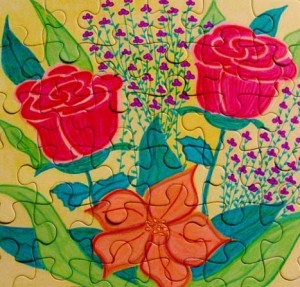
Mother’s Day:
a puzzle with a large variety of flowers (her favorites) with a personalized written poem. I then broke up the pieces and attached them to her gift.
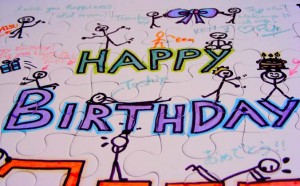
Birthday “guestbook” :
I drew in a big sign saying “Happy
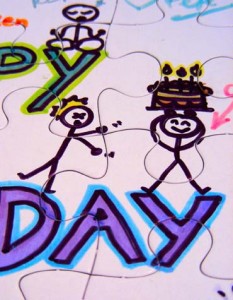
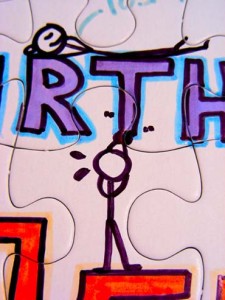
Birthday!” along with stick figures in different poses or actions throughout the puzzle. I then had all the guests choose one stick figure representing them (or they could draw their own) and leave a little message.
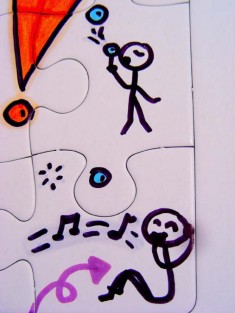
Card substitute:
I drew a representation of me and my best friend in a funny situation from when we were kids. I then broke up the pieces and mailed them in an envelope attached to her gift.
Games for children:
Many children love puzzles. Naturally, they shouldn’t be too complicated for the young ones, but challenging enough.
If you personalize the puzzles (draw the child or their favorite family member/friend/animal into the puzzle, or write their name) it will excite them about a game while they train their cognitive abilities and fine motor skills.
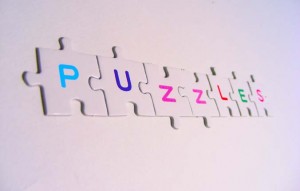
A set of letters for the older children will help them with their alphabet and spell out different words.
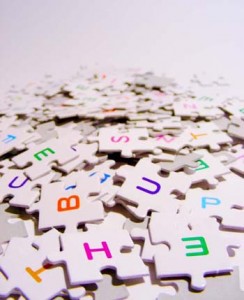
When I taught children (aged 3-5), I made large puzzles (60cm x 60cm or larger) and placed them in groups of four, or get bigger groups where everyone gets one puzzle piece.
They learn to work together where everyone pitches in for one complete puzzle.
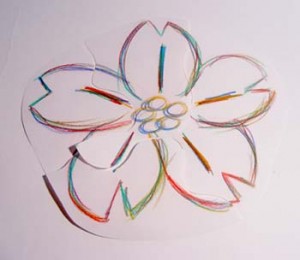
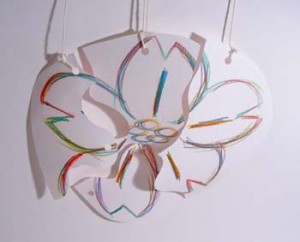
If you would like to be even more creative, create a puzzle that has an image or words on both sides, then have the puzzle pieces hung in the appropriate order, but slightly spaced.
Mizuhiki
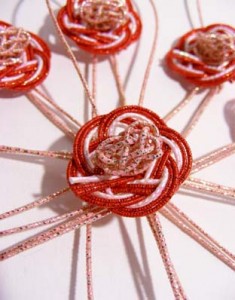
Mizuhiki is the traditional art of knot tying. The cords are made of tightly twisted paper and covered with gold thread or painted in an array of different colours.
This ancient art form began in the time of samurai, where it was used to tie their top knots, or even to decorate very special gifts.
Today, it’s used to decorate anything from stationery, gifts, decorations around the home, mobiles, hair decoration, interesting pieces of art (carp, cranes…) or anything else you can think of.
If you would like more resources about mizuhiki or would like to purchase some for a special occasion, please send me a message through my contact page.
Freebies for Art Projects
Today, we produce a lot of waste in our homes and at work from packages, junk mail, as well as products that have served a purpose and are no longer needed.
Many of these used and wasted materials can be used for projects to create practical or decorative items.
In previous posts, I’ve already shown how to make decorative frames and boxes from materials around your home.
If you ever have a project in mind and require materials like cardboard or decorative paper, unless it’s a specialized project, you can use a lot of the free materials that are available.
There are many things we have around the home that can be quite useful.
For example:
Cardboard:
- dried food packages
- old/used notebooks
- product packaging
Paper:
- flyers
- fast food restaurant
- menus
- brochures
- business cards
- wrapping paper
- maps
- holiday cards
- newspapers/magazines
- mail/money envelopes
String:
- packaging string
- sewing thread
- yarn
- shoelaces
- hair ties
- boxer elastics
- old clothes/socks/bag straps
Extras:
- colourful pens
- paints
- markers
- nail polish
- old/broken jewelry
- anything old or torn
- anything with decorative bits and pieces.
Besides our homes, there are many other places that will have freebies.
With many of my eco projects, I use various materials that I have at home, or happen to receive (usually from people who stand outside handing out flyers).
Other places that I’ve noticed for freebies are:
Supermarkets:
newspapers, magazines, flyers, brochures, boxes, bags, foam, paper
Banks:
Brochures, envelopes, carbon paper (if you make a mistake on a form)
Train/ Bus Stations:
Flyers, brochures, free magazines & newspapers
Cafes:
Brochures, paper food bags, tissues, wooden stir sticks, mini spoons, sugar packets & mini cream containers (after use), plastic straws
Fast Food Restaurants:
Plastic straws, tissues, paper tray covers, sugar packets and mini cream containers (after use), plastic utensils, wooden stir sticks, brochures, flyers,
Museums and Art Galleries:
Lots of reading materials, advertisements, brochures, free magazines, postcard ads, flyers (all will usually have colourful or interesting images)
Book Shops / Music Shops:
Free magazines, catalogues, flyers, ads
Department Stores/Shopping Malls:
Flyers, free samples, brochures, free magazines, newspapers
Decorative Frames
As I mentioned yesterday, there are many uses for cardboard boxes from dry foods and toiletries.
Another interesting project is to make decorative frames from a small cardboard box and flyers or brochures. If you have any random materials that you can use, try the same method or e-mail me (via contact page) if you would like some ideas.
For this project, I have the following items:
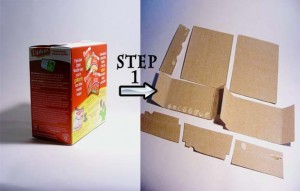
- One small cardboard box (from dry soup mixes)
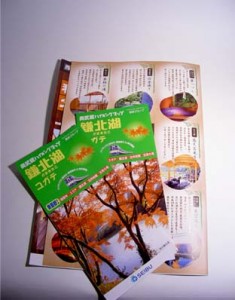
- One flyer for spas and two autumn train travel brochures
- One elastic cord measuring 75cm long (a string or ribbon will also work)
To complete the project, I also have scissors, exacto knife, double sided-tape (other adhesives like homemade glue can also be used), clear tape, a hole punch, ruler, and a pencil.
Steps to make decorative frames:
First, take the box apart by cutting out all the sides.
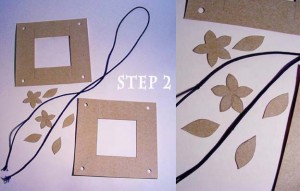
Take any of the sides to make the frames out of (I used the two larger sides). Trim the edges so that they’re straight and measure a border on it, you are also free to cut out any shape you like (this will mark the area to cut out for the inner frame portion that will display any photos).
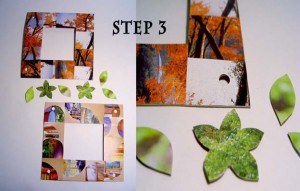
With the remaining pieces of cardboard, cut out any shapes you like. They will be used later to add extra decorative details to the frame.
Once you have all of your pieces cut out, it’s time to cover them with your available paper.
The easiest way is to cover one side of each piece with adhesive and place the paper over it, then trim so they match perfectly with the shape edges.The second way takes a little more time, but it gives a more creative look. Take your paper and cut it into strips. Arrange the strips anyway you like (alternating patterns, mixed patterns and colours etc…) then place them over the shapes that you have cut out.*I used both methods by arranging strips over the frames and covering the other smaller shapes with one piece.
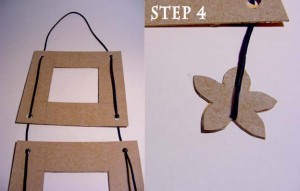
Now, punch small holes by each corner to thread the cord/string/ribbon.
You can tie the two frames together with one cord, or separate them.
Thread the cord/string/ribbon from the top holes, making sure to leave some slack to be able to hang the frames later.
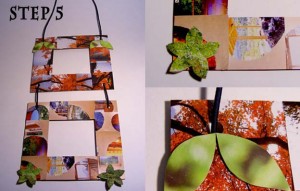
When you thread the cord, make sure to begin from the front to the back. Once you pull the cord through the bottom holes, secure them with tape to the back of any of the prepared extra shapes
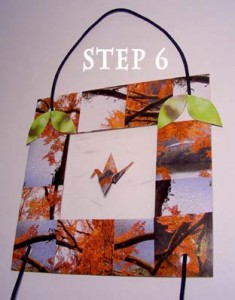
The frames are done!
Now you can place any picture or small art piece to be displayed. The cord running down the sides of the frame can secure your photos simply by sliding the ends between them and the frame.*I’ve added a simple origami crane with a little leftover brochure paper and placed it on a white backing made from scrap washi. The simple, solid colours subdue the busy colourful frames, but match the colours perfectly.
Creative Gift Boxes and Holders
Many people purchase dry foods or toiletry products to store at home, and most of these products are packed in cardboard boxes of different shapes and sizes. Generally, after the product is removed, the box is discarded or placed in a recycling box.
Putting things into recycling facilities is a good step for the environment, but one can also use their creativity to revamp or reuse these items. A simple way to reuse these boxes is to use it as a storage box, a holder for small items, or even decorate as a unique gift box.
To begin, check around your home for any items that could be used as decoration. Remeber to use your imagination and creative eye, because many things that we throw away or recycle can actually be used for something new.
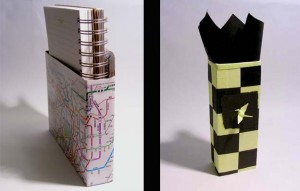
I will show you how to reuse two different boxes (one from dry foods and one from a facial product) and combine them with other materials from home. I will also use some of my leftover chiyogami or washi from previous projects. Most of the decorative paper I use are very small pieces, since I’m what most would call a “pack rat”, and have boxes filled with decorative paper from past gifts, calendars, posters, magazines and even flyers with nice colours or designs.
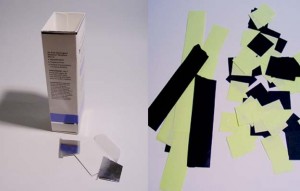
First step is find a piece of decorative paper large enough to wrap the entire box. If you only have small scraps, it’s simple to collage or create a mosaic design over a box. I’ll show both methods with two different boxes.
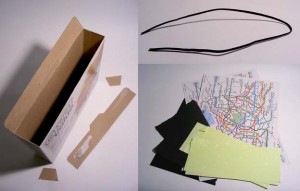
For these two projects, I’ve found the following items:
- One snack bar cardboard box
- One facial cream box
- Three scrap pieces of black paper
- Three to four pieces of scrap washi (japanese paper) in a light green colour
- Two colourful train maps
- One black twist tie from old packaging (approximately 30cm long) – string or ribbon will work as well.
To put everything together, I also have scissors, double-sided tape (but you can use regular tape, glue or homemade adhesive), hole punch, a pencil and ruler.
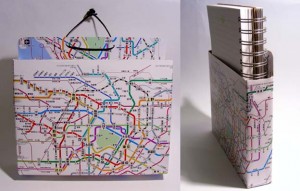
Making a Paper Holder:
This is one of the simplest projects for a practical item you can use at home or at work.
- Take a cardboard box that’s long enough to hold letters, bills or any other small bits of paper in it.
- Cut all of the flaps from the open end. If you prefer, leave one of the longer flaps on and that will become the back of the box.
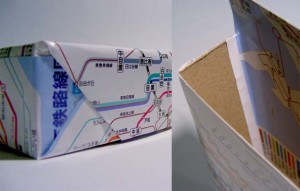
- Here, you can either wrap the box as you would a gift, but just leave the open end free, or cover each face/panel separately. To hide the joint areas, use colourful/decorative tape or even stickers.
- At the top, tuck the excess paper into the open end of the box and secure with an adhesive. If you left the top flap, simply wrap the paper over it and secure with adhesive.
- Now, if you would like to hang the box, punch a hole through the back flap or back area – either one hole in the middle or two holes spaced apart from the middle. Depending on the box length, separating the holes at least 5cm would be good.
- Finally, you can use any other materials to further decorate your box
Making a Mosaic/Collage Pen Holder or Gift Box:
This project is also very easy, but will take a little more time.
- Take any paper you would like to decorate your box with. For a nice effect, use one solid coloured paper and one patterned one or two different solid colours.
- Next, cut out strips or squares from the paper -roughly judge how much paper will be needed to cover the entire box and add a few more.
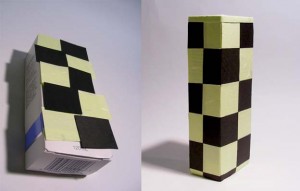
- Then, arrange the pieces in a pattern that you like – either arrange them to create a picture of a flower, tile alternating colours or randomly chosen pieces are fun too.
- Secure the pieces with an adhesive all around the box until it’s completely covered.
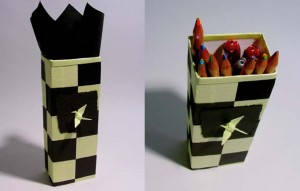
- Once that is complete, you can add any other details or decorations that you like. Origami is a simple way to add a three dimensional embellishment.
- If you would like to seal the box, you can purchase them in craft stores. If you have white glue, add a little water and that should also work well.
Once it’s done, place anything you like inside, or, wrap a gift with tissue paper, place it inside with a bit sticking out of the opening, then tie with a ribbon.


