Greeting Card Project: Chiyogami Puzzle Piece Embellishments
As you may know by now, I love Chiyogami.
I’ve made many different things with chiyogami and always keep little scaps in a box for later use. If you have scraps of decorative paper or just want to recycle some leftover paper, here’s a great greeting card project that anyone can do, for any occasion.
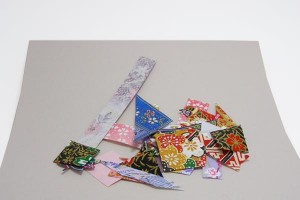
First, get a bunch of little scraps along with a large sheet of heavy cardboard paper.
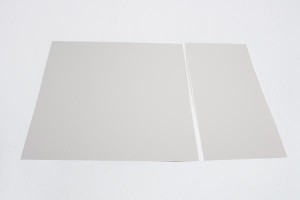
Next, cut a trip measuring one third of the sheet.
The wider portion will become the envelop and the narrow one will be the card.
Cut the narrow piece in half. Fold one piece in half for the card and set the other half aside for later use.
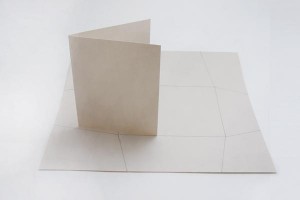
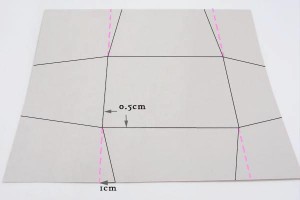
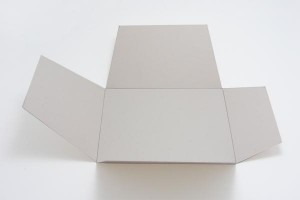
On the larger piece, draw out the envelope template. I usually trace the outline of the card and add about 0.5cm to the sides. For the flaps, it’s easy to extend lines to the edges of the paper, but also making sure to make it about 1cm narrower at the edges.
Cut out the envelope shape. Make sure you only cut the outside lines.
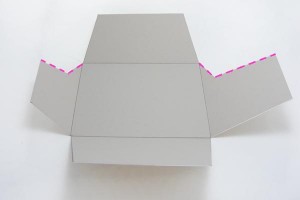
Add wedges (dotted line) to the side flaps to make it easier to extract the card.
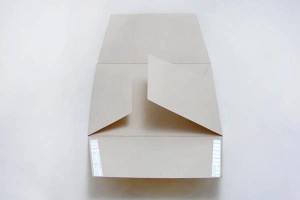
Fold along the lines and make sharp creases, then add double-sided tape to the sides of the bottom flap and fold it up to secure it to the side flaps.
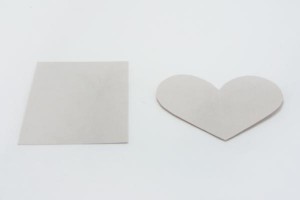
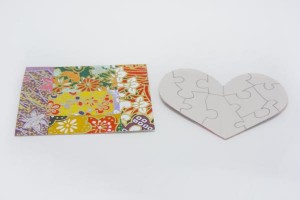
Set the envelope aside and grab the remaining piece of cardboard that you have. Cut out any shapes you like.
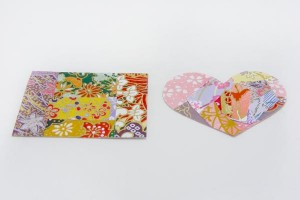
I decided to cut out a simple rectangle and heart.
Cover the entire pieces with double-sided tape followed by scrap chiyogami paper.
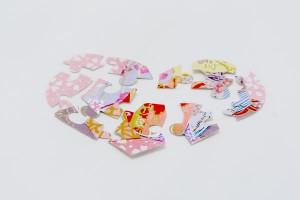
On the reverse, draw out simple puzzle pieces.
Cut out the puzzle pieces.
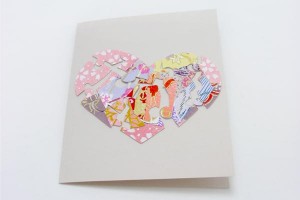
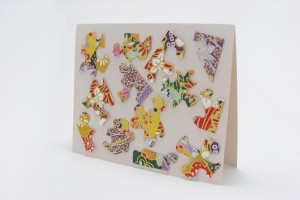
Secure them to the front of the card in the rough shape, or…
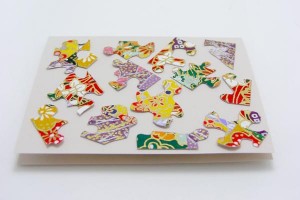
scattered all over the card.
I decided to scatter all of the pieces except one for this card, because I wanted that one piece for the envelope.
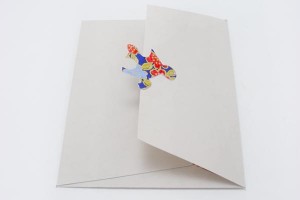
To tie in the envelope, secure one puzzle piece to the closing flap. This is a nice way to make a closing seal and to make the receiver excited about what the card looks like.


