How to Find Free Crafting Materials at Home – Living, Dining and Office
Living, Dining and Office
Most homes will have a living area, some kind of dining area and perhaps even an office. Each of these places are great for finding crafting materials, whether they’re from junk drawers, bookshelves, filing cabinets or any other area that seems to get random bits quickly stacking up.
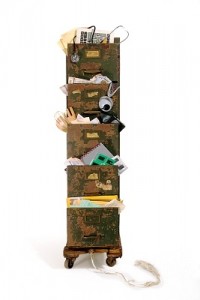
Look for old or unused papers (old or stained files), coffee table magazines, empty tissue boxes, random string, old fabric (tablecloths, table runners, napkins, curtains), and anything else that may inspire you for a craft (broken clocks, old vases, small storage boxes, random pieces that may or may not be important for something long forgotten.
Ideas:
- Try making a children’s folder game. You can find my folder game post here: Children’s Folder Games
- Use old (but still clean and usable) fabric as furoshiki. These Japanese wrapping cloths can be tied as gift wrapping, carry bags, backpacks and more. You can see several tying options from the video in my old post about Furoshiki.
- Create a quilt from old fabric. You can even make a children’s art quilt like I did with felt -but any fabric will do!
- Make sturdy envelopes from empty tissue boxes.
- Wrap and glue packing cords around old vases, jars, tins or boxes for a new decorative look.
- Check out my “craft ideas” Pinterest page for more!
How to Make Folder Games for Children
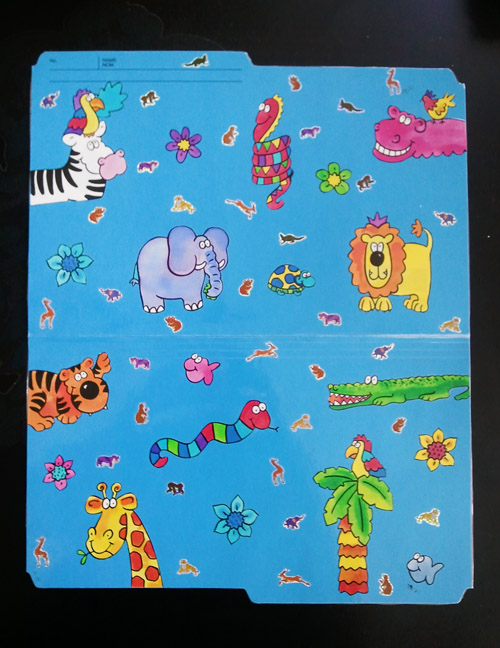
Folder games are wonderful for young children and for parents as well. Not only do these games help children learn to match objects, but it’s also easy to customize these games to help children learn many other things like colours, numbers, country flags and more.
I loved using them in my preschool classes because they are quick, fun and easy to store dozens of them in one file folder box.
If you would like to make your own folder games, start off with:
- a standard file folder
- cardboard paper
- double-sized tape
- scissors
- matching cards, gift wrapping with images on it, children’s Valentine’s Day card sets, draw your own images or print some off the computer
- a pack of self-laminating sheets
- optional: stickers
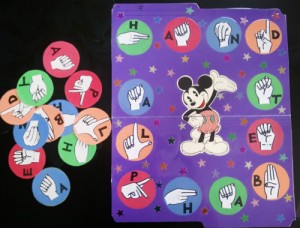
Here I made one of hand-drawn sign language letters:
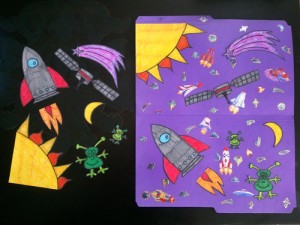
This is one of hand-drawn space images (the kids loved this one):
Throughout a year, preschool children will receive various Birthday invitations, holiday-themed cards, certificates of achievements and more, so why not turn each of these items into a new folder game? It’s a great way to store all of these keepsakes and make them more educational!
How to Find Free Crafting Materials at Home – Kitchen
Kitchen
The kitchen is a great area of the house that seems to naturally collect many different items that are perfect for crafting. Although we all try our best to keep the kitchen neat and clutter free, there are always little things that manage to creep their way into several cupboards and drawers.
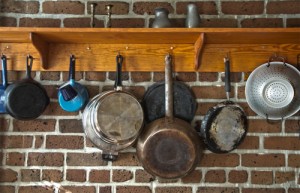
Some people may have old utensils they no longer need, broken glass, china or pottery that still have a pretty colours and designs on them and even old containers that are no longer used can be transformed into something new. Other items that always seem in abundance in most households are product packages, bags, plastics, cartons, elastics, strings from produce and random little tags from bread bags and grocery items.
All you need is a little imagination to create something wonderful out of otherwise useless trash.
Ideas:
- Create mosaic gifts by covering old jars or vases. You can also add a little flare to existing furniture. (You can see some examples on my Pinterest Mosaic Board.
- Create fashion accessories from old utensils. They are becoming more popular to the point that even Amazon sells watches made out of spoons
!
- Upcycle old packages into pretty storage items or turn them into home decor. One of my previous posts shows how to make picture frames from food boxes and another to make a mystery holiday bank.
Check back again tomorrow for more craft ideas from random places around the home! If you have any project ideas to add to this list, please comment below and share 😀
How to Find Free Crafting Materials at Home – Mail
Many people (like myself) love crafting because it’s a great way to get creative, make something new, recycle materials that would otherwise go to waste, but most of all, because it’s fun and relaxing.
For those of you who love crafting as much as I do, you will notice how expensive it can get when it comes to getting materials from shops like Michael’s or even the dollar stores (because you go extra crazy in those shops!)
In order to get yourself some free crafting materials and recycle unused items, take a look in and around your home to see what you can find. I regularly do this at home….and my family’s home….to help them clean up 😉
Each week, I will suggest an area of the home to find various crafting materials. I will also give you a list of crafts that can work with these materials to get you started. *Keep these crafts in mind for the holiday season!*
Junk Mail, Old Notebooks, Magazines
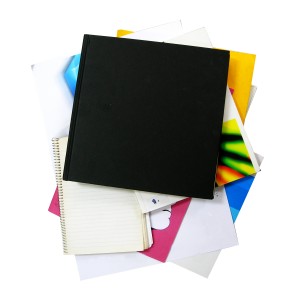
Everyone will have at least a few old magazines, flyers, notebooks or letters that are no longer needed. Instead of tossing them in the recycling box, or leaving them as clutter at home, why not use them for paper crafts?
Ideas:
- Perfect wrapping paper for small gifts. Add some pretty ribbons, stamps or simply tape on an ornament and you are pretty much done. Here is a quick gift wrapping tutorial to show you easy gift wrapping techniques and how to fix a wrapping problem (not enough paper!)
- Great to make unique mobiles. Why not try a story/poem mobile like the one shown here).
- Origami (Japanese paper folding). (Please check out my old post to make a traditional origami crane).
- Unique greeting cards. Use some of the plain or decorative pieces for layers in card decorations or cut out silhouettes for decorative details.
- Kirigami (Japanese paper cutting). (Please check out my old post to make a kirigami sakura).
- Make boxes to help organize your home. Get some ideas from my creative boxes tutorial.
If you have any other craft ideas for scrap paper that you would like to share, please comment below to let everyone know. I love to learn new things from others, so don’t be shy 🙂
How to – Simple (and Inexpensive) Back-to-School Set
When little ones start school or go back to school, they always want to be more like the “big kids”. Although children in preschool and kindergarten don’t require notebooks, it’s possible to make an easy DIY personalized notebook just for fun. Throw in a few more things to go along with it and they will instantly feel more important and organized for their “long” days in school.
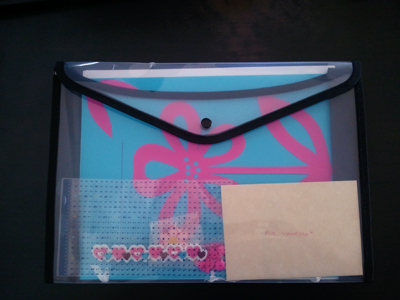
Unfortunately, I didn’t take photos of the other items in this set so I’ll list them for you here:
- DIY notebook
- Pink pencil to match the notebook
- Printed calendar with cute animal characters
- After school schedule sheets
- “First days of school” diary sheets (one lined page and one illustration page per day for one week) .
- Pink kitty cat buttons (for crafts, clothing or bags)
- Two pink flower patches (for clothes, shoes or bags)
- One embroidered row of hearts with adhesive backing (for stationery decoration)
- Handmade greeting card with an owl (for good luck)
Everything was placed in a flexible and expandable plastic case to keep everything dry and to make room for school work.
To make your own notebook, all you need is:
- a bunch of three-hole lined paper
- two pieces of cardboard paper (same size or larger than the lined paper)
- three evenly cut pieces of ribbon
- scrap cardboard paper (preferably in a contrasting colour to the other pieces)
- adhesive (double-sided tape, glue, paste…)
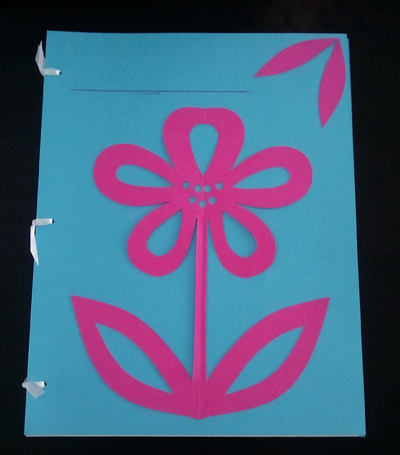
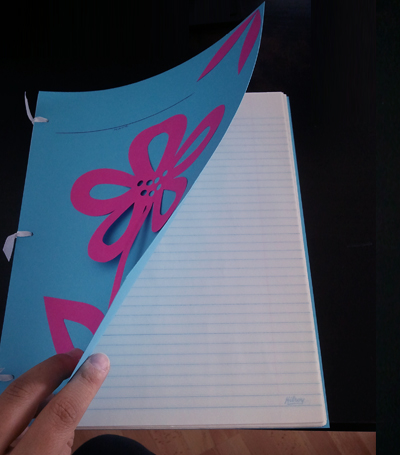
I made a kirigami flower and taped it to the front along with a line at the top for the name.
*You can find the kirigami flower instructions here.
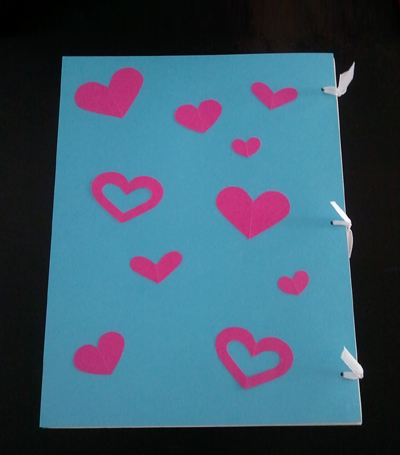
Finally took the rest of my paper scraps to make a bunch of kirigami hearts.
Comment below to let me know what you think. If you made some of your own DIY back-to-school items, please send me a message and I might just feature you on the site!
Soon the Season of Flowers Arrives
It’s a beautiful day and I felt like making something a little more fun for the lovely season that’s just around the corner. Since I have already shown you how to make a kirigami sakura, we can all elaborate this kirigami craft by combining several flower styles that can easily be incorporated into a cute mobile that can quickly add a touch of spring in your home.
I opened up a new pack of mini origami and got an idea for a mini kirigami creation.
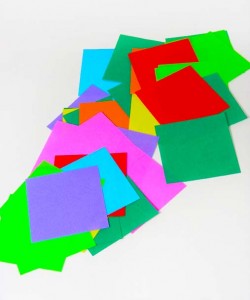
By altering the main sakura design, many different flowers can be created. I tried altering it a little for each colour to create a fun bouquet or floral mix.
Here is one style:

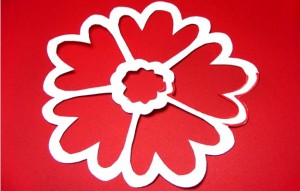
Here is a second:


Here is the third one:


and finally the fourth:

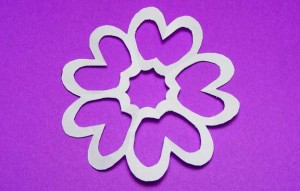
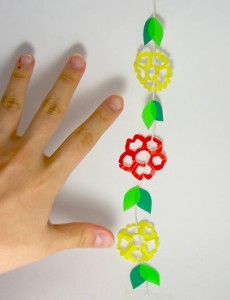
Once the flowers are cut out, it’s easy to string them by weaving the string or ribbon through the gaps in the flower. If you would like to keep the string’s visibility minimal, just glue it to a point at the top and bottom.
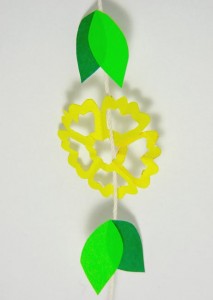
To cut very simple leaves, just take two complimenting shades of green and cut out an almond or teardrop shape. Layer the lighter shade over a portion of the darker one, and it’s done.
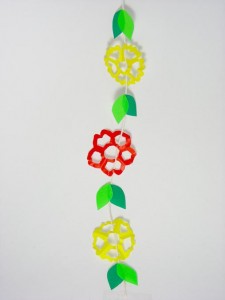
Combine as many colours as you like and make several strings of flowers. Once you have a few strings, you can make fun mobiles, window or wall hangings, or even a curtain of strung flowers.
Please leave a comment below to let me know what you think!
