DIY Eco-Friendly Craft Projects for Families
By Scott Humphrey
When creating with kids, don’t worry about stocking the craft cabinet with art supplies purchased from the craft store. You don’t need to spend much money to provide kids with a well-rounded sensory experience. Instead of buying new paper at the store, save junk mail and used computer paper for kids to use in their art projects. Tin or aluminum cans should be recycled for hundreds of crafty activities. With some repurposed items, a few key supplies like glitter and rubber stamps and a healthy dose of creativity, you and your kids will be able to create imaginative and practical items.
Do you often find yourself recycling or discarding aluminum cans? Instead of throwing them out, reuse them to make practical herb or flower pots. Kids will be excited to grow their own flowers or plants, and they will love personalizing the can with colorful paper covered with designs imprinted by custom stickers.
Supplies
To create a unique miniature flower pot, you’ll need the following materials:
- An empty aluminium or tin can
- Nails or a screwdriver and a hammer
- Scraps of decorative paper or fabric
- Decoupage glue, such as Mod Podge
- A paintbrush or sponge-tipped applicator
- Rubber or self-inking stamps
- Paint, coloured pencils, crayons or markers
- Glitter (optional)
- Potting soil
- Herb or flower seeds
Instructions
- Thoroughly wash and dry the can or cans you intend to use. If there are any rough edges around the opening of the can, sand them to a smooth finish with a metal file. Create holes in the bottom of the can by pounding a nail or a screwdriver into the surface with a hammer.
- To enhance the earth-friendly appeal of this project, use recycled paper. You can use brown paper from grocery or lunch bags or wrapping or tissue paper saved from your last celebration. Instead of paper, you can even use scraps of fabric cut from clothing you’re planning on donating.
- Cut scraps of paper or fabric to fit around the can. You can measure and cut a rectangle to fit around the can perfectly or tear the paper into small pieces and create a collage. Decorate the paper however you wish. You can create colourful designs on the paper with rubber stamps or draw designs with markers, paint or crayons.
- To stick the paper or fabric to the can, spread a substantial layer of decoupage glue over the entire can. Smooth the paper or fabric over the can, and then coat it with another layer of decoupage glue. Continue to add scraps, layering them with glue, until you have achieved the look you want. For added flair, sprinkle glitter on the wet glue. Let the can dry for at least 24 hours.
- Once the glue has dried, fill the can with potting soil. Plant a few seeds in the soil and place the can in a sunny location. Water as needed and watch your new plant flourish. As a final touch, write the name of the plant on the outside of the can with paint.
- Personalized tin can pots make sweet arrangements, especially when a variety of sizes are combined. Combine 28-ounce tomato cans, 15-ounce cans of beans and cans of tuna to create interest. These look adorable lined up on a windowsill soaking up the spring sunlight or as a refreshing centrepiece for a dinner party.
Soon the Season of Flowers Arrives
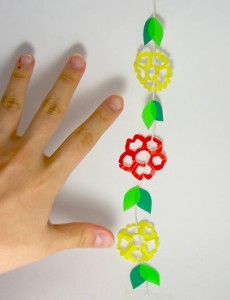
It’s a beautiful day and I felt like making something a little more fun for the lovely season that’s just around the corner. Since I have already shown you how to make a kirigami sakura, we can all elaborate this kirigami craft by combining several flower styles that can easily be incorporated into a cute mobile that can quickly add a touch of spring in your home.
I opened up a new pack of mini origami and got an idea for a mini kirigami creation.
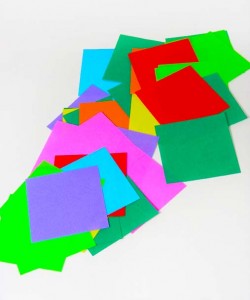
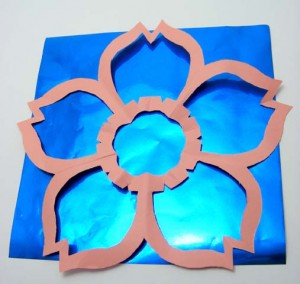
By altering the main sakura design, many different flowers can be created. I tried altering it a little for each colour to create a fun bouquet or floral mix.
Here is one style:
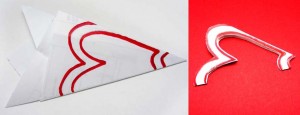
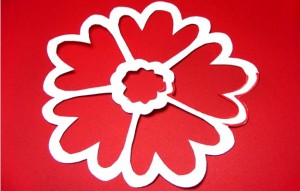
Here is a second:
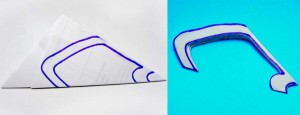
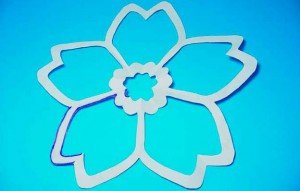
Here is the third one:


and finally the fourth:
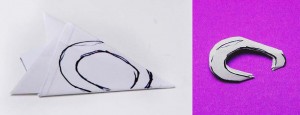
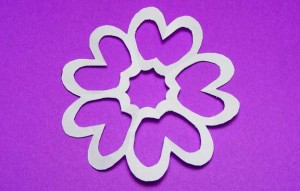
Once the flowers are cut out, it’s easy to string them by weaving the string or ribbon through the gaps in the flower. If you would like to keep the string’s visibility minimal, just glue it to a point at the top and bottom.
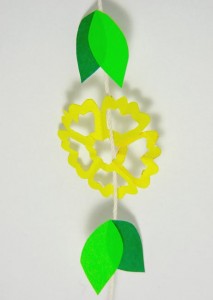
To cut very simple leaves, just take two complimenting shades of green and cut out an almond or teardrop shape. Layer the lighter shade over a portion of the darker one, and it’s done.
Combine as many colours as you like and make several strings of flowers. Once you have a few strings, you can make fun mobiles, window or wall hangings, or even a curtain of strung flowers.
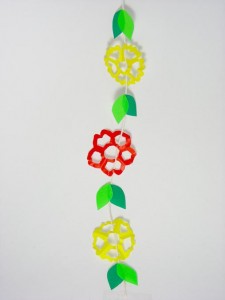
Please leave a comment below to let me know what you think!
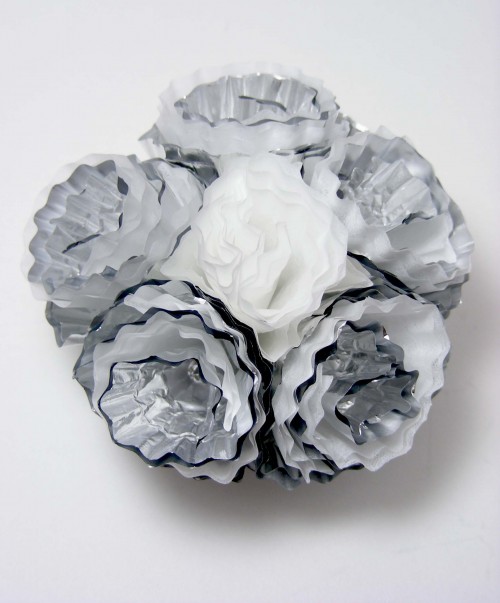
Muffin cup flowers
A fun and simple way to make decorative flowers. All you need is a pack of muffin cups.
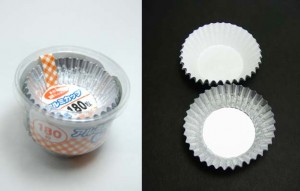
I purchased an inexpenisve pack of foil muffin cups from the ¥100 shop (Japanese version of a dollar store).
Between each foil cup was a thin white paper one, and when I took them apart, I loved the combination of matte white with shiny metal.
I found a new way to make a fun muffin cup flower that can decorate pretty much anything you’d like.
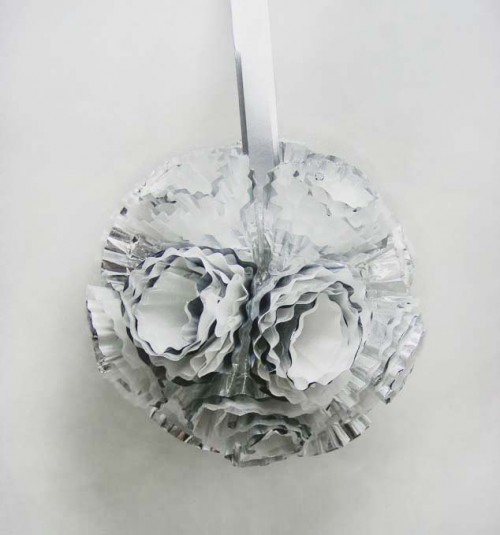
Make mini ones to glue onto cards or notebooks, or combine a few flowers with ribbon to make a floral hanging ball!
First, separate the cups and folded them in half to make a semi circle. Take each semi circle and roll it into a cone shape and secured with a small piece of tape.
*Make seven cones of each colour.
Once all the cones are completed, secure one white one into a silver one.
I used a loop of tape, but any adhesive will do.
Next, fold seven sets of white and silver semi circles.
Layer one white over a silver and roll it into a coil.
Now you should have seven cones and seven coils. Place and secure one coil into each cone.
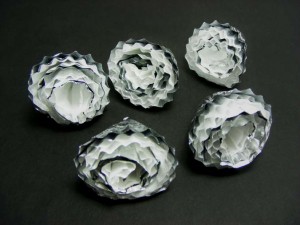
Once that’s done, you have seven mini flowers. If you would like to stop at this step, cover the out layer with a muffin cup and add a stem (pencil, wire, twig, anything) -and you can have a stemmed bouquet.
If you would like to complete the bigger flower, secure one to another to form a circle, flip it over and it’s done!
Make three large flowers and combine them to form a ball. Add a ribbon and it’s a hanging decoration.
Kirigami Sakura
As mentioned a couple of days ago, Kirigami is the Japanese art of paper cutting. I absolutely love creating pretty things from simple materials like scrap paper and would like to share a project that you can try at home.
Here are instructions to make a simple sakura (Japanese cherry blossom):
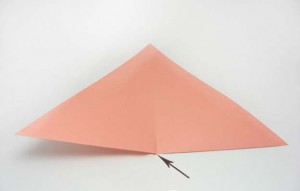
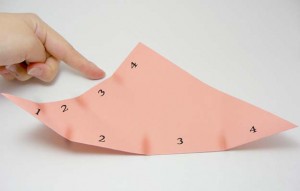
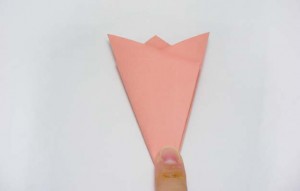
1 – Begin with a square piece of paper and fold diagonally to create a triangle.
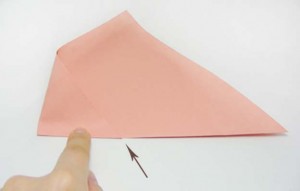
Now, fold one bottom corner to the other and crease approximately 2cm to create a point of reference in the middle.
2 – Next, fold the bottom corners to the middle and crease approximately 2 cm.
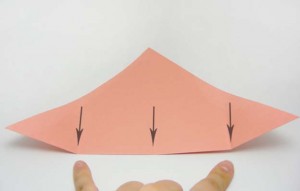
* You should now have three evenly spaced creased along the bottom of the triangle.
3 – Take the left corner and fold it up to the top point (crease 2 cm) and unfold.
Now, take the same corner and fold it to the newly created middle crease.
Repeat the last step, using the top point of the triangle and folding it to the new middle crease.
* You should now see four even sections along the bottom and left-hand side
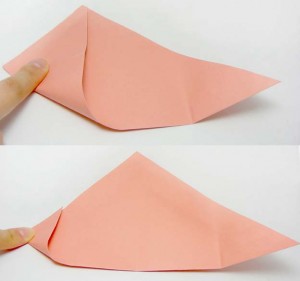
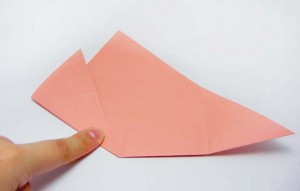
4 – Using the creases on the left-hand side, take the left bottom corner and fold it up to the top crease
(the fold should not surpass the bottom middle crease).
This time, press down along the entire fold to keep it in place.
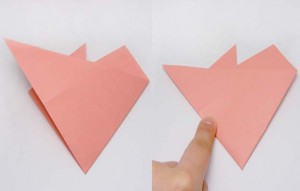
5 – Next, take the right bottom corner and fold it to the left-hand side. Make sure it’s folded along the edge, also, not surpassing the middle crease (this should give you a clean point at the bottom).
6 – Taking the same corner from the previous step, fold it in half, taking the corner back to the right-hand side. Make sure the edges are parallel.
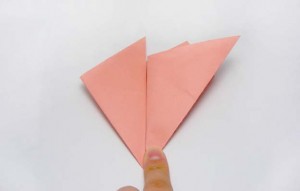
7 – Now, take the left side, fold over to the right, making sure to keep the edges parallel.
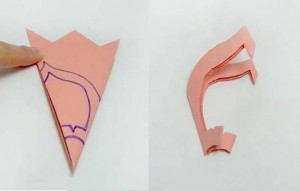
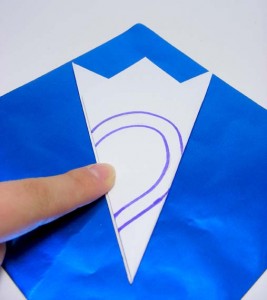
8 – Turn it over and draw a petal design. I chose a pointed petal design to create a sakura.
*Make sure to leave the left and right edges attached at some points in order to keep the entire image intact!
9 – Once the drawing is complete, cut it out and unfold it. You should have a lovely flower to decorate anything you like.
Try different styles to create a wide range of lovely designs.
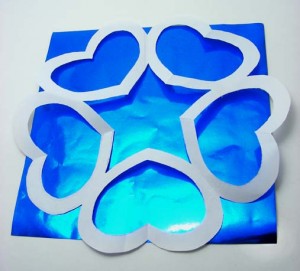
This one I tried with a semi heart shape:
Once I cut it out, I thought it might look cheesy….
but to my surprise, it turned out different from what I imagined. The star in the middle adds a special touch.
Project Featured in Cut Out + Keep!
I’m happy to tell you that one of my eco projects is now featured on Cut Out + Keep and seems to be a fan favourite!
Check it out because the site is great too!
More than just a card
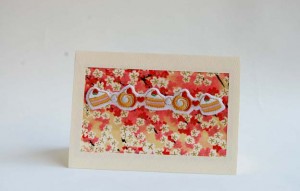
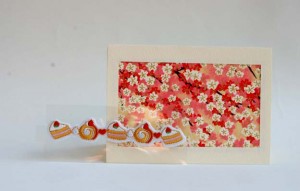
For those of you who have trouble finding little gifts for that person who seems to have everything, or even someone who loves cutesy things, there’s a simple solution: cards that are more than just a card.
You can find many different types of cards these days with slots to fit giftcards, cds/dvds, or even pictures, but why not get a card with a cute little gift they can use or display?
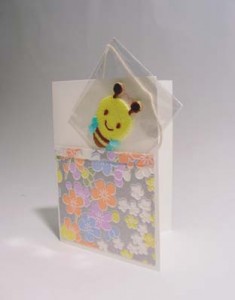
There are cards that have decorative pouches or pockets out front, so instead of the usual, try to give something different like a cute patch -they can be used to decorate anything imaginable and just a fun surprise to receive with a card.
These cards can also be reused and passed on from one friend to the other, so everytime they receive it, something different will be placed inside.
Other ones can have the patch as part of the card’s decoration, but once removed, the card itself can be used as a display.
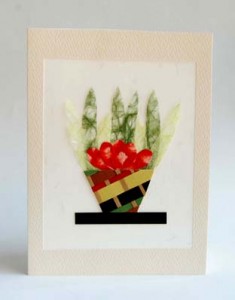
If you would like to send something a little more artistic, try a card that can be displayed in a variety of ways.
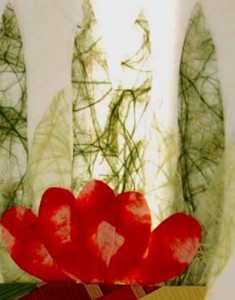
By using translucent paper, some cards can be placed in a window so that the sunlight will pass through the paper and allow different colours to shine or create an outline of any images. The same effect can happen with the card placed safely near a tealight, where the warm light can create a fine glow through the paper.


