Need a centrepiece? Use a teddy!
I love throwing different kinds of parties, but I especially love to try out different decorative pieces to visually entertain my guests.
While going all out with shimmer and shine or totally cutesy are very common themes (among others of course), I decided to mix the two and see what kind of response I would get.
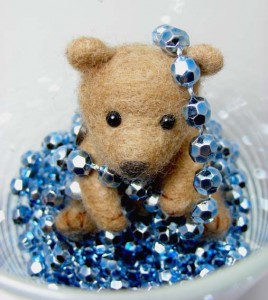
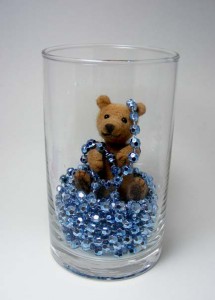
Please tell me what you think of my centrepiece using a metallic string of beads, wooly teddy bear (made by one of my friends) and a simple glass vase:
Simple, inexpensive and quick for any party or last minute get together.
If you want a little more fun, surround the piece with tealights to bounce light off the shimmering beads.
Handbag Revamp – Part Two
This is the newest addition to my handbag revamp project. If you missed part one, please check it out and let me know what you think.
Since I’ve changed the handles, I would like to make some other changes to create a seamless look.
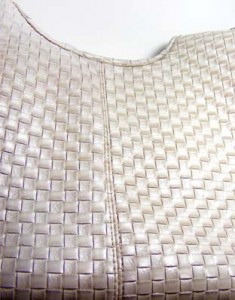
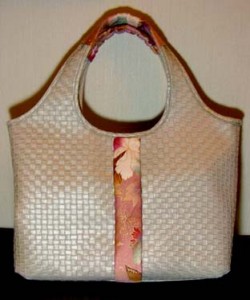
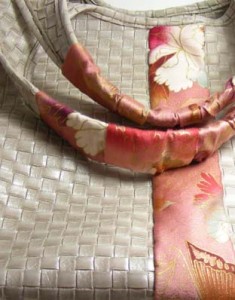
I thought I could add a strip to cover the front seam (going right down the middle of the bag) with the same fabric as the handles.
First, I cut a piece the length of the seam plus 4cm (they will finish the ends later).
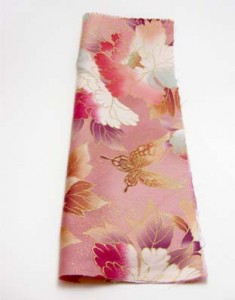
To create a seamless look (ie. no visible stitching), I started out by folding in in half lengthwise.
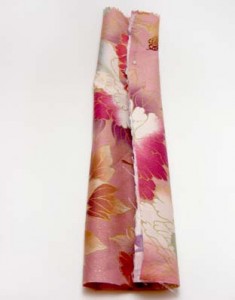
Then folding in one side to the middle…
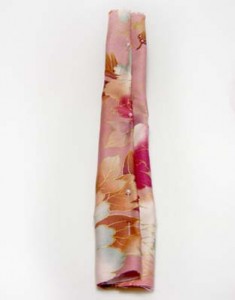
and then folding in the other side to the middle, pinning it down, and finally, sewing it together (making sure not to stitch through the front side).
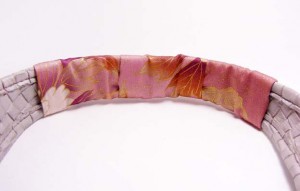
I turned it over to hide that seam and sewed it to the bag with a simple stitch along both sides and folding in the ends to hide the rough edges.
Another piece to my handbag project complete!
Handbag Revamp – Part One
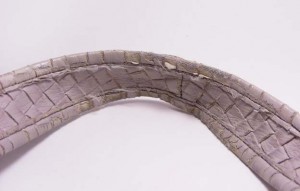
I’ve decided to try and revamp my handbag a bit since it’s looking far too worn out for my liking.
I’ll post all the changes I’ll make throughout the next week or so and would love to hear your feedback.
First thing must be the handles. They are completely fraying and falling apart -how embarassing to have!
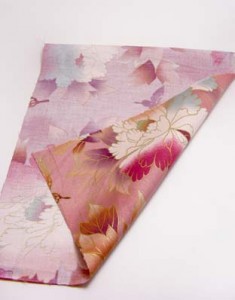
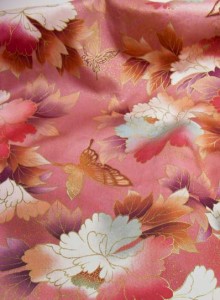
I found some lovely japanese fabric that I thought would add a splash of colour and shine.
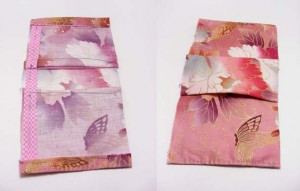
I cut two rectangles to a width that I thought would cover the handles well -with a little extra to add a pleat in the middle for an extra decorative touch. I’ve also used some scrap starched ribbon to reinforce the edges a bit.
Once it was done, I was pretty happy with it -MUCH better than the originals!
For the next post, I’ll show you some other additions that I’ll add to the handbag to tie the new handles together for a complete look.
Simple Envelope Decorations
As I’m sure I’ve mentioned before, I love chiyogami. It’s pretty, versatile, and easy to work with.
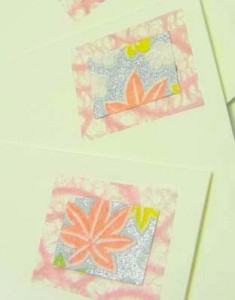
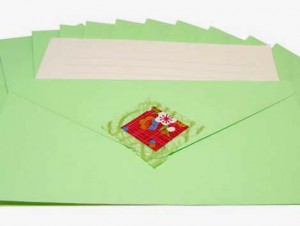
I love to use is as simple decoration for many different projects and every day items since it add a special touch. The latest is adding faux stamps and seals on envelopes. All you need is a square of chiyogami and a larger square of tissue, secure them to the envelope (or even the letter paper), and you’re done. Simple.
In a day where technology takes over our lives, it’s rare to see hand written letters sent via snail mail. I personally love writing and receiving letters in the mail, it’s more personal and special than a plain old e-mail.
To make the receiver feel happy and special, I love to dress up the mail, either with pretty stickers or making my own faux seals with tissue and chiyogami -mainly because they are just so lovely!
Next time you feel like sending someone an e-mail just to say “hello”, try sending them a surprise in the mail to let them know just how special they are to you!
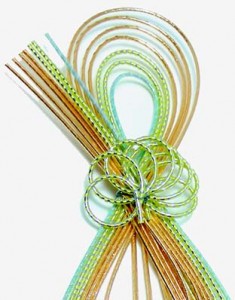
Mizuhiki Art
I have mentioned my love for mizuhiki in a previous post and explained the history and uses for it.
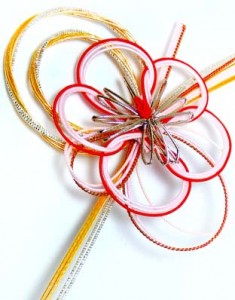
The cords can be tied into so many beautiful designs and objects. The top mizuhiki artists can replicate most flowers and even life sized animals like koi.
Most decorative designs mix two or more colours as well as combinations of different knots.
They are wonderful for many different decorations like table settings (napkin rings, glass charms, and centrepieces) or for an added touch to cards and gifts.
Kirigami Pop-Up Butterflies
Kirigami is the japanese art of paper cutting.
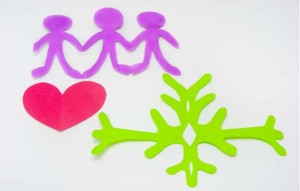
Many people might know this art from childhood while cutting out paper hearts, snowflakes, or even a string of people holding hands. It’s pretty much the same, the only difference is in the folding.
The difficulty ranges from one fold and a few cuts to multiple folds and hours of paper cutting. Even beginners can make beautiful detailed creations, as long as they have patience and time.
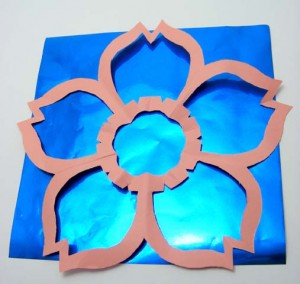
I have previously shown how to make a kirigami flower:
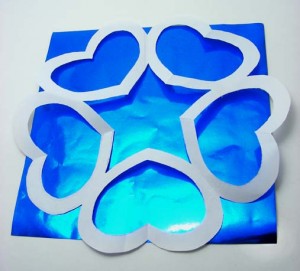
and circle of hearts,
but this time I would love to show you how to make a pop-up string of butterflies.
For any kirigami creation, there are a four standard items needed. Paper, a pencil, scissors or exacto knife and a small stapler (the staples are to help keep paper aligned and reinforce certain areas).
The first step is to find a piece of paper that you like. Any colour or light pattern will do, but just remember to choose a paper that’s strong enough for delicate cuts.
The easiest kirigami fold is to simply fold your piece in half. The more common paper shapes are square and rectangle, but any will do as long as you have enough room to draw your image.
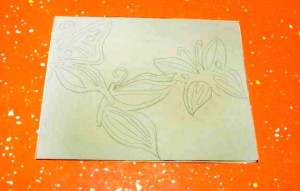
Next, draw out your image with a pencil. The most important thing to remember at this point is to include parts of the folded edge in the main image drawing. This will ensure that your entire image stays in one piece.
Another important point to remember is that anything you draw on one side will be the mirror image of the other side, so drawing half a flower from the folded edge will turn into a full flower once completed.
I have chosen a string of butterflies.
*Note that all the butterflies have overlapping parts to ensure they all stay together. Also, I’ve only drawn half a butterfly on the left, to become a fully opened one once it’s done.
(Please excuse the “dirty” look of the picture since I had to adjust the colours a bit to make the pencil drawing more visible).
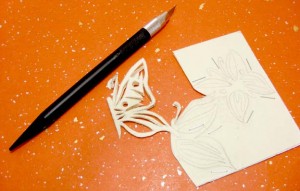
The next step is to staple throughout the drawing in order to reinforce certain delicate areas and make it easier to cut out.
I prefer using a scalpel type knives for small spaces and tight curves.
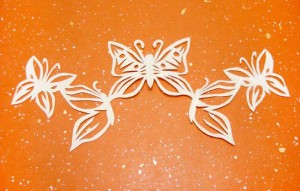
Once you’ve finished cutting your image out, use it to decorate any number of things. Secure it to book or card covers, frame them, or hang them up.
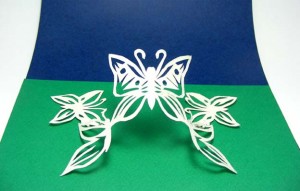
click to enlarge
I’ve also twisted it a little at the ends to create a pop up cut out.


