To Be Fashionable This Season, You Need a Tail.
This fashion trend began in Tokyo a little while ago, but it’s certainly the “must have” item of the season -especially for the younger crowd.
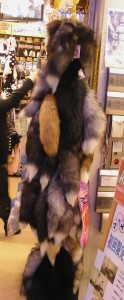
Anywhere you go, whether it’s Shinjuku, Shibuya or Ginza, you’ll see groups of girls with tails, yes, tails.
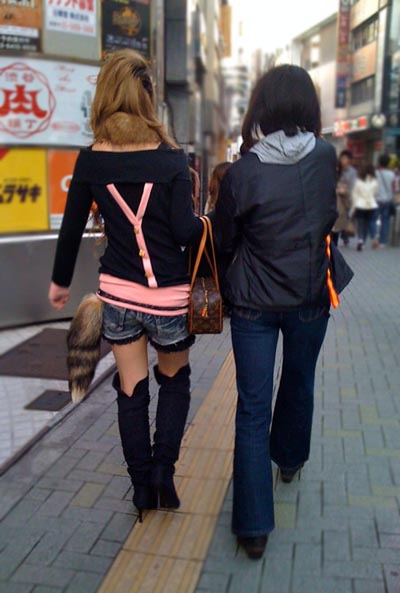
Animal Tail Fashion
If you would like a tail of your own, you can find it in any number of shops around the city…..even among the eclectic collection at Donki……. but please stick to faux fur!
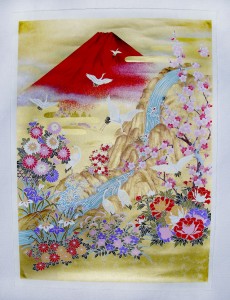
Stunning chiyogami
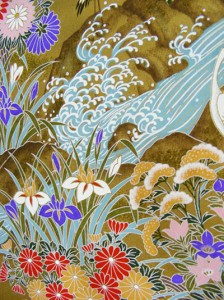
While by now all of you know how much I love this paper, this is one example of the more beautiful versions of chiyogami that I would never dream to make something out of, only frame and hang in my home.
This chiyogami was almost a meter long and had the most beautiful colours (sadly, I couldn’t capture it well enough for you). I decided to send it to my parents as a gift….and they loved it!
Origami How To: Traditional Japanese Crane
I love origami and have been making different models since I was a kid. Even for a family member’s wedding, I managed to make the 1001 “good luck” cranes (with help of course).
Here’s a fairly quick step-by-step guide to make your own crane:
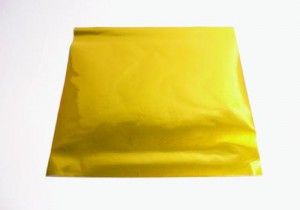
First, begin with a perfect square of any paper. *For beginners, try not to use tissue or cardboard paper, as it will make it difficult to fold properly if you are not used to it.
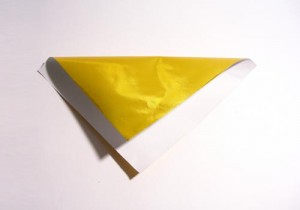
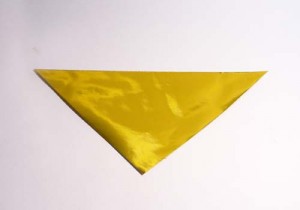
Fold in half diagonally to make a triangle (flatten the crease).
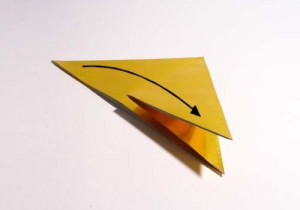
Take the right corner and fold it over to the opposite corner (flatten the crease).
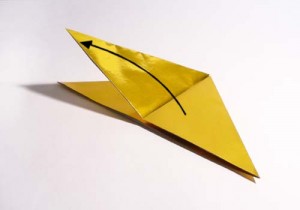
Taking that same corner, fold it back to the right corner (flatten the crease).
Fold it back (flatten the crease).
Open the newly creased section.
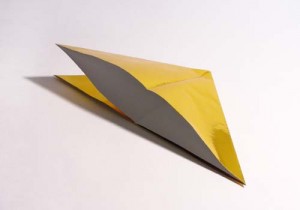
Fold down the corner (flatten the crease).
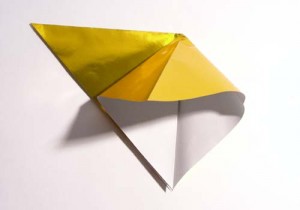
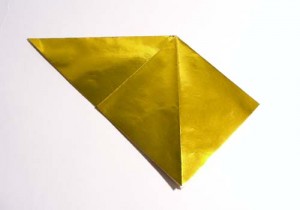
Flip to the other side.
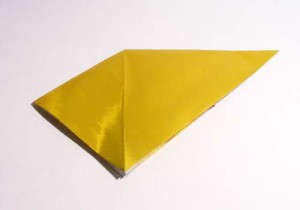
Fold down the right corner to the bottom corner (flatten the crease).
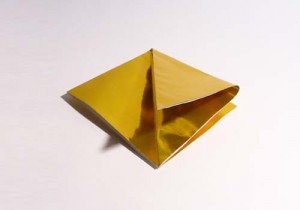
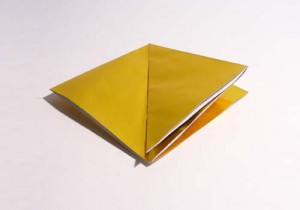
Open and fold down like the first side (flatten the crease).
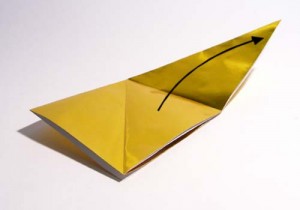
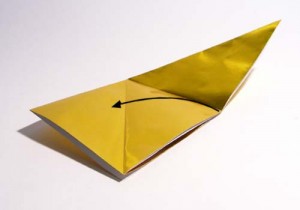
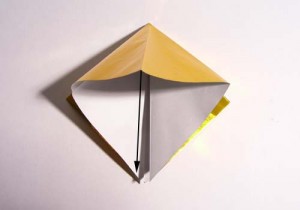
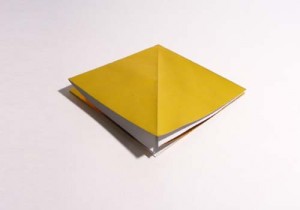
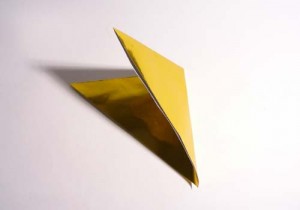
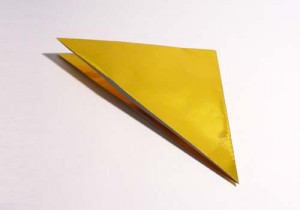
With the opening facing down, take the bottom right side and fold along the middle crease.
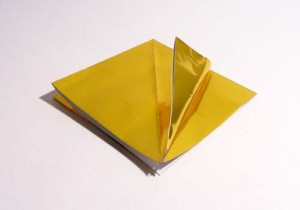
Repeat on the other side.
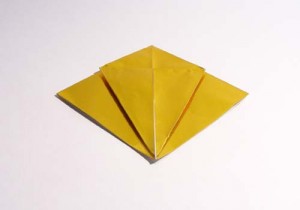
Flip over and repeat on the other side (flatten the crease).
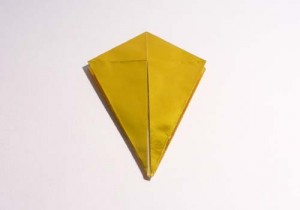
Unfold the two sides.
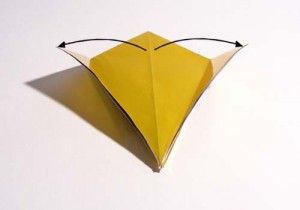
Open by pulling up the bottom (middle) corner.
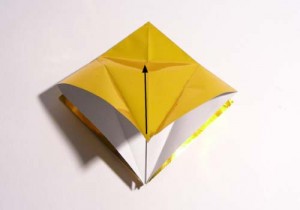
Along the side creases, fold the sides in.
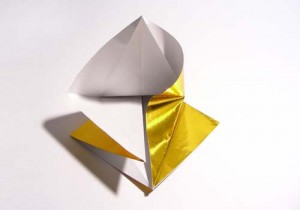
Repeat on all sides.
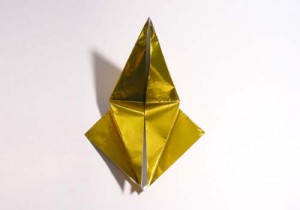
Fold back and flatten the top corner, making sure the corners are sharp.
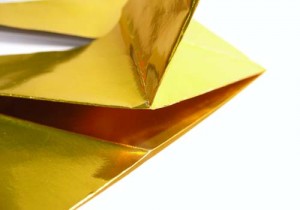
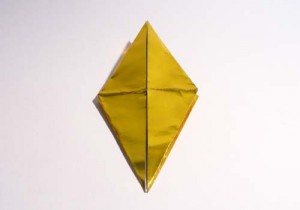
At this point, you should have two “legs”.
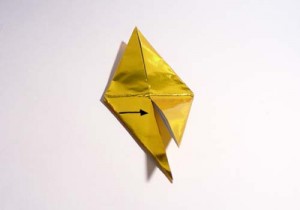
Fold the sides to the middle to make the “legs” thinner.
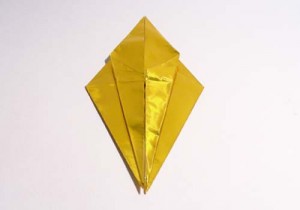
Repeat on the other side, making sure the creases are crisp.
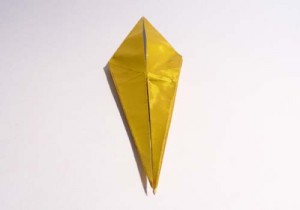
Try to keep the points as clean and crisp as possible.
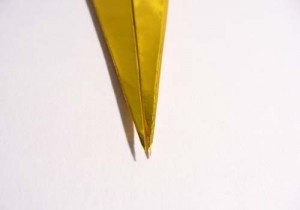
Now, take one flap and fold it to the left (there should be three flaps there now). Flip over and take a flap and fold it to the left to even it out (two flaps on each side).
This is meant to “hide” or secure the newly folded edges.
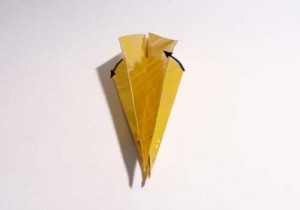
Take the bottom tip and fold it up as far as it can go. Crease and flip it over to repeat.
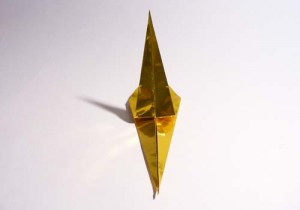
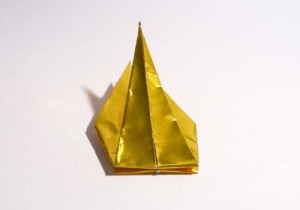
Just as before, take one flap and fold it to the left, flip over and fold the other flap to the left (to have two flaps on each side).
From here, take the two points between the flaps and pull them out a little, so they stick out. They will be the head and tail of the crane.
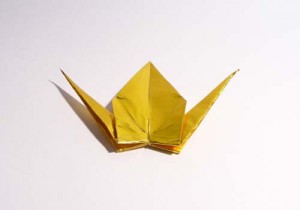
Now, between the two flaps on either side, fold one of the points down to make the head of the crane.
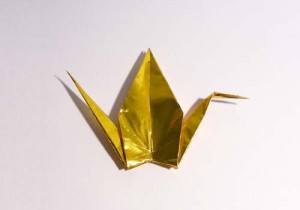
To open it up nicely, hold the wings and slowly pull them out and gently push the bottom portion in. If you would like to make the body a little rounder, blow into the hole in the bottom. This will puff up the body (top middle portion) of the crane.
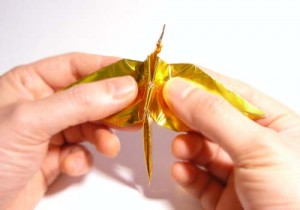
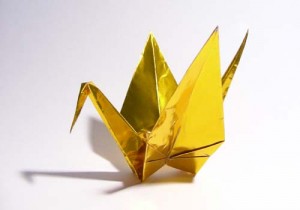
Completed crane:
Sticker Puzzles
I was looking to make something fun for my children (for my class!) and wanted something different from the usual things available, so I decided to make a puzzle…….but not just any puzzle -a fun sticker puzzle.
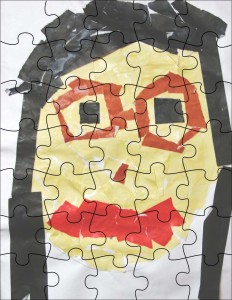
Here’s one made out of a lovely mosaic picture from my students last year (I love how they put the glasses in too):
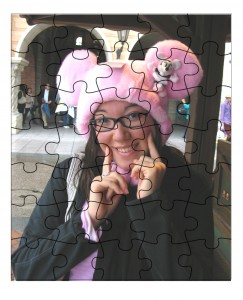
Here’s another example of a photo from when I was playing around at Tokyo Disney Sea:
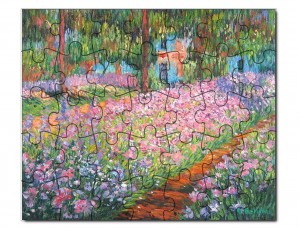
and another example where you can find your favorite art work online and convert it to a puzzle:
This can be a great gift as well. All you have to do is print it on some sticker paper, cut out the puzzle shapes and give them to someone as a fun gift.
Not only will they be surprised from getting a custom made puzzle from you, but they’ll love the fact that they’re stickers as well!
Use them for scrapbooks, cards, gift decorations, embellishments and more!
Holidays are quickly approaching
With so many projects and jobs to do, I decided to take a little time off each week to sit down and do a little fun work, and prepare for the upcoming holidays.
I’ve decided to handmake everyones card and possibly some gifts as well.
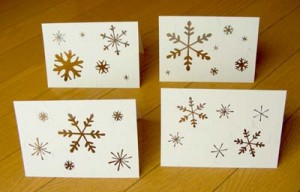
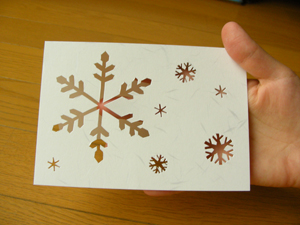
So far, I’ve finished a set of winter snowflake cards that I hand cut with my dear scalpel knife.
Here they are:
It’s been a while!
How have all of you been? My apologies for not posting in a while, since I’ve been very busy lately!
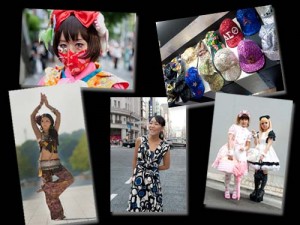
This past weekend we had our first and second photo shoots for the book and it went well, though we fell behind schedule…..just as I thought we might.
Just to give you a bit of a sneak peak, here is a collage of a few of the photos we took:
You can also check back every now and then to see our site progress and possibly more sneak peaks!
Go directly to The Tokyo Fashion Guide
I’ll try my best to post projects again, and more updates on the guide! Any book content requests are welcome!


