Kirigami How-to #3 – Layered Kirigami Flowers for Greeting Cards
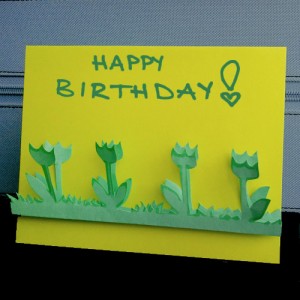
Here’s a great kirigami card that’s simple to make for those last-minute occasions. It’s also a great way for children to make fun cards for their friends.
I made this quick layered kirigami flower decoration on a plain card that I had leftover from previous projects. Naturally, you can take more time to make detailed polished flowers, but I sometimes like the more “handmade” look.
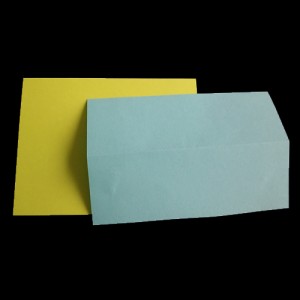
Start by choosing a complementary colour of paper (patterned paper works as well).
Fold the paper in half, making sure to have it no longer than the width of the card.
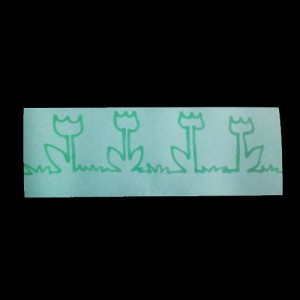
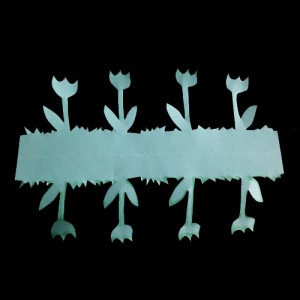
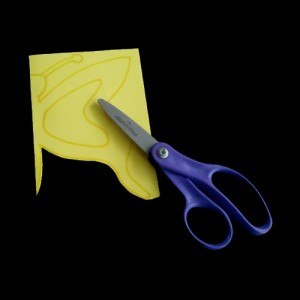
With the fold at the bottom, draw out a row of flowers, or if you prefer simple grass, a row of rabbits squirrels… but just make sure to include the fold in the kirigami patterns. I drew a row of tulips with marker to show you the lines, but try to use light pencil so it isn’t visible in the end.
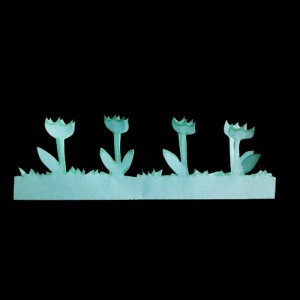
Cut out the kirigami pattern that was chosen.
Open it up and fix any flaws that it may have -or leave it rough like I did.
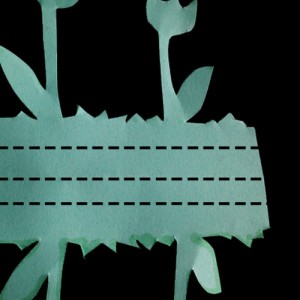
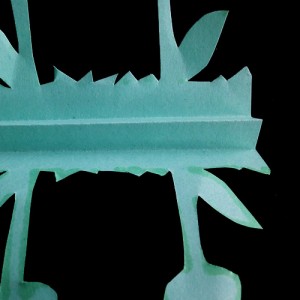
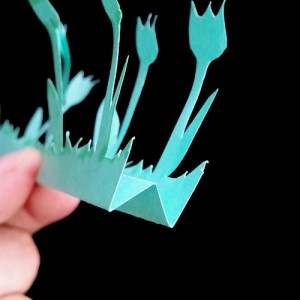
Now, in order to create a fun layered look, you will have to make an accordion fold. *Make sure it’s uneven, with one fold being narrower than the other. This will ensure it lays out nicely on the card*
If you do make them even, they will sit one behind the other rather than one row higher than the other (perfectly showing both layers).
To change it, just make another fold approximately 1-2mm narrower than the original fold. It won’t show flaws and still give you the intended layered look.
Now place it on the card however you like and simply secure with some adhesive. You can either collage a message or write it with colourful marker/metallic pens etc…
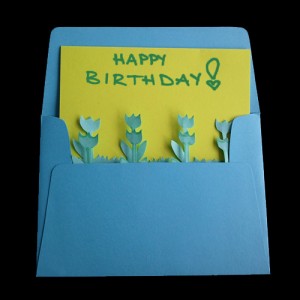
Place it in an envelope and seal it off with this Kirigami Butterfly Pattern
Kirigami How-to #2 – Yellow 3D Kirigami Butterfly
Here’s the second kirigami tutorial for Spring Kirigami Patterns Week!
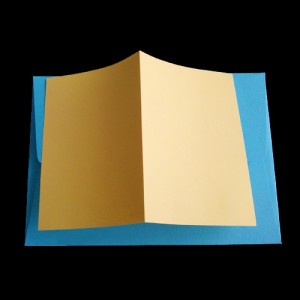
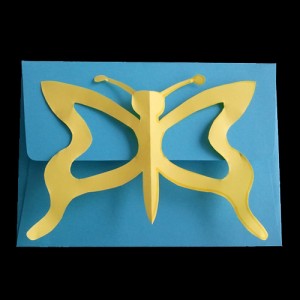
I found a plain envelope and wanted to dress it up with a spring kirigami butterfly, so I found a nice complementary colour to go with it:
Now fold the page that’s to become a butterfly. You can have a large sheet of paper or a smaller one, depends on how large you would like the butterfly to be.
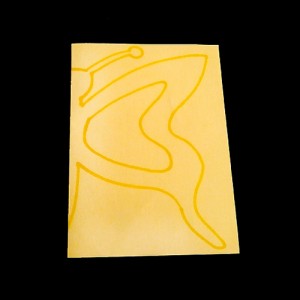
Next, it’s important to draw out a simple butterfly outline….keeping in mind to include the centre fold in it as well!
Now it’s time to cut out the outline and any other extras you include for more detail:
Once it’s cut out, unfold the kirigami butterfly and double check all of the cuts are neat and tidy, or to add more details if desired.
Now place it on the back of the envelope as a fun surprise for whoever receives it. You can either seal the envelope with the kirigami or simply secure it to the top flap so it won’t get cut through when opened.
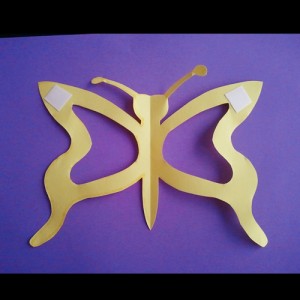
Another option is to do the same as the previous 3D kirigami flower and arrange it on another sheet for a fun pop up looking decoration:
Hang it where you like for a nice touch of spring!
Spring Kirigami Patterns Week! How-to #1 – Pink 3D Kirigami Flower
I’m already beginning to dream about warmer spring weather, lovely flowers blooming and bike rides by the lake….. but today is quite wet and gloomy, so I decided to forget about work and make kawaii kirigami instead!
My first project is a quick and simple flower. No fancy kirigami pattern for this one, so kids can do it too! All I used was scrap paper, a marker to show you my outline and safety scissors, so kids really can take part as well.
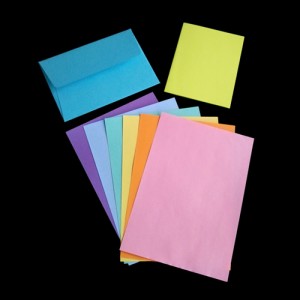
To start, pull out all of your scrap bits of paper:
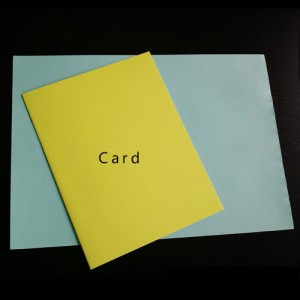
I noticed one unused envelope and blank card that I made a while ago, so I’ll save those for other kirigami projects this week *^_^*
Next, choose any colour you like for a fun spring flower. Once you have one, fold it in half lengthwise:
Now, draw a rough outline of a flower. You can copy mine or pretty much anything your heart desires. The only important thing to remember is to only draw half the image you would like, and make sure to include the middle fold -or else you will end up with two separate halves (!)
The areas marked with “cut” should be carefully cut out without cutting through the main outline. I added them for more detail but you can certainly leave them out for more of a silhouetted flower.
You can use a scalpel knife for this one but it’s not really necessary. Save it for more detailed work.
*TIP* to cut out those extras within the flower -instead of jamming the scissors through, use a hole punch to get a gap large enough for the scissors to fit, then cut along the line.
When it’s all cut out, you may notice that mine has marker lines showing. I used marker so you can see the drawing better but I usually use pencil that can be erased. Don’t worry if you don’t follow on the lines exactly, since they should only be a guideline.
Open up the kirigami flower…
Place it on any paper backing or hang in a window. I chose a light teal colour for soft contrast. I also wanted a more 3D look when on the paper, so I placed double-sided tape in a few places that can be arranged as I like. *Feel free to use any adhesive for this part*
Next, instead of placing it flat down on the page, place one side first then place the second a little closer to the middle. This will make the flower stick out nicely.
Hang it anywhere you like for a touch of Spring! Kawaii ne?
Miho at Fiverr.com – Are the Gigs Worth the Time and Money?
Some of you may have heard of Fiverr.com. It’s basically a micro outsourcing community that anyone can join to offer their products or services. Great idea and very cheap…..but is it worth being a part of the community?
I’ve been a Fiverr member for a while now and have had many gigs ranging from offering advice, recipes, kirigami cut outs, handmade greeting cards, advertising and so on. While some are very easy to complete and hand in, others required more effort and time. Keeping in mind that all gigs are $5.00, Fiverr keeps $1.00 of every sale, so it’s really $4.00 per gig sale. You can have add-ons with each gig and charge more, but it’s rare for anyone to pay more than $10.00 for any product or service.
To see a list of my gigs, please check out my Fiverr page and tell me what you think: http://fiverr.com/mihos
I’ll appreciate any comments and suggestions for future gigs that you feel would be helpful to others (please post below!).
Whether it’s worth it or not for some, I don’t have a problem with my current gigs and have made over $200.00 since I’ve joined. Some of my current gigs are:
Lasagne Recipe – First Try with Great Results
I’ve never tried making lasagne before and had an urge to try it out. I didn’t realize just how long it takes to make, so I was very thankful it turned out to be delicious!
I don’t really like to follow recipes in every detail, so I just winged it.
Ingredients:
- 1 large can of diced tomatoes (700-800ml)
- lasagne pasta (I used 9)
- 500g minced chicken
- 2 eggs
- 1 small onion (diced)
- 4 cloves garlic (minced)
- 2 carrots (diced)
- 6 large white button mushrooms (large chunks)
- 1.5 cups spinach (cut into large slices)
- 2-3 cups shredded marble cheese (it’s all we had at home)
- Olive oil
- Salt and Pepper
- Hot pepper flakes
- Dried Oregano and Basil
- White wine (optional)
Procedure:
- Heat a medium pot over medium-high heat. Add olive oil, onions then garlic. Cook until onions are translucent.
- Add minced chicken, herbs and spices with a bit of white wine into the pot and stir until cooked through.
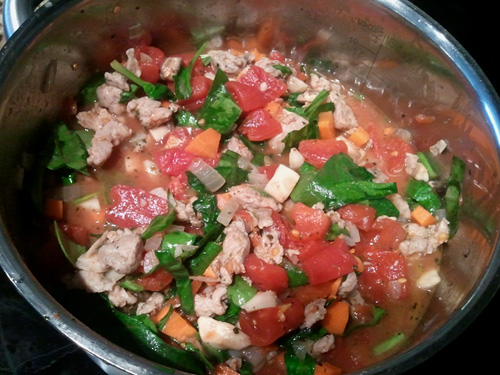
- Add the vegetables and canned tomatoes.
- Reduce heat and let simmer for 45 minutes to 1 hour.
- Cook pasta for approximately 6-8 minutes, making sure it’s al dente. Drain and set aside.
- Once the sauce is finished simmering, add a layer to the bottom of the baking dish.
- Add a layer of the pasta.
- Add a layer of meat/vegetable sauce.
- Add a layer of cheese.
- Another layer of pasta….and continue until you’ve run out of space.
- Finish off the top with a layer of shredded cheese and whisked egg to seal everything nicely.
- Bake at 350°F for approximately 45 minutes or until the top is a nice golden colour.
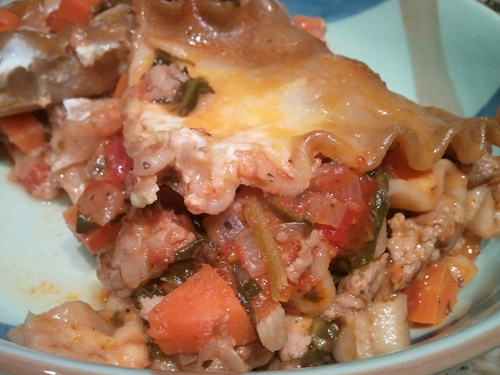
This is the end result for me:
I hope you can enjoy a yummy lasagne dish as well!
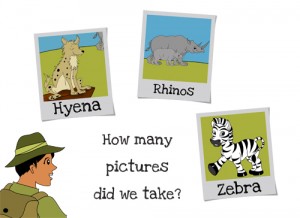
Children’s Animal Adventure Book Update!
The illustration colouring and layout is finally done and just a few checks and touch-ups are left. For a sneak peak, check out the pages below:


