How-to Guest Post: Jellyfish in a Bottle
Great simple project for preschool and older. Love the simplisity and beauty of the end result.
This post is from Neltje Maynez showing us how to make Jellyfish in a Bottle:
It was a rainy day last week, and my kids were going absolutely crazy. They had the day off from school, but they couldn’t go outside. They were stuck in the constraints of the house. I was going out of my mind as well. It’s been a long time since I have had my kids in the house. I knew I had to find something for them to do—if I didn’t—we would all be in trouble. That’s when I was excited to start a project that I wanted to do: jellyfish in a bottle!
And, I had everything that I needed to make it at home! If you are having a rainy day with the kids, try this project!
What you need:
1. A transparent plastic grocery bag
2. Plastic water bottles.
3. Thread
4. Food coloring—preferably blue
5. Scissors
Procedure:
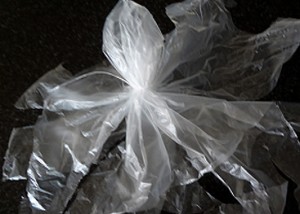
First, get your kids to flatten the plastic bags that they want to use as the “jellyfish”.
Second, cut the sides of the plastic bag so that the bag is split into 2 sheets. You will end up only using one of the sheets.
Third, fold the center of the plastic bag, almost like a tiny balloon so that you can make the head part of the jellyfish. After you make the head, tie it with the thread. Don’t tie it too tight. If you have really little ones, you can help them with this step.
Once you have the head part, the rest of the “jellyfish” are the tentacles. You will have just about 7-10 tentacles.
Help the kids trip the tentacles. Make sure that you have a different length for the tentacles.
Now you are ready to put the jellyfish in the water!
Put some water in the jellyfishes head—it will help it sink into your bottle. (But make sure not to fill the head all the way—it needs to be able to float to the top)
Then fill up your water bottle, then about 2 drops of food coloring!
Your kids now have a jellyfish in a bottle. (And you just bought yourself about 2 hours of quiet time).
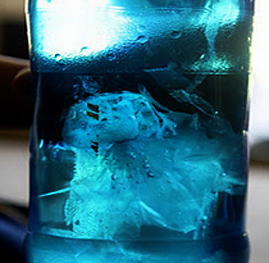
This is the finished product:
Thank you to Neltje Maynez from mycollegesandcareers.com for the great post!


I love this project idea! I will definitely be making one of these with my nephew the next time he comes to visit. 🙂