One Good Thing a Day – Project Day 89 – “Spring Bento!”
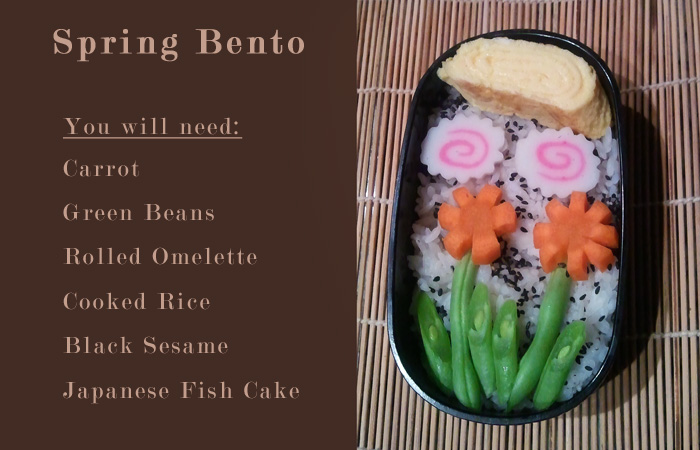
I don’t know anyone who doesn’t love a cute bento, so here’s a simple Japanese-style bento just for spring! Ideally, we would all gather our adorable bento creations for hanami (See previous posts about hanami here and here!)
There are no rules to making a bento, pretty much see what you have on hand and experiment! I just cut round slices from a medium carrot, then cut out little wedges all around. After that, I sliced green beans diagonally and arranged them to look like leaves and stems of flowers. The black sesame was added only because it’s yummy *^_^*
I will post a how to for the rolled omelette soon and the decorative fish cakes are readily available in Japanese shops or sometimes in Asian grocery stores.
If you don’t have a bento box yet, you can buy your own bento here!
Have fun with your bento and please send over photos! I’ll post them in the blog for others to see too!
Yay! Hiking *^_^*
FINALLY getting a chance to get out and relax while enjoying nature in a hike -it’s been FAR TOO LONG!
Will post photos when I get back -hope all of you are taking in the spring weather!
Until then, please enjoy this representation of me and my best hiking buddy!
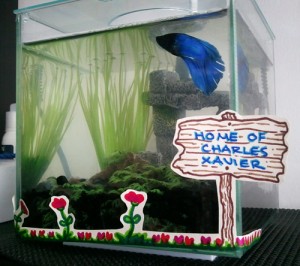
One Good Thing a Day – Project Day 88 “Signs of Spring for Charles”
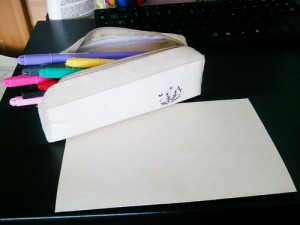
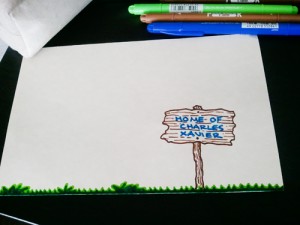
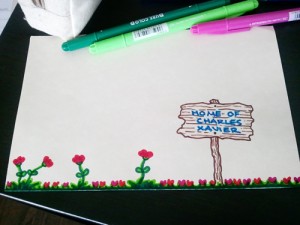
Lately I’m quite happy and excited with the warmer spring weather and wanted our fish Charles to get a taste of spring as well. Basically, I got a scrap piece of paper and markers and started to draw a simple field of flowers with an old country sign.
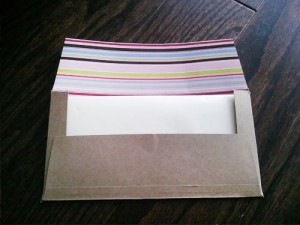
How to – Strong Protective Envelopes from Tissue Boxes
One thing I miss about Tokyo is the fact that you never actually have to buy tissues. This is due to the fact that there are thousands of people giving out free personal tissue packs to help advertise companies in the area. My last apartment was right by a Softbank shop, so I was covered for pink packets of Softbank tissues.
Here, we are constantly in need of inexpensive tissues and basically stock up when they’re on sale but I just hate throwing out the pretty boxes once the tissues are done, so I decided to make something from them -strong envelopes!
Since the cardboard is quite thick, it can protect delicate things like photos or cards and the bonus is that the interior will have a lovely colourful pattern.
If you would like to try this out, try the steps that I did and alter anything that you feel will work better -and make sure to tell me too please *^_^*
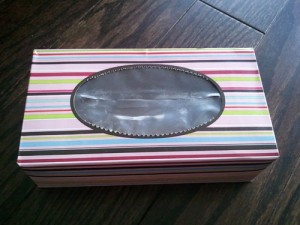
Start off with an empty tissue box:
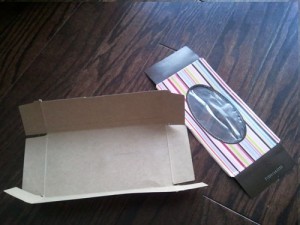
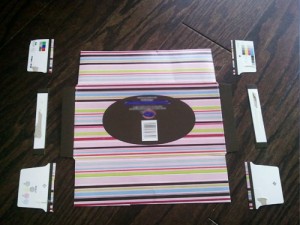
Cut the top part off and lay the box flat:
Cut off the excess tabs except for the two longer ones in the middle (just trim them a bit):
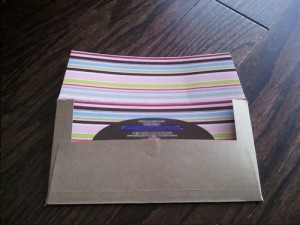
With the patterned side up, flip the bottom tab up and glue or tape it to the flaps on the sides:
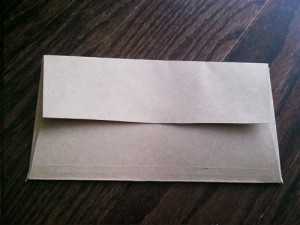
Fold the top flap down and seal with stickers or tape:
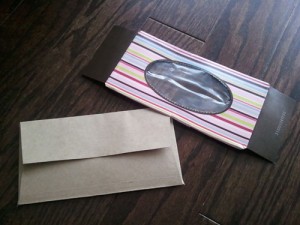
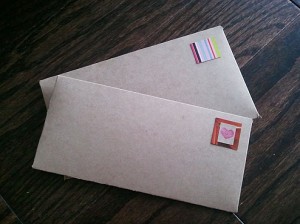
I thought these were quite boring, so I decided to use the excess pieces to make them cute:
Faux stamps:
Decorative detail to seal the envelope:
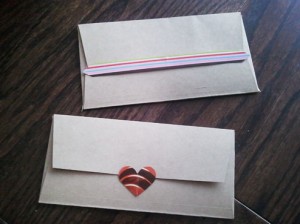
Have fun with these by cutting decorative borders or flaps. If you would like them featured on the site, please let me know!


